How to Add Thin Veneer to a Fireplace
8 Steps for Installing Natural Stone Thin Veneer
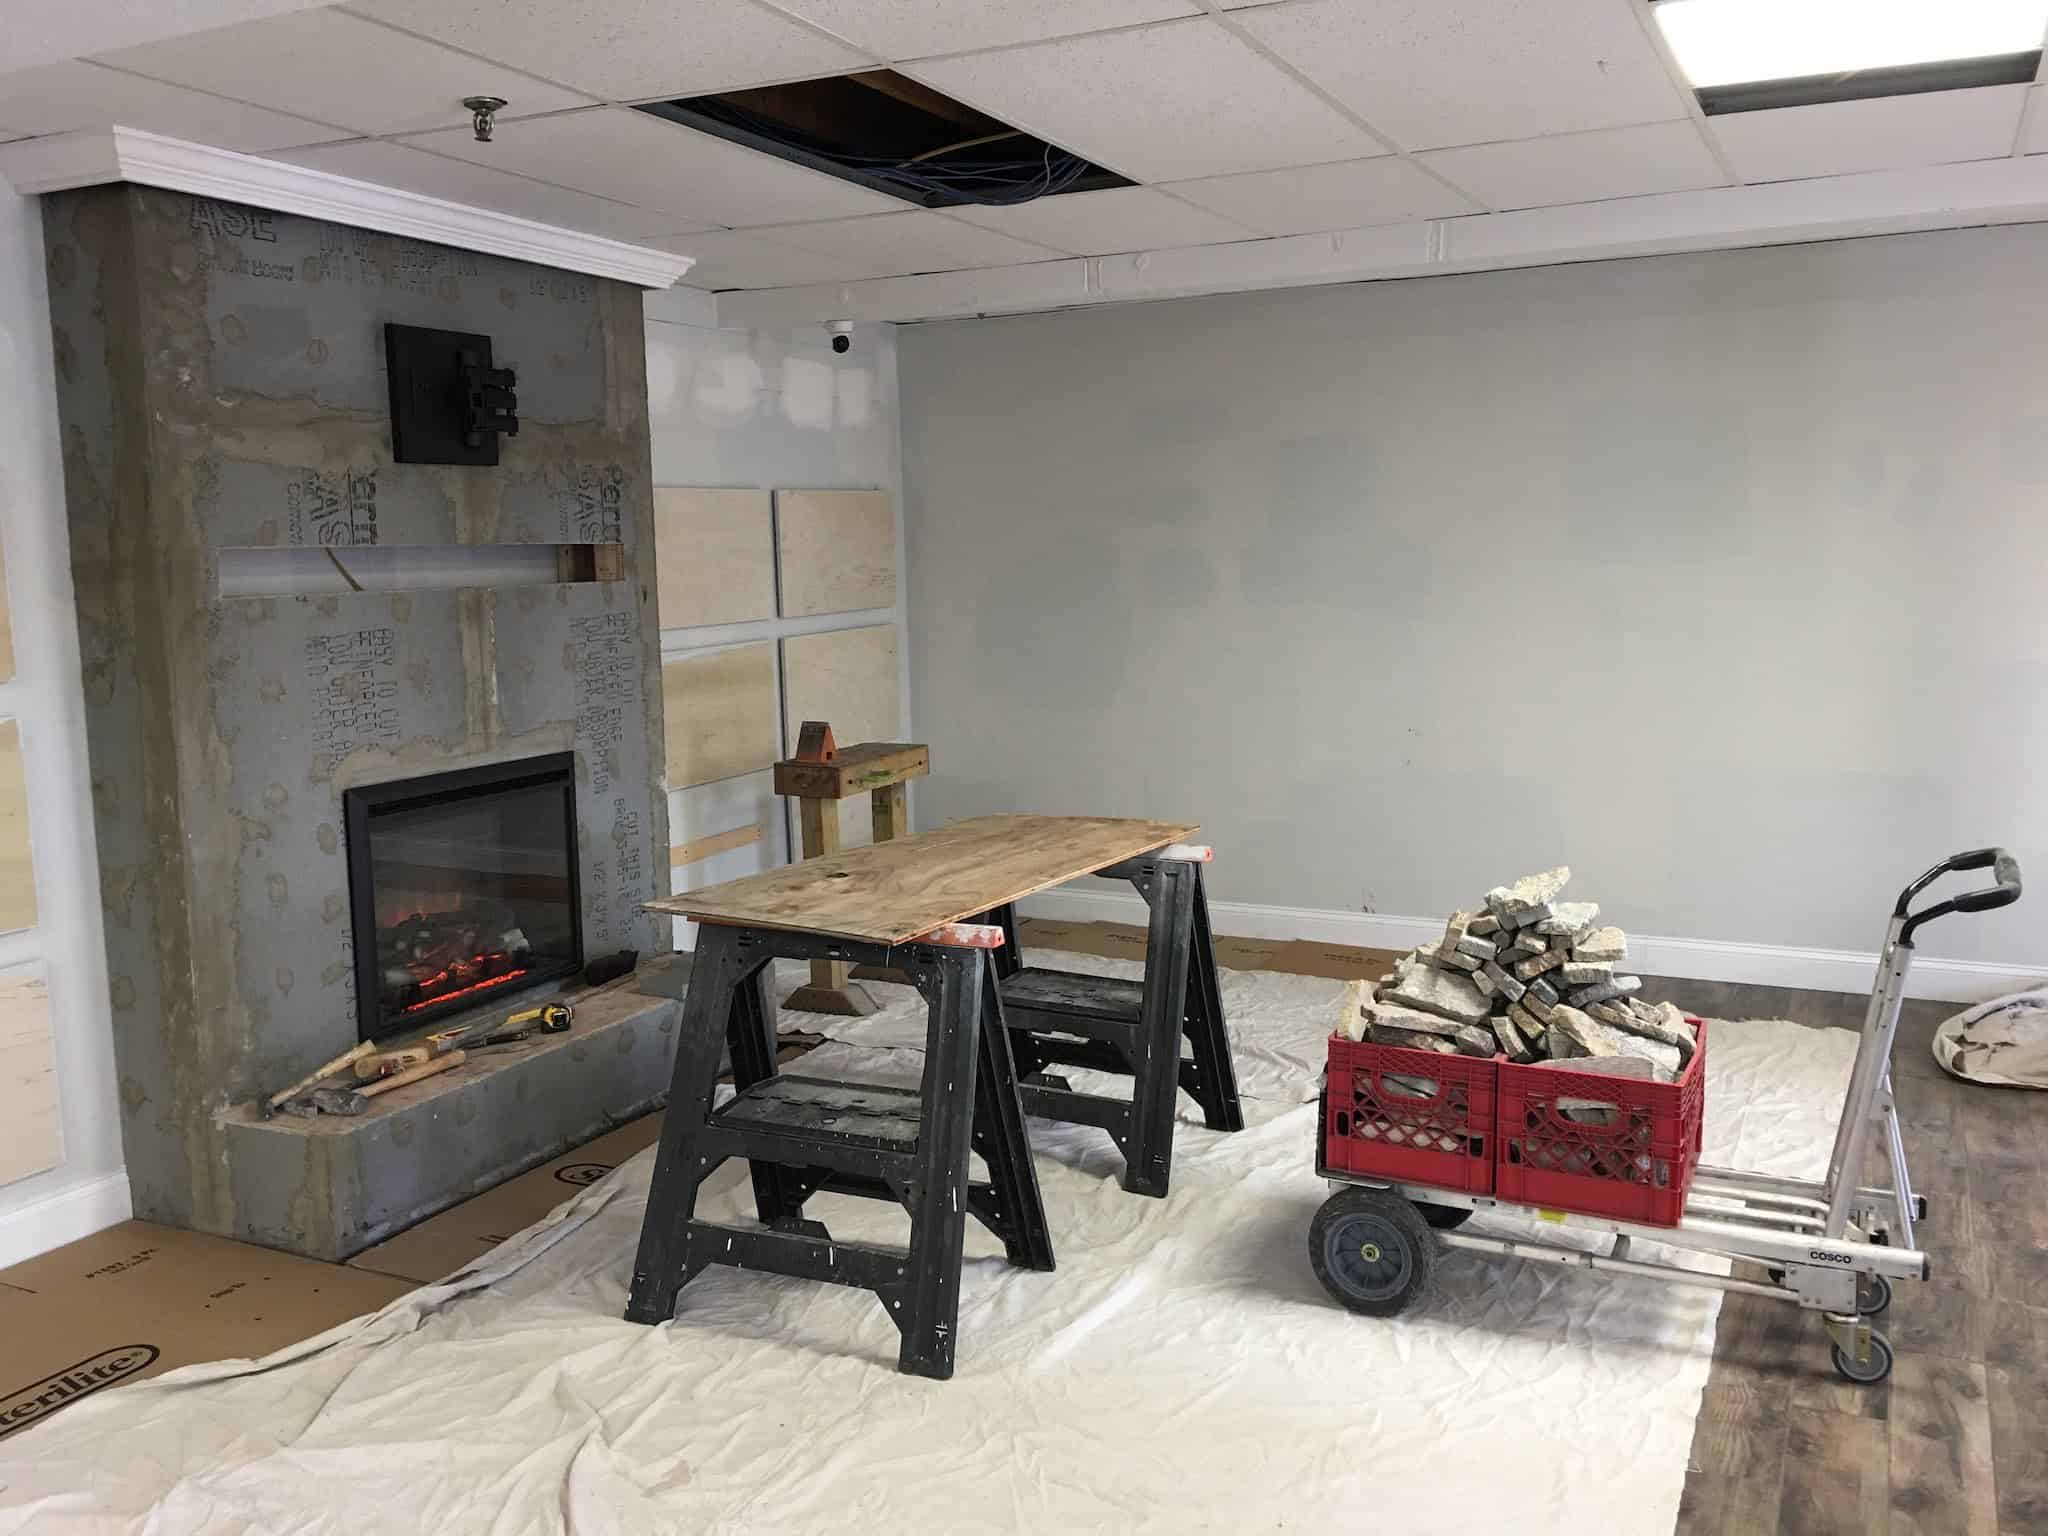
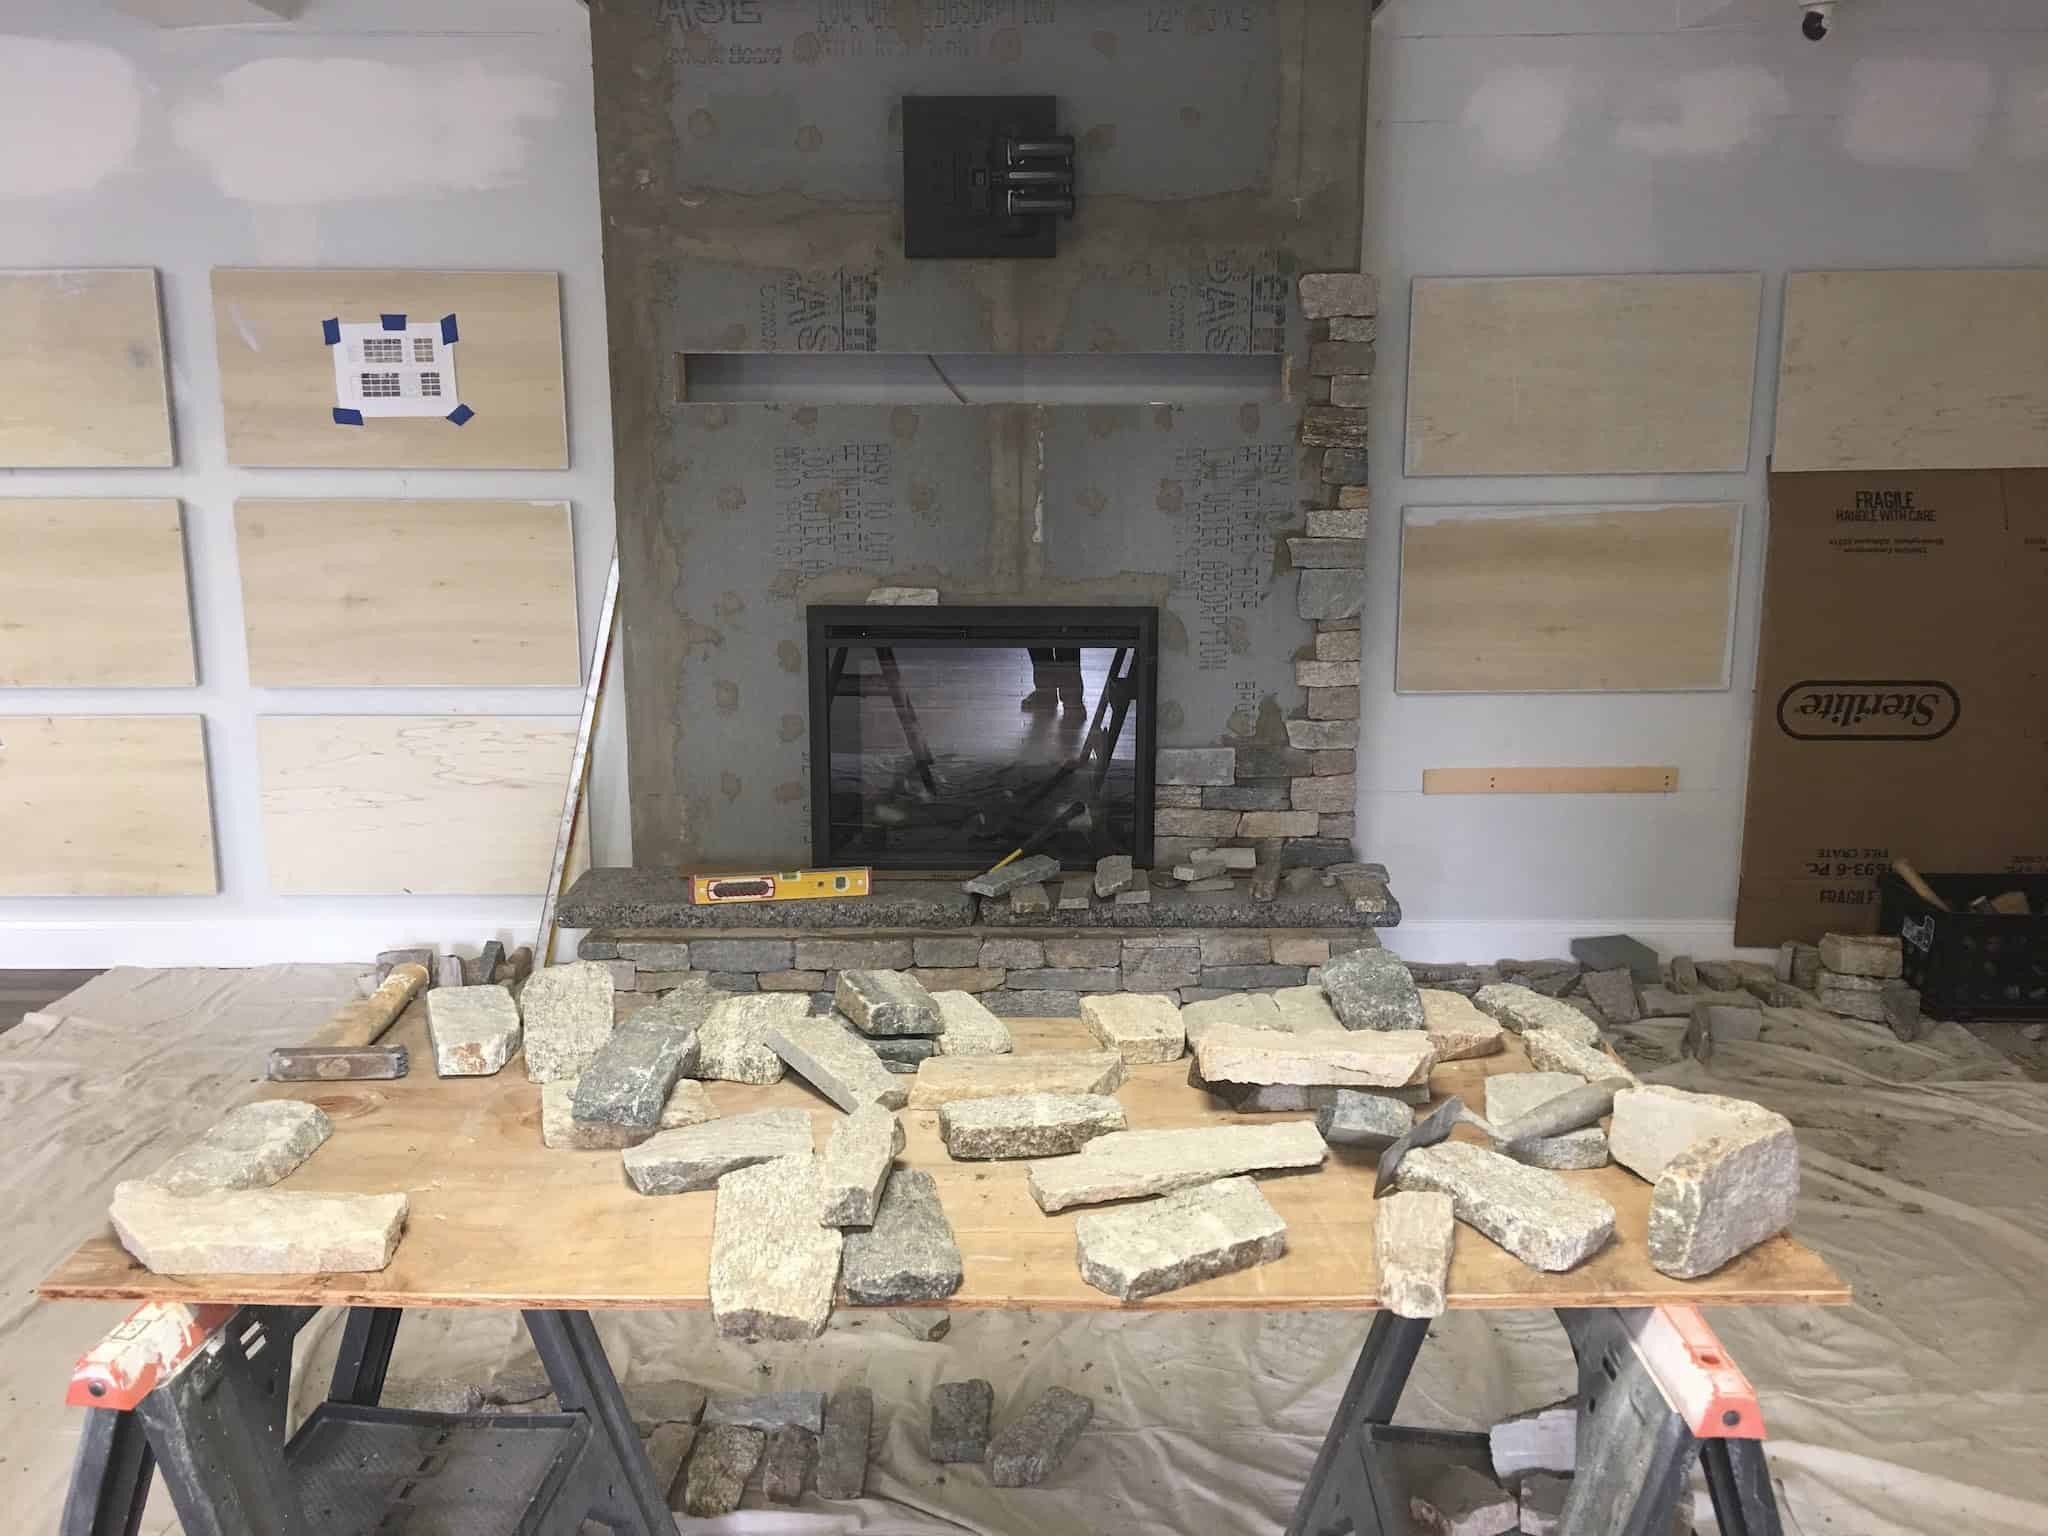
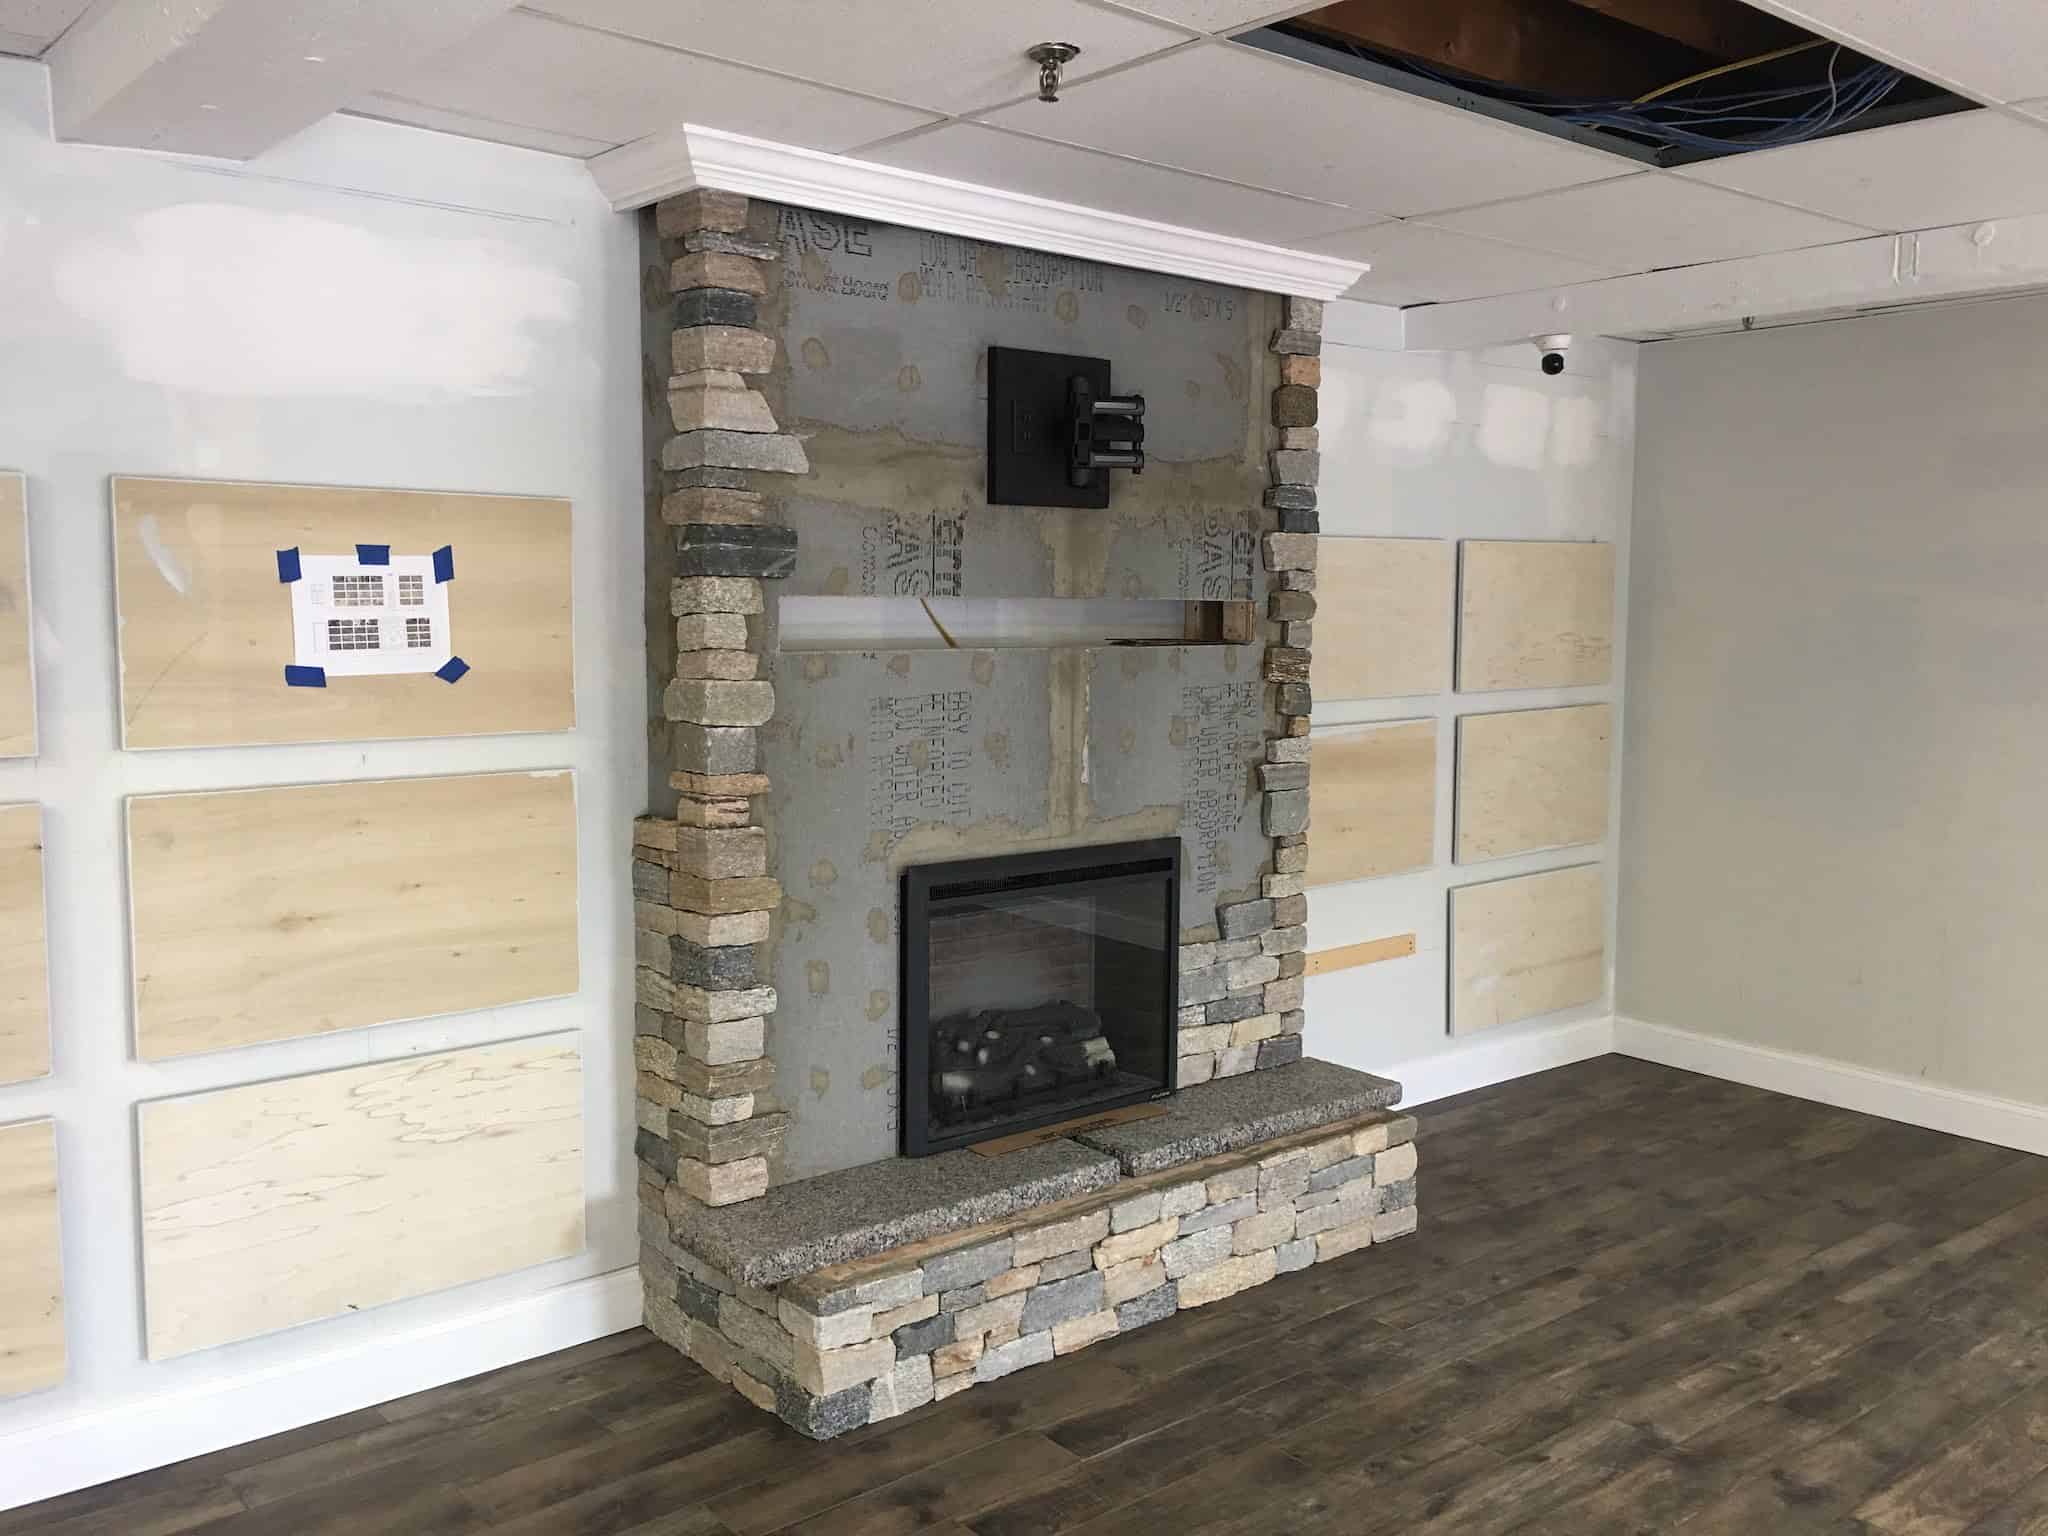
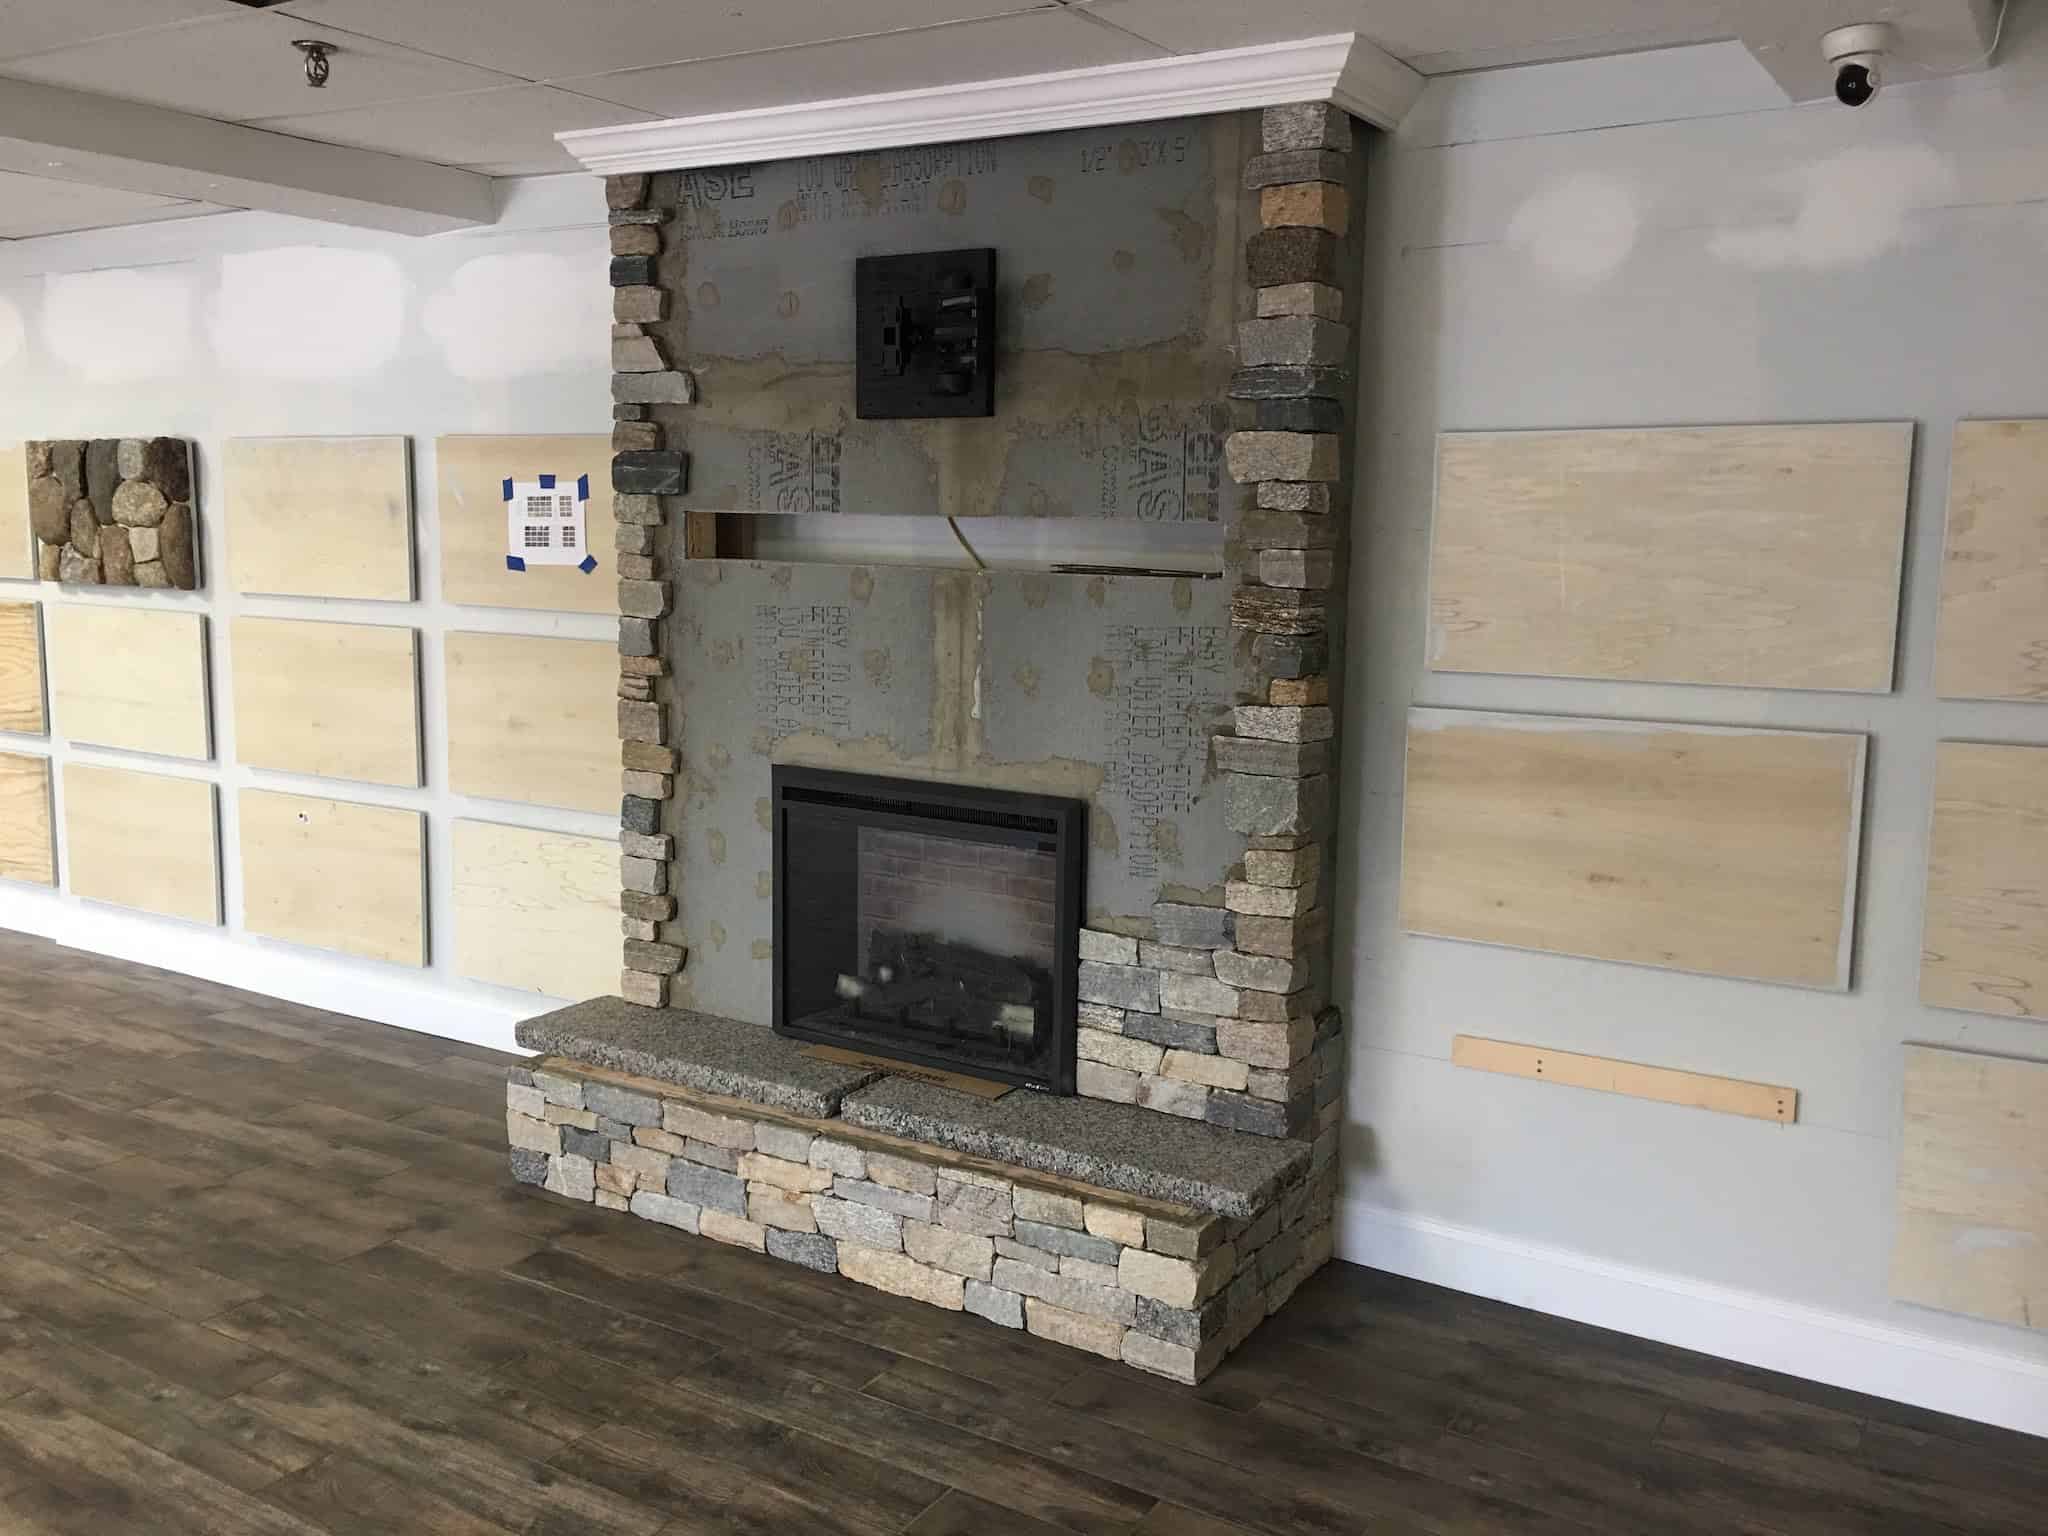
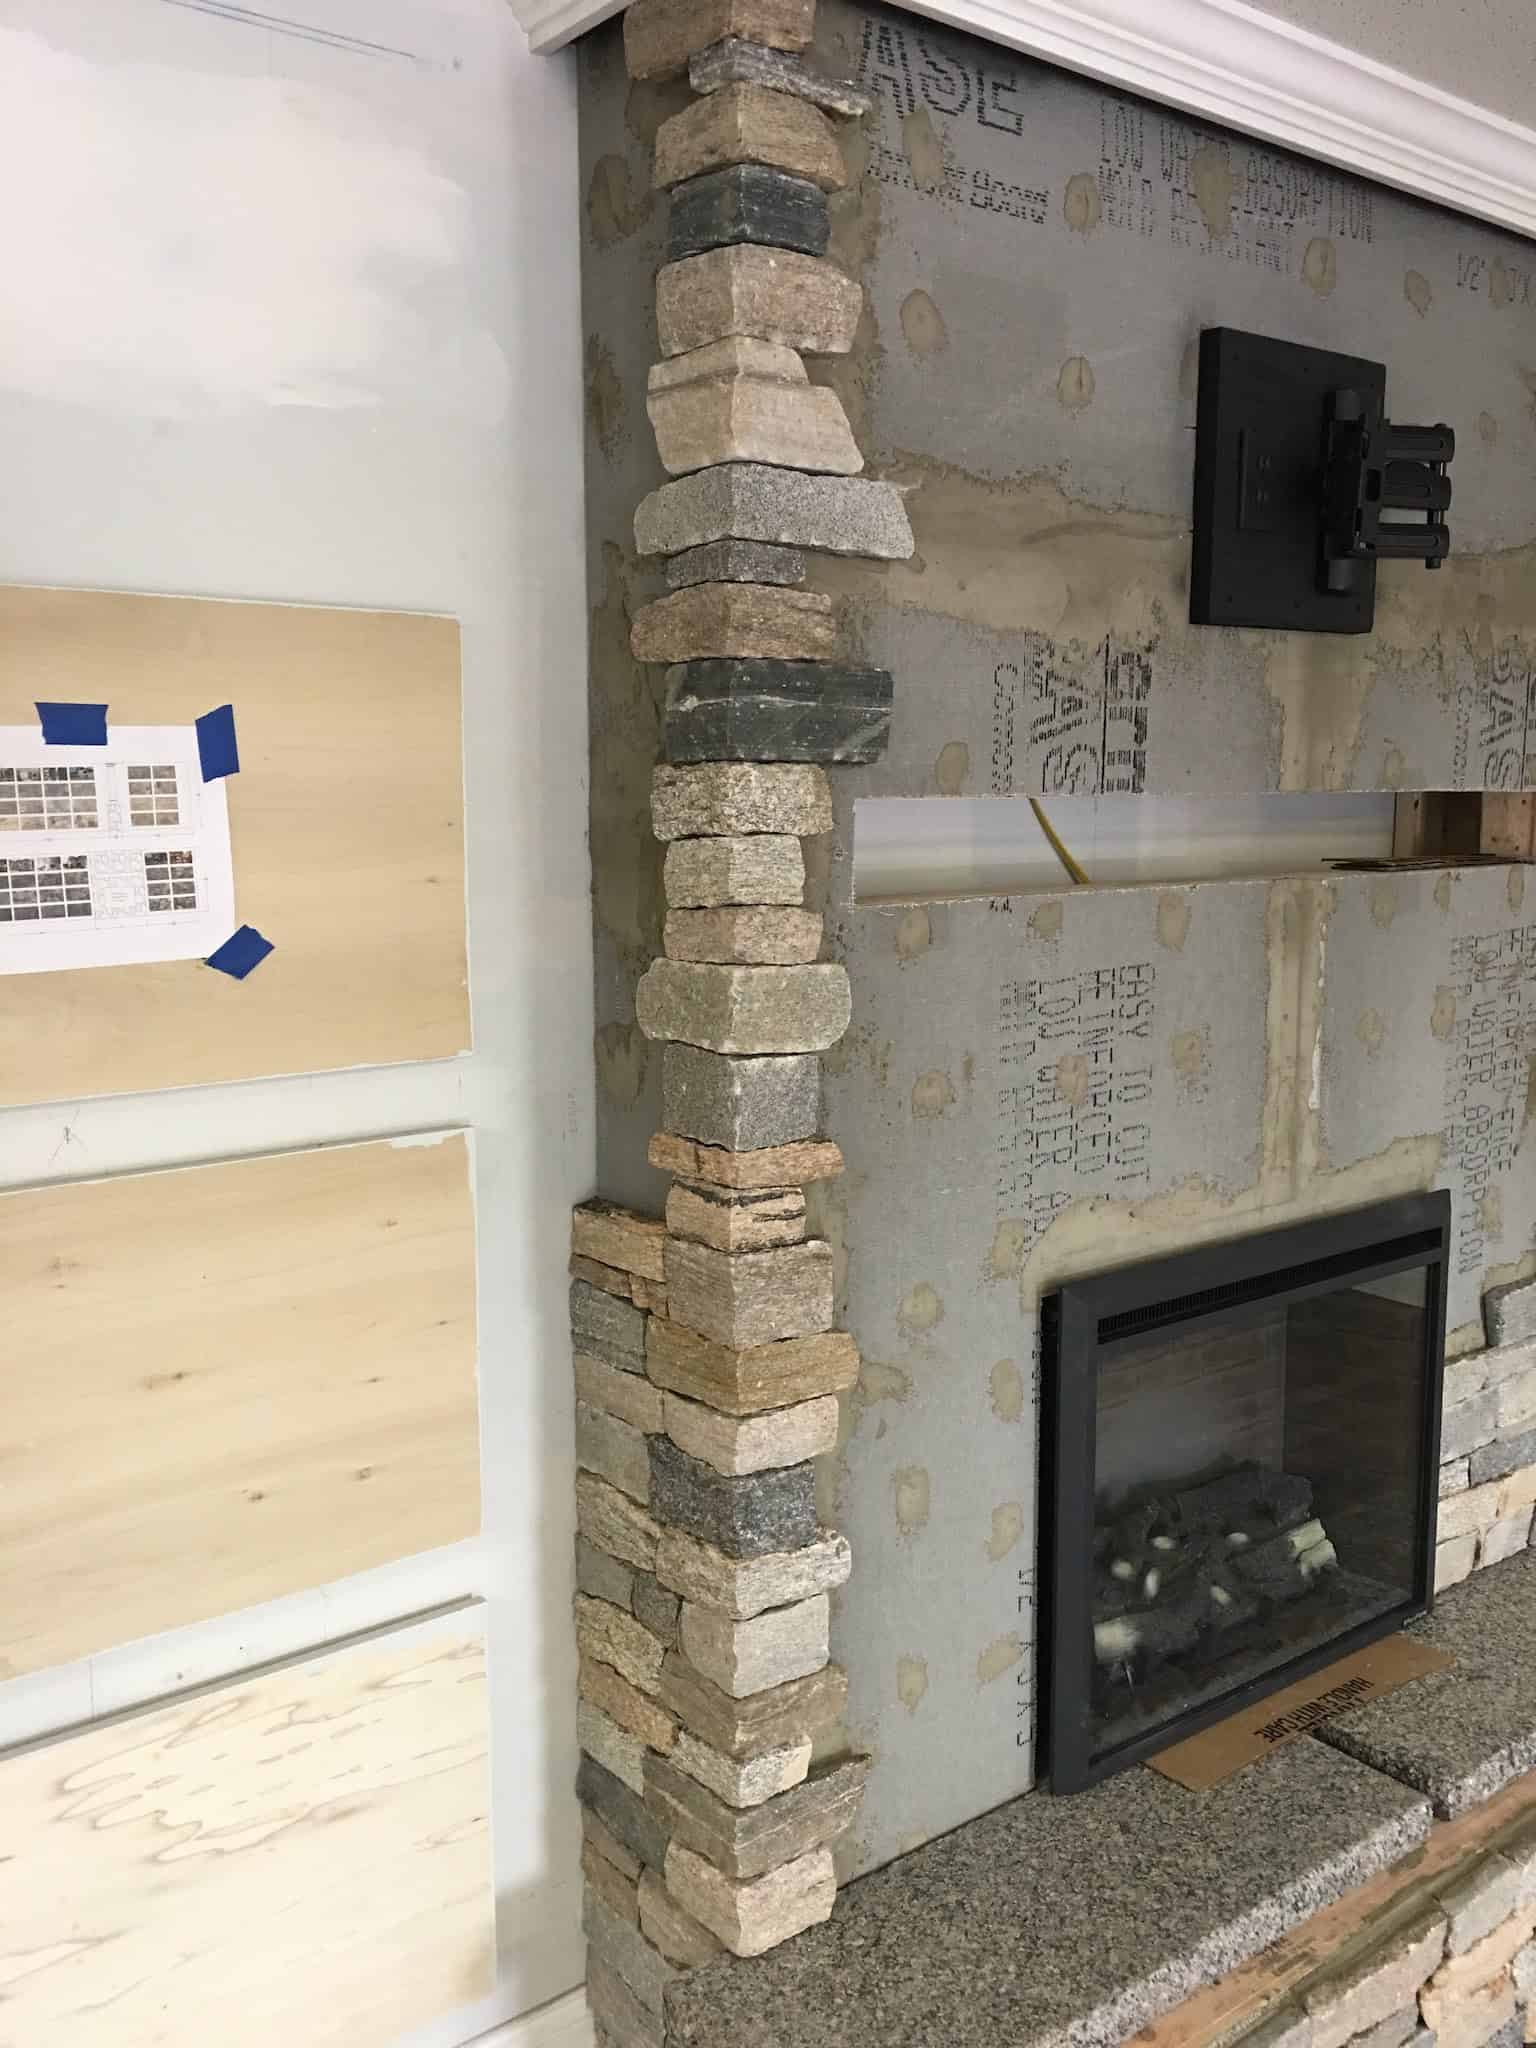
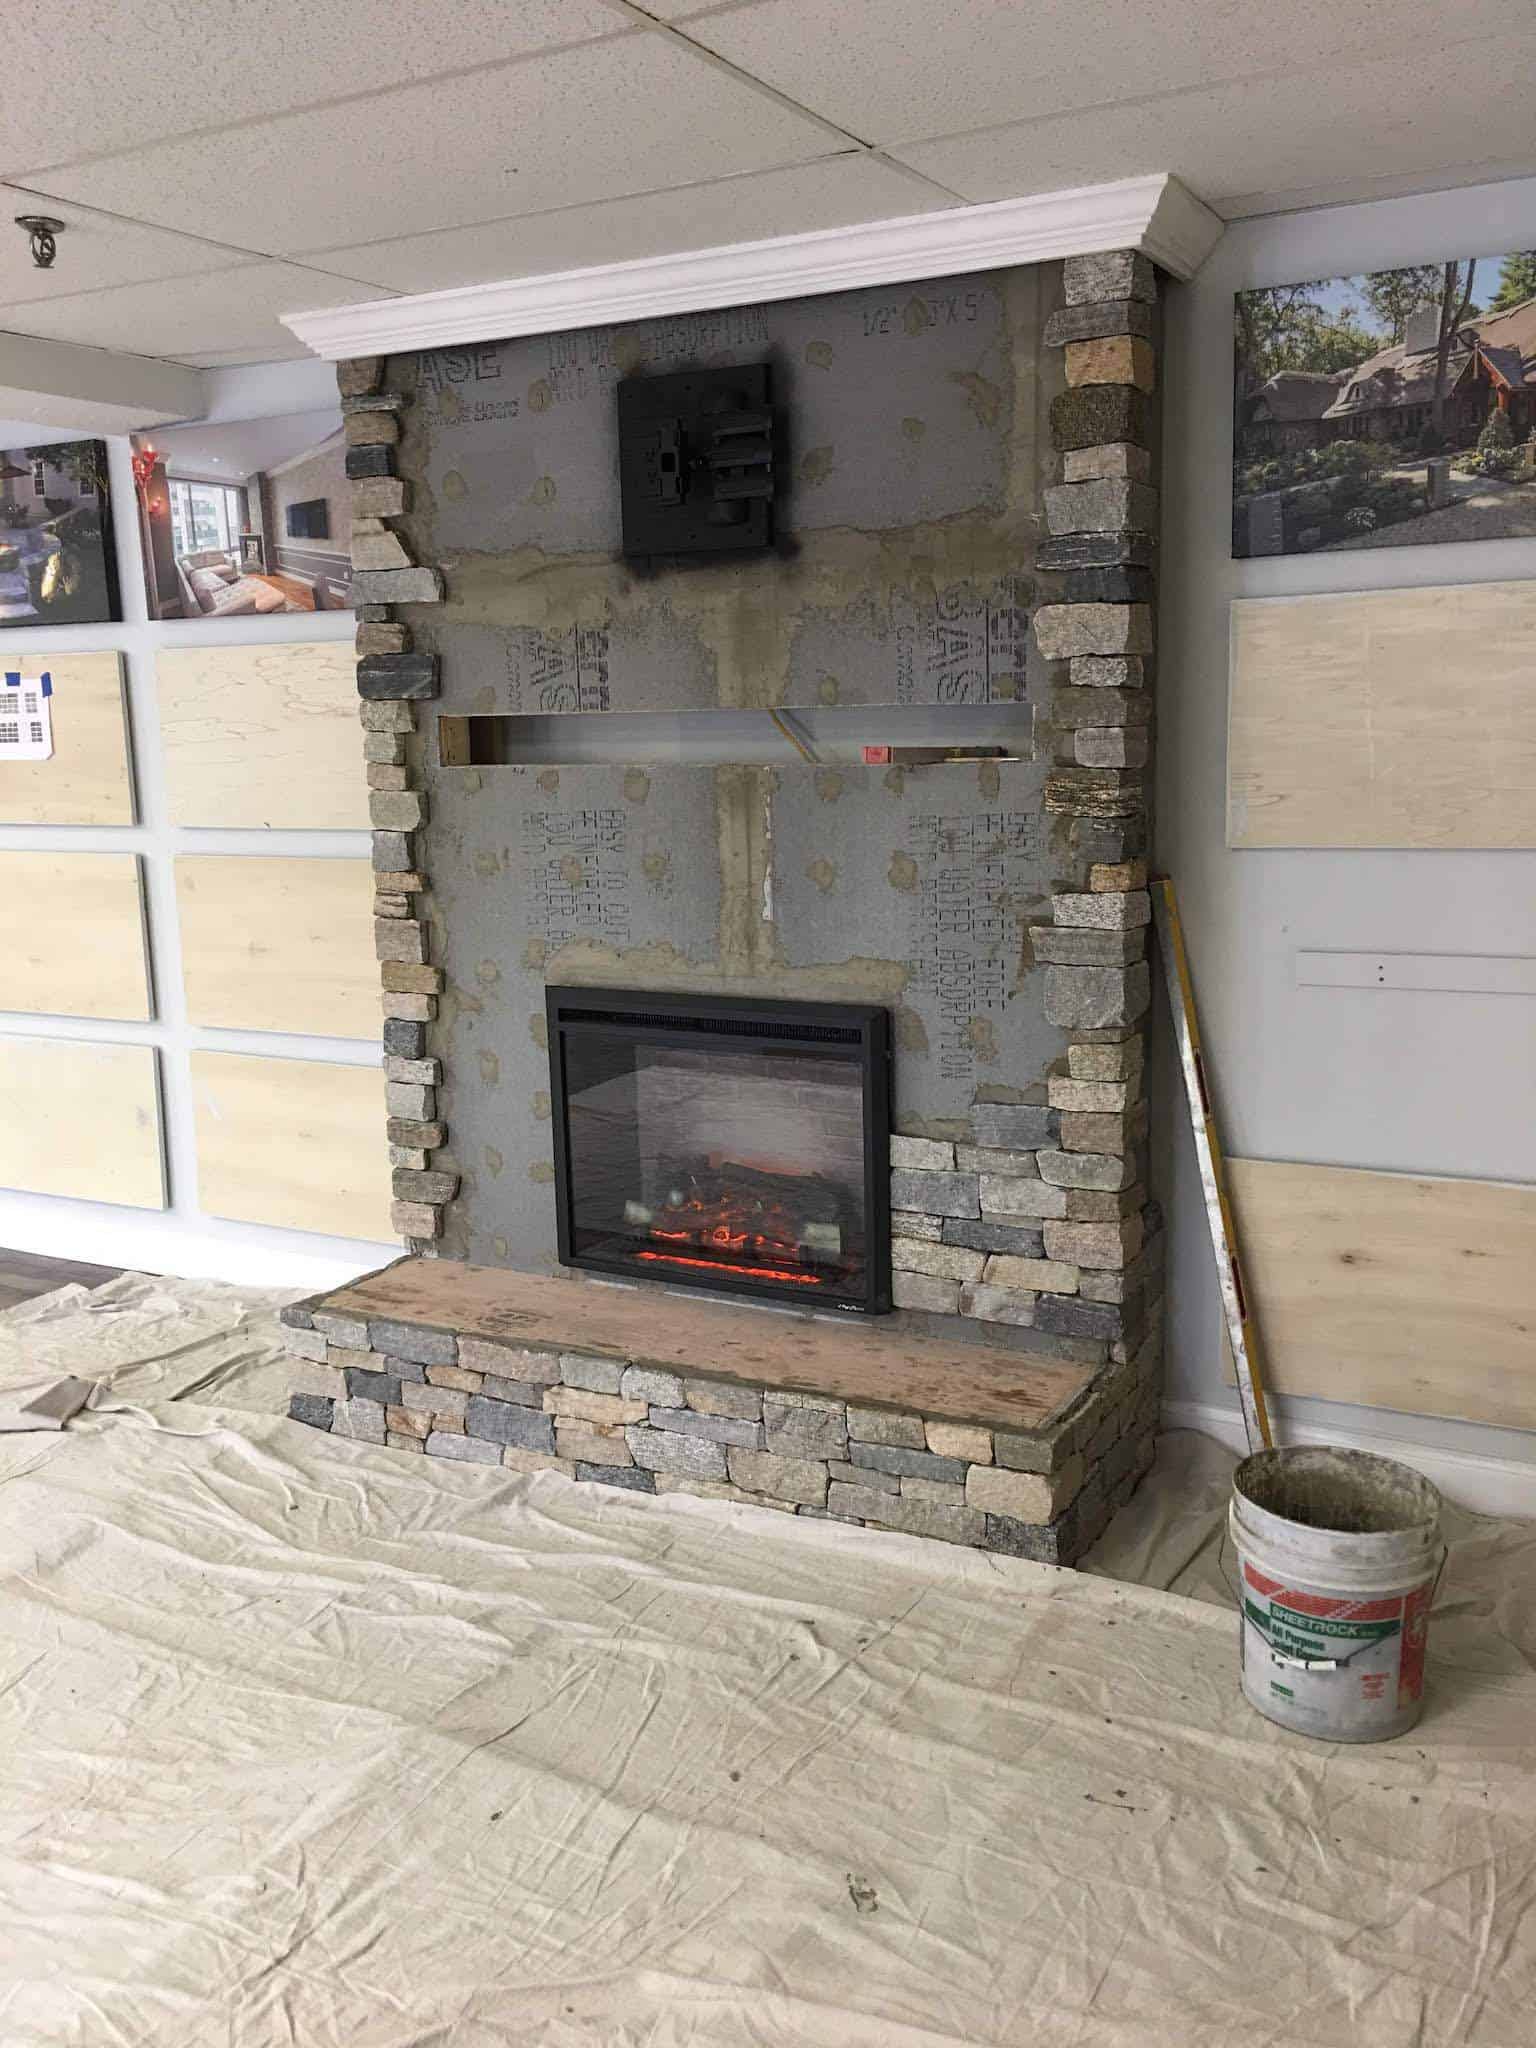
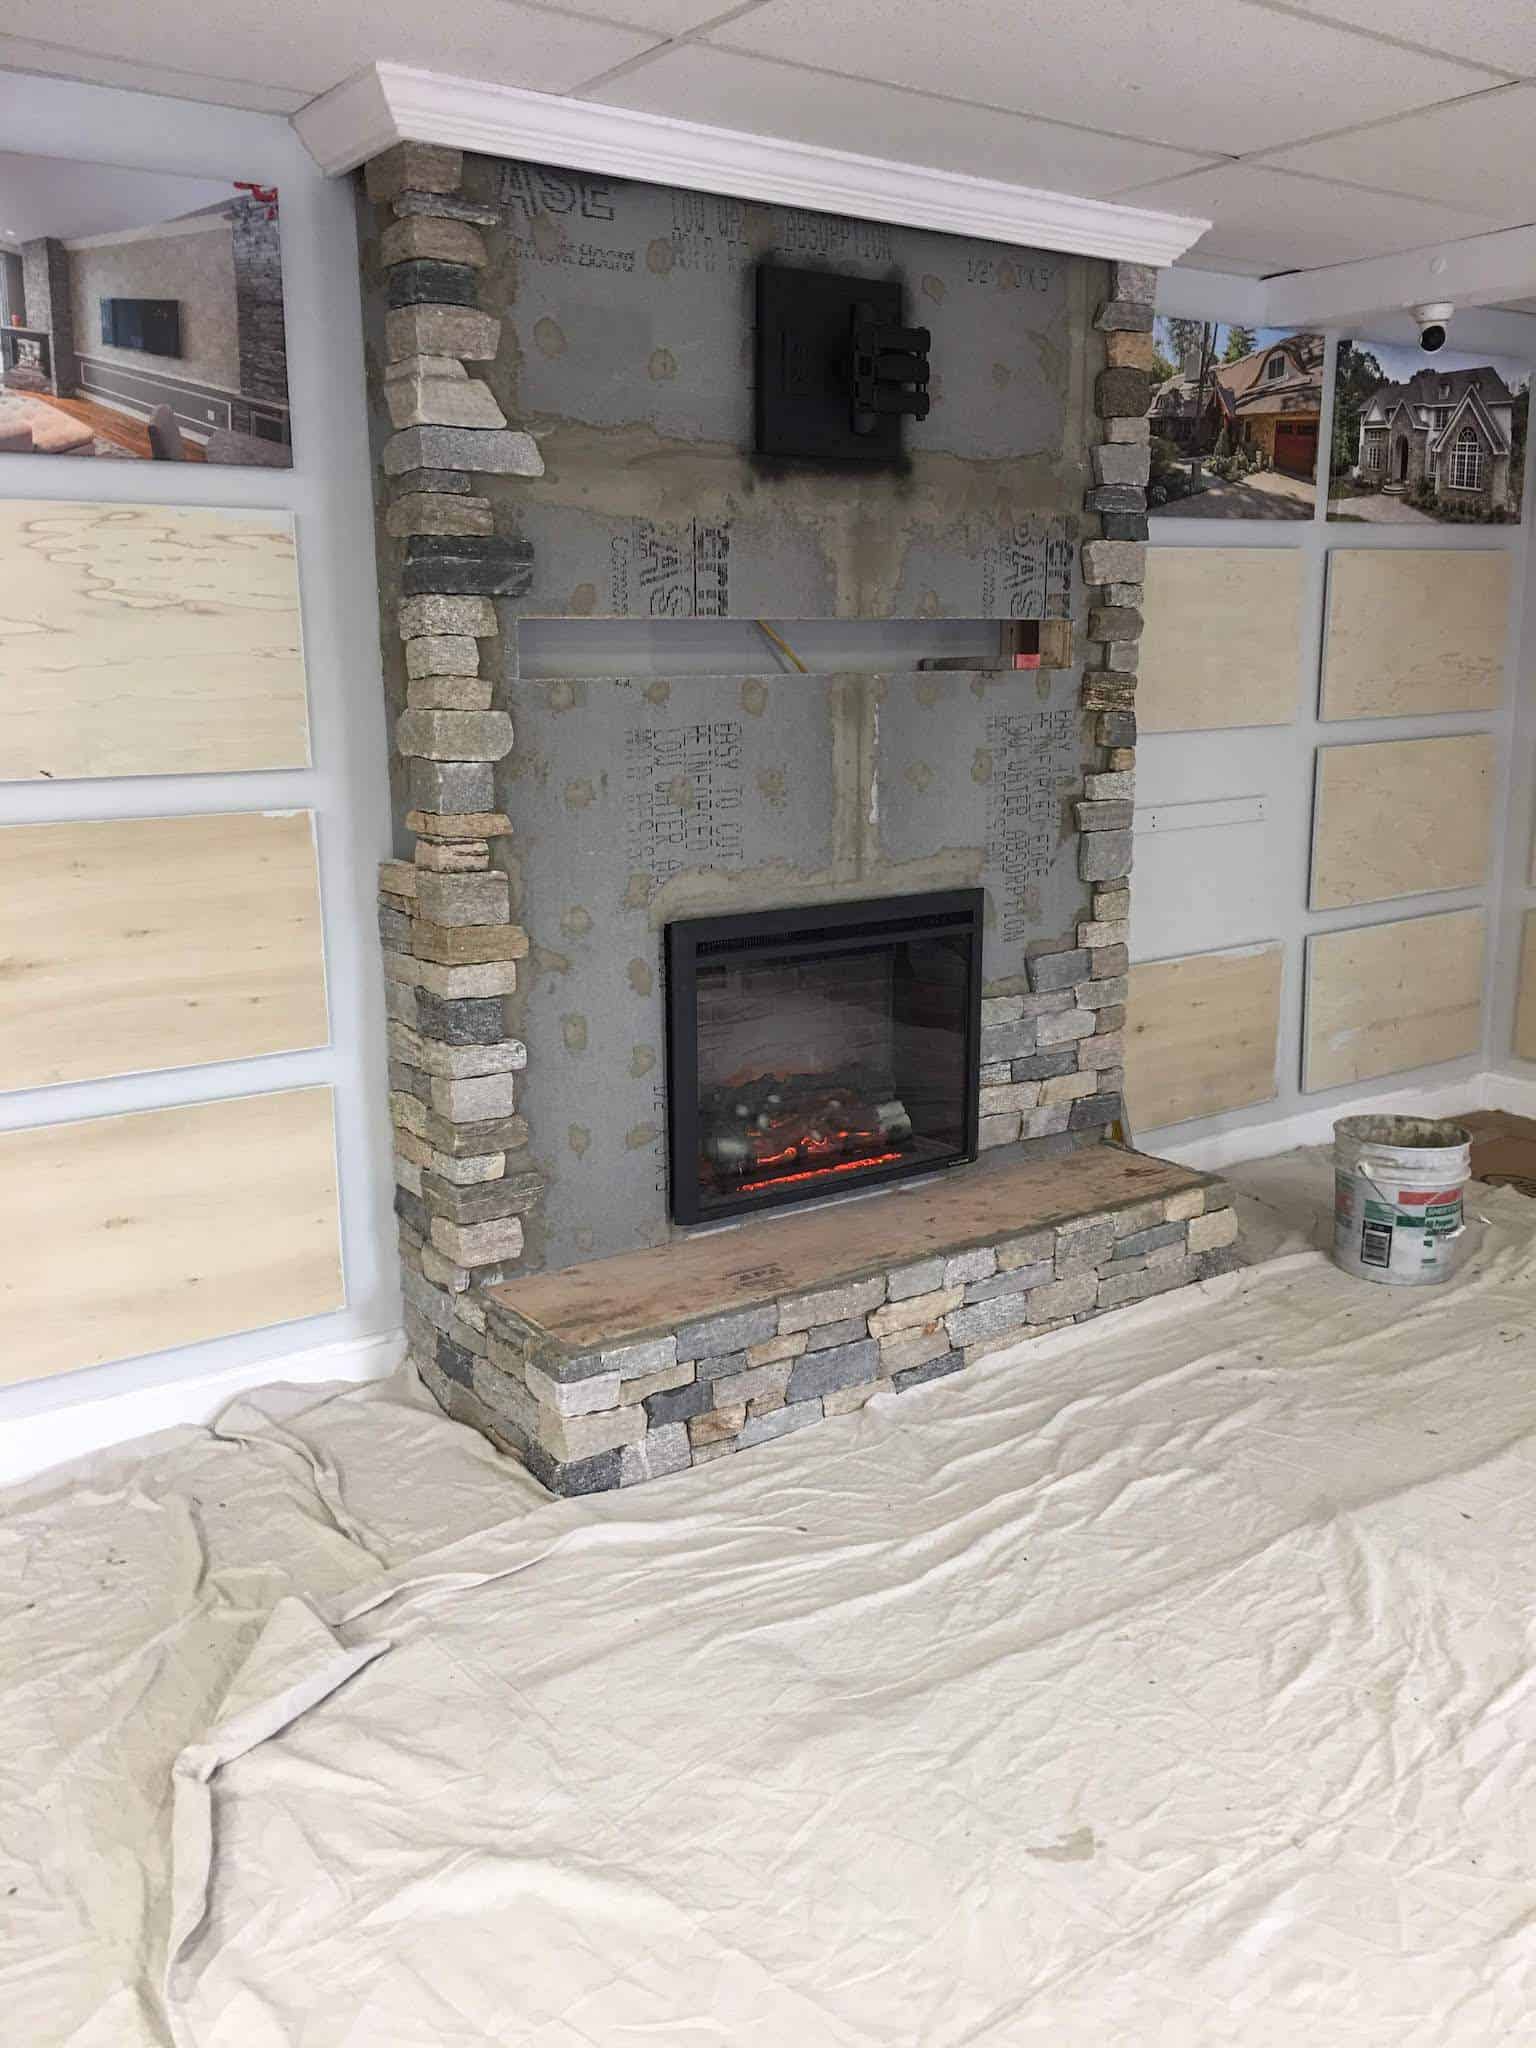
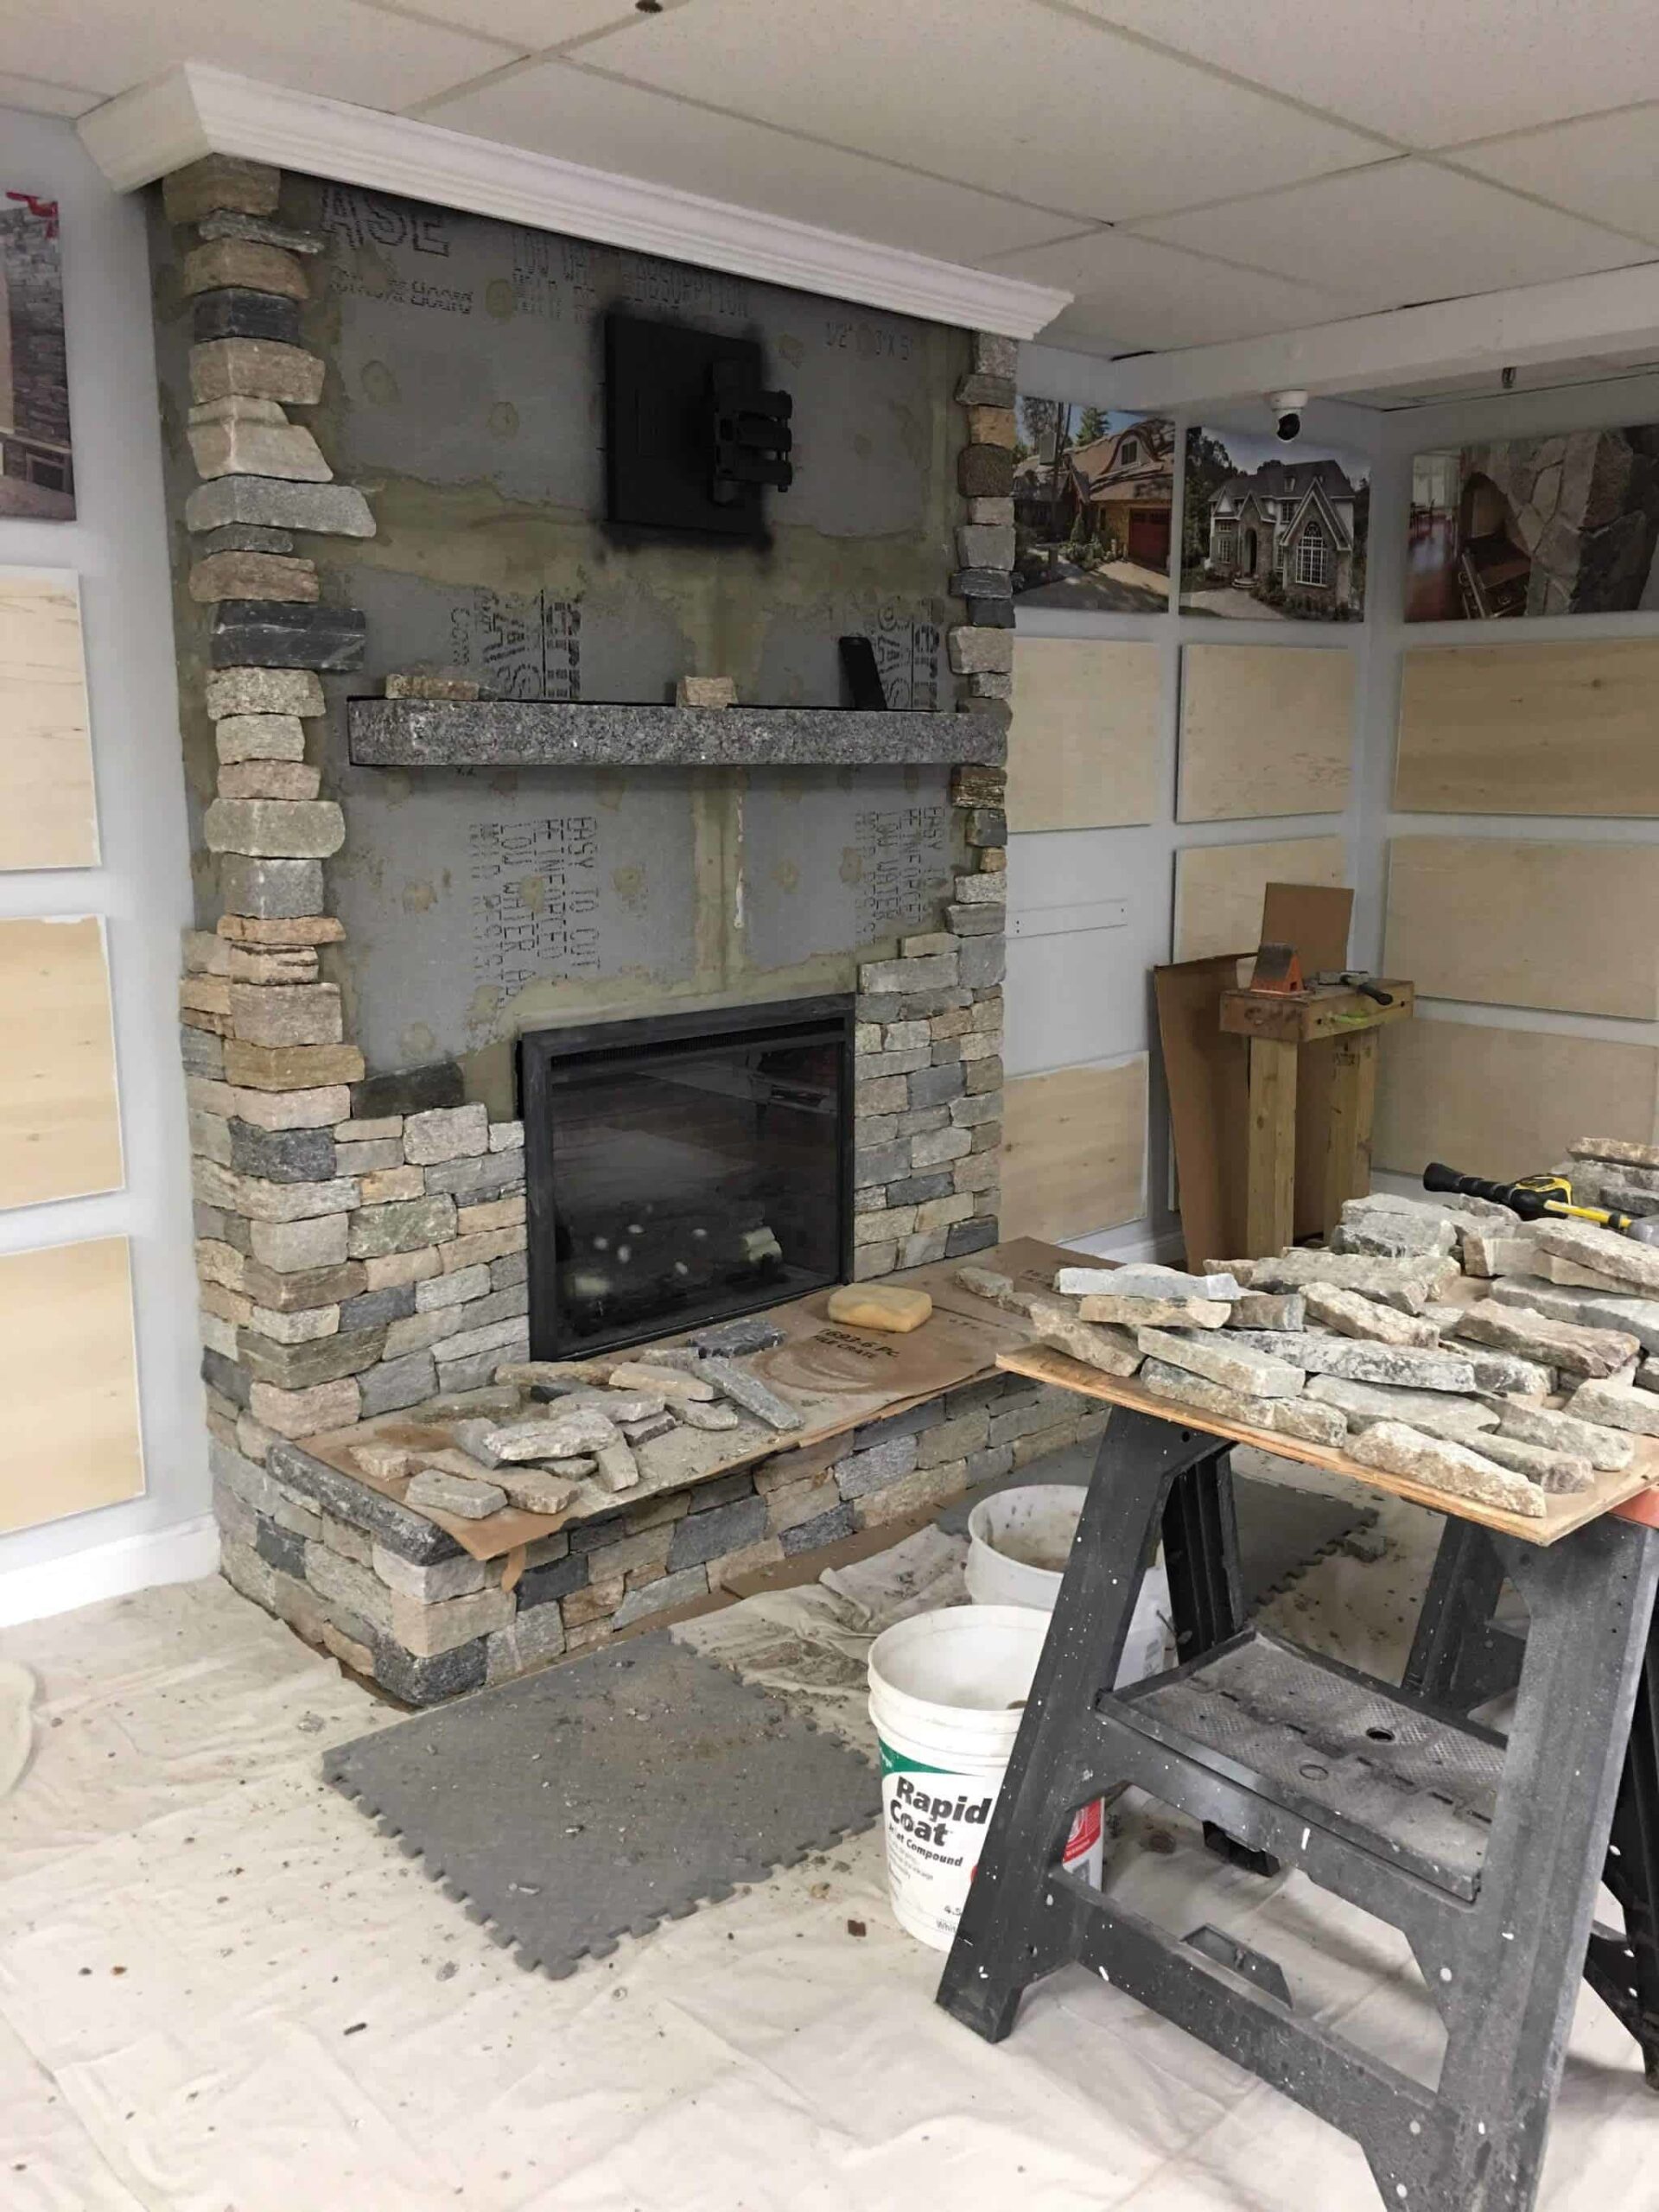
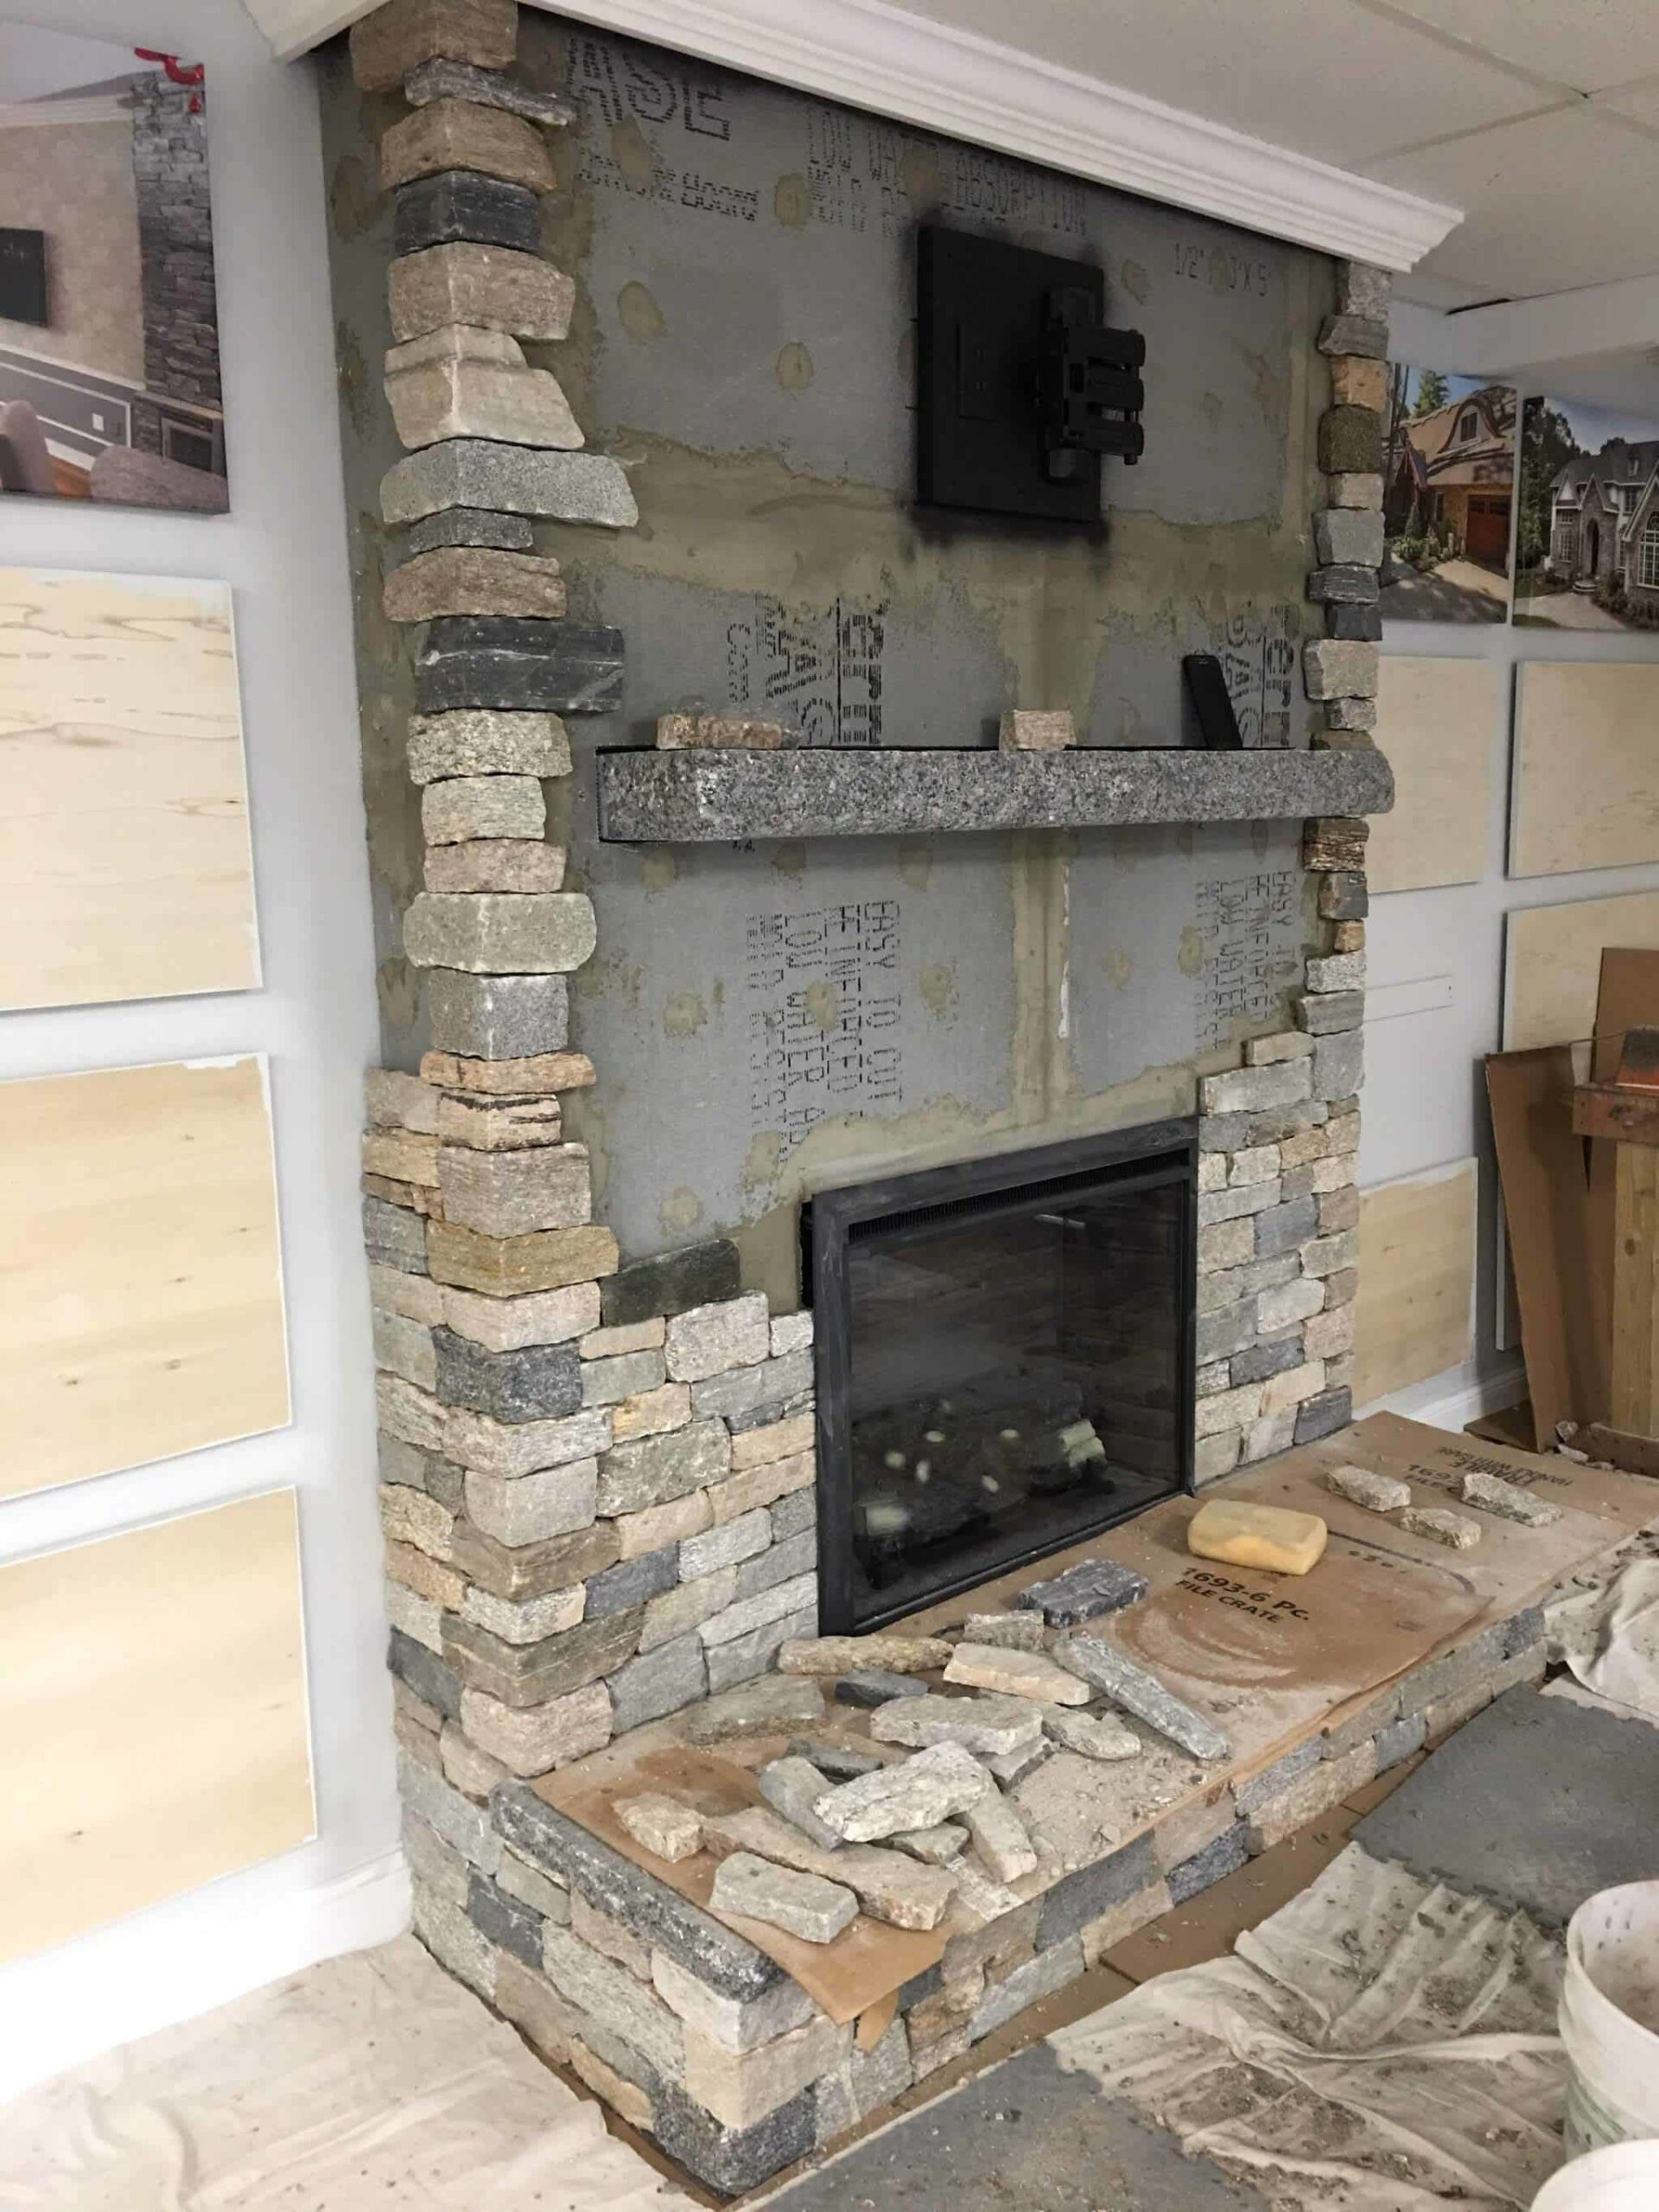
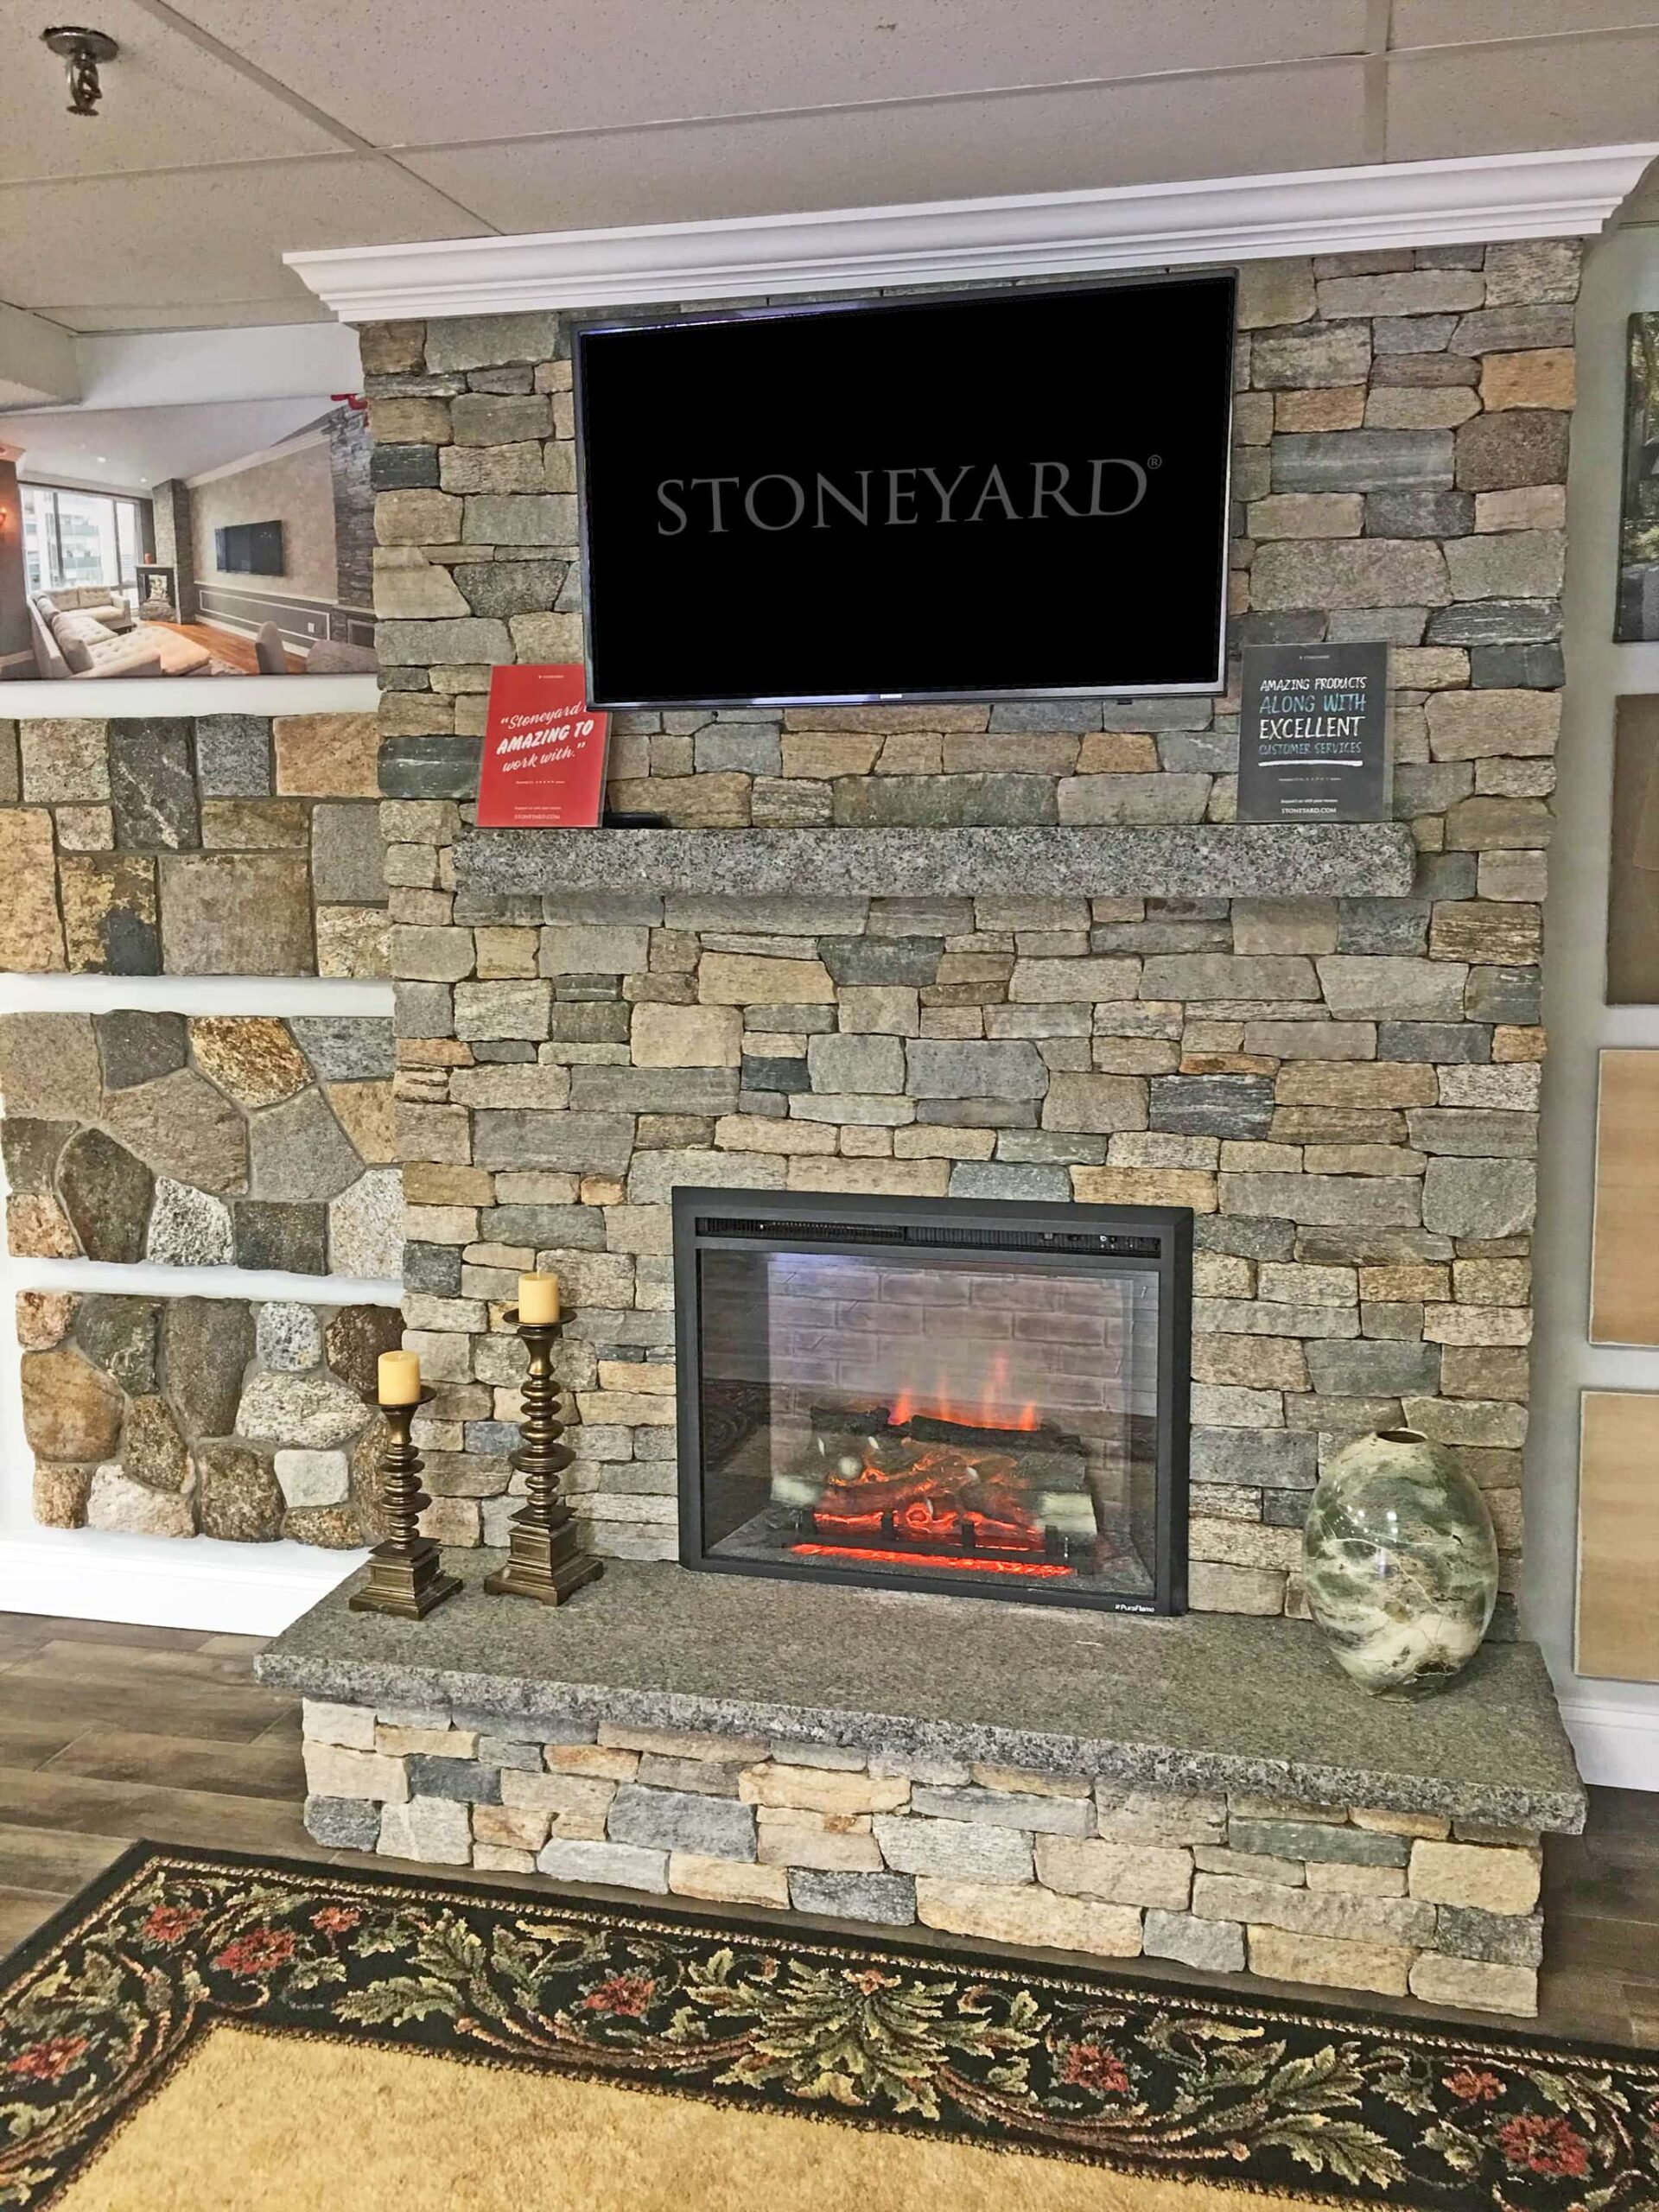
Jeremy Young of Unmistaken Stonecraft built this natural stone fireplace in our showroom in Littleton, MA. Here we show the process of preparing the fireplace, laying out the stone prior to application, and the tight dry-fit final installation. We invite you to visit our showroom to see this beautiful fireplace in person! To see the process in order with installation tips at each stage of the process, watch the 3 minute video below, then go back and inspect each photo to see exactly how the process unfolds and ties to each tip.
Thin Veneer Installation Tips:
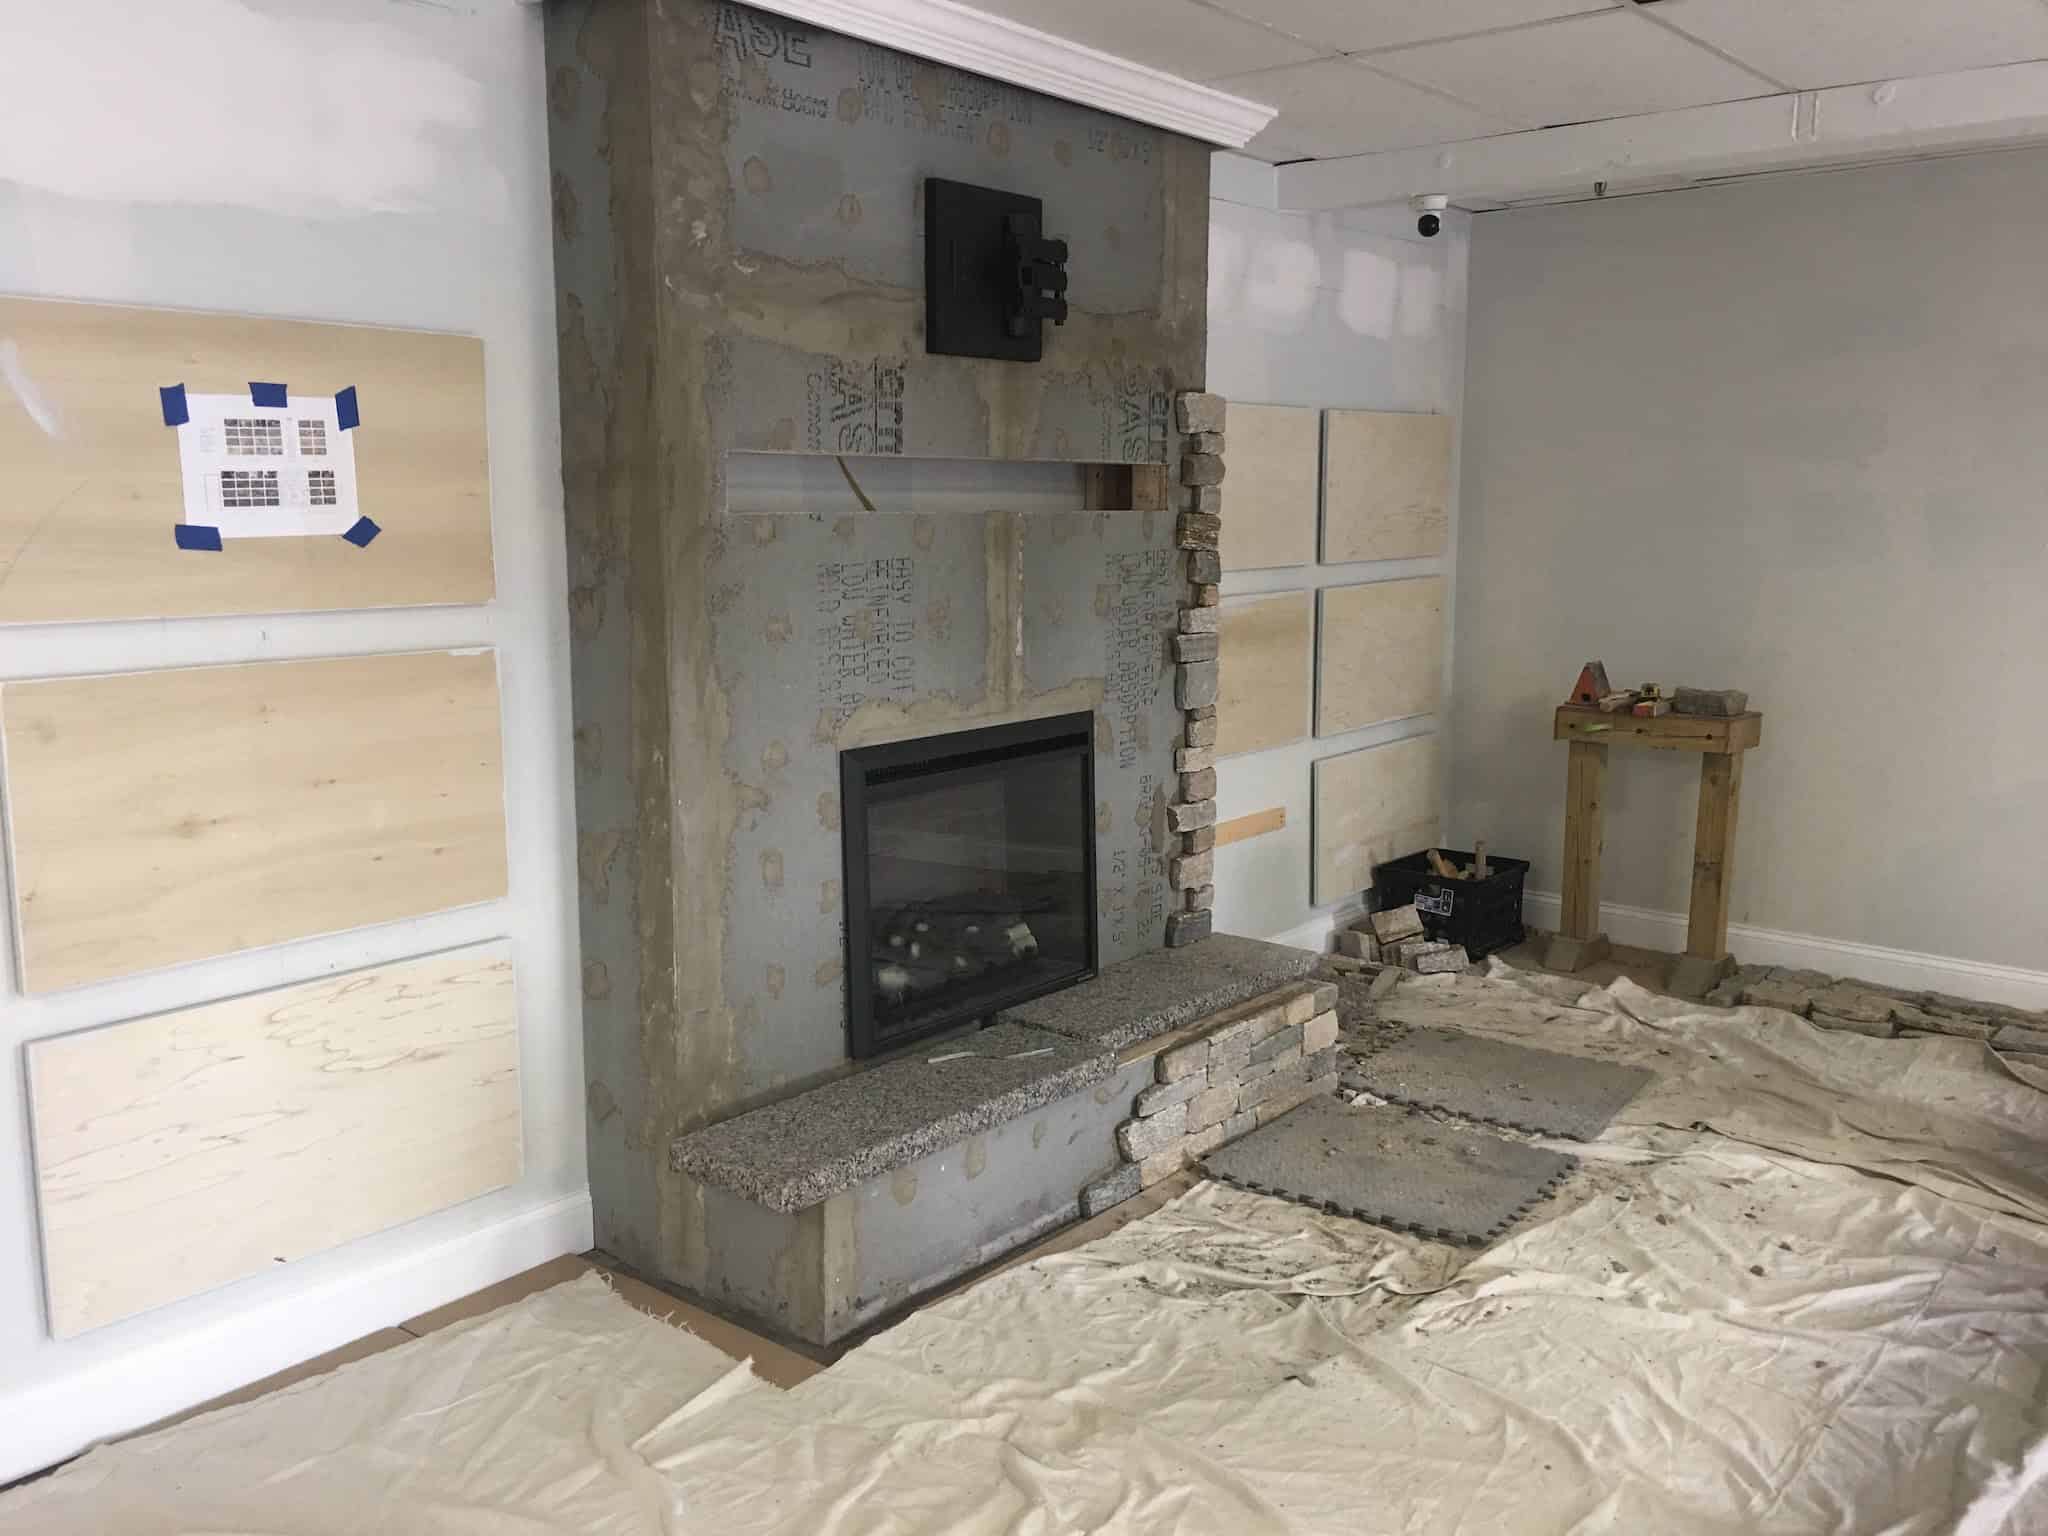
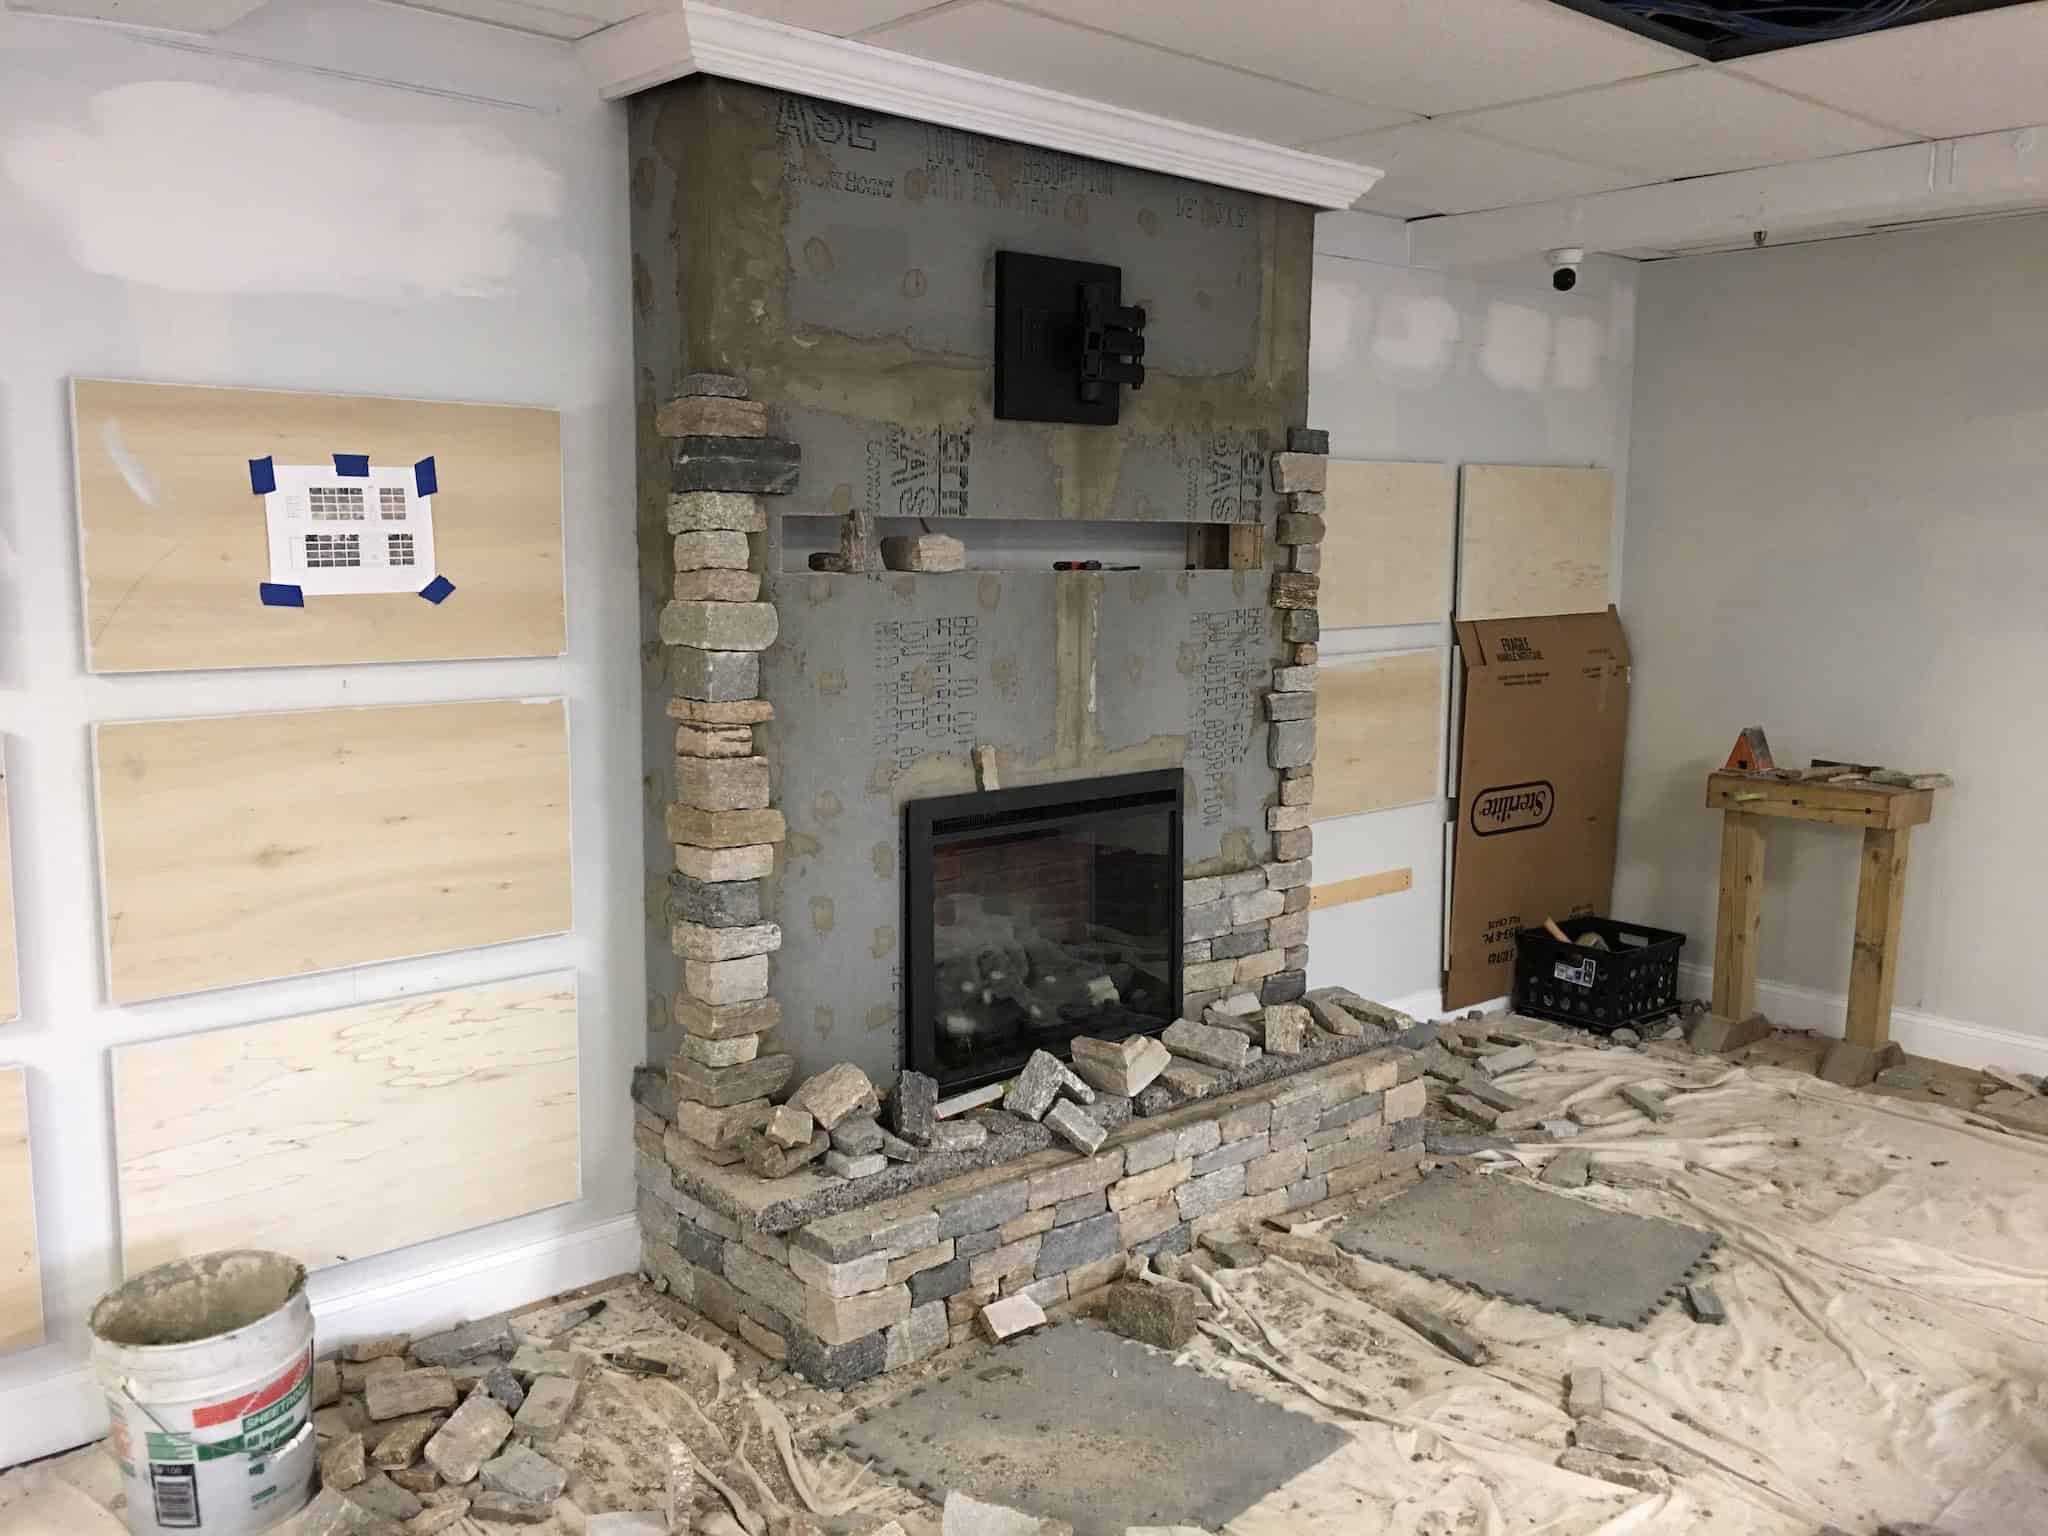
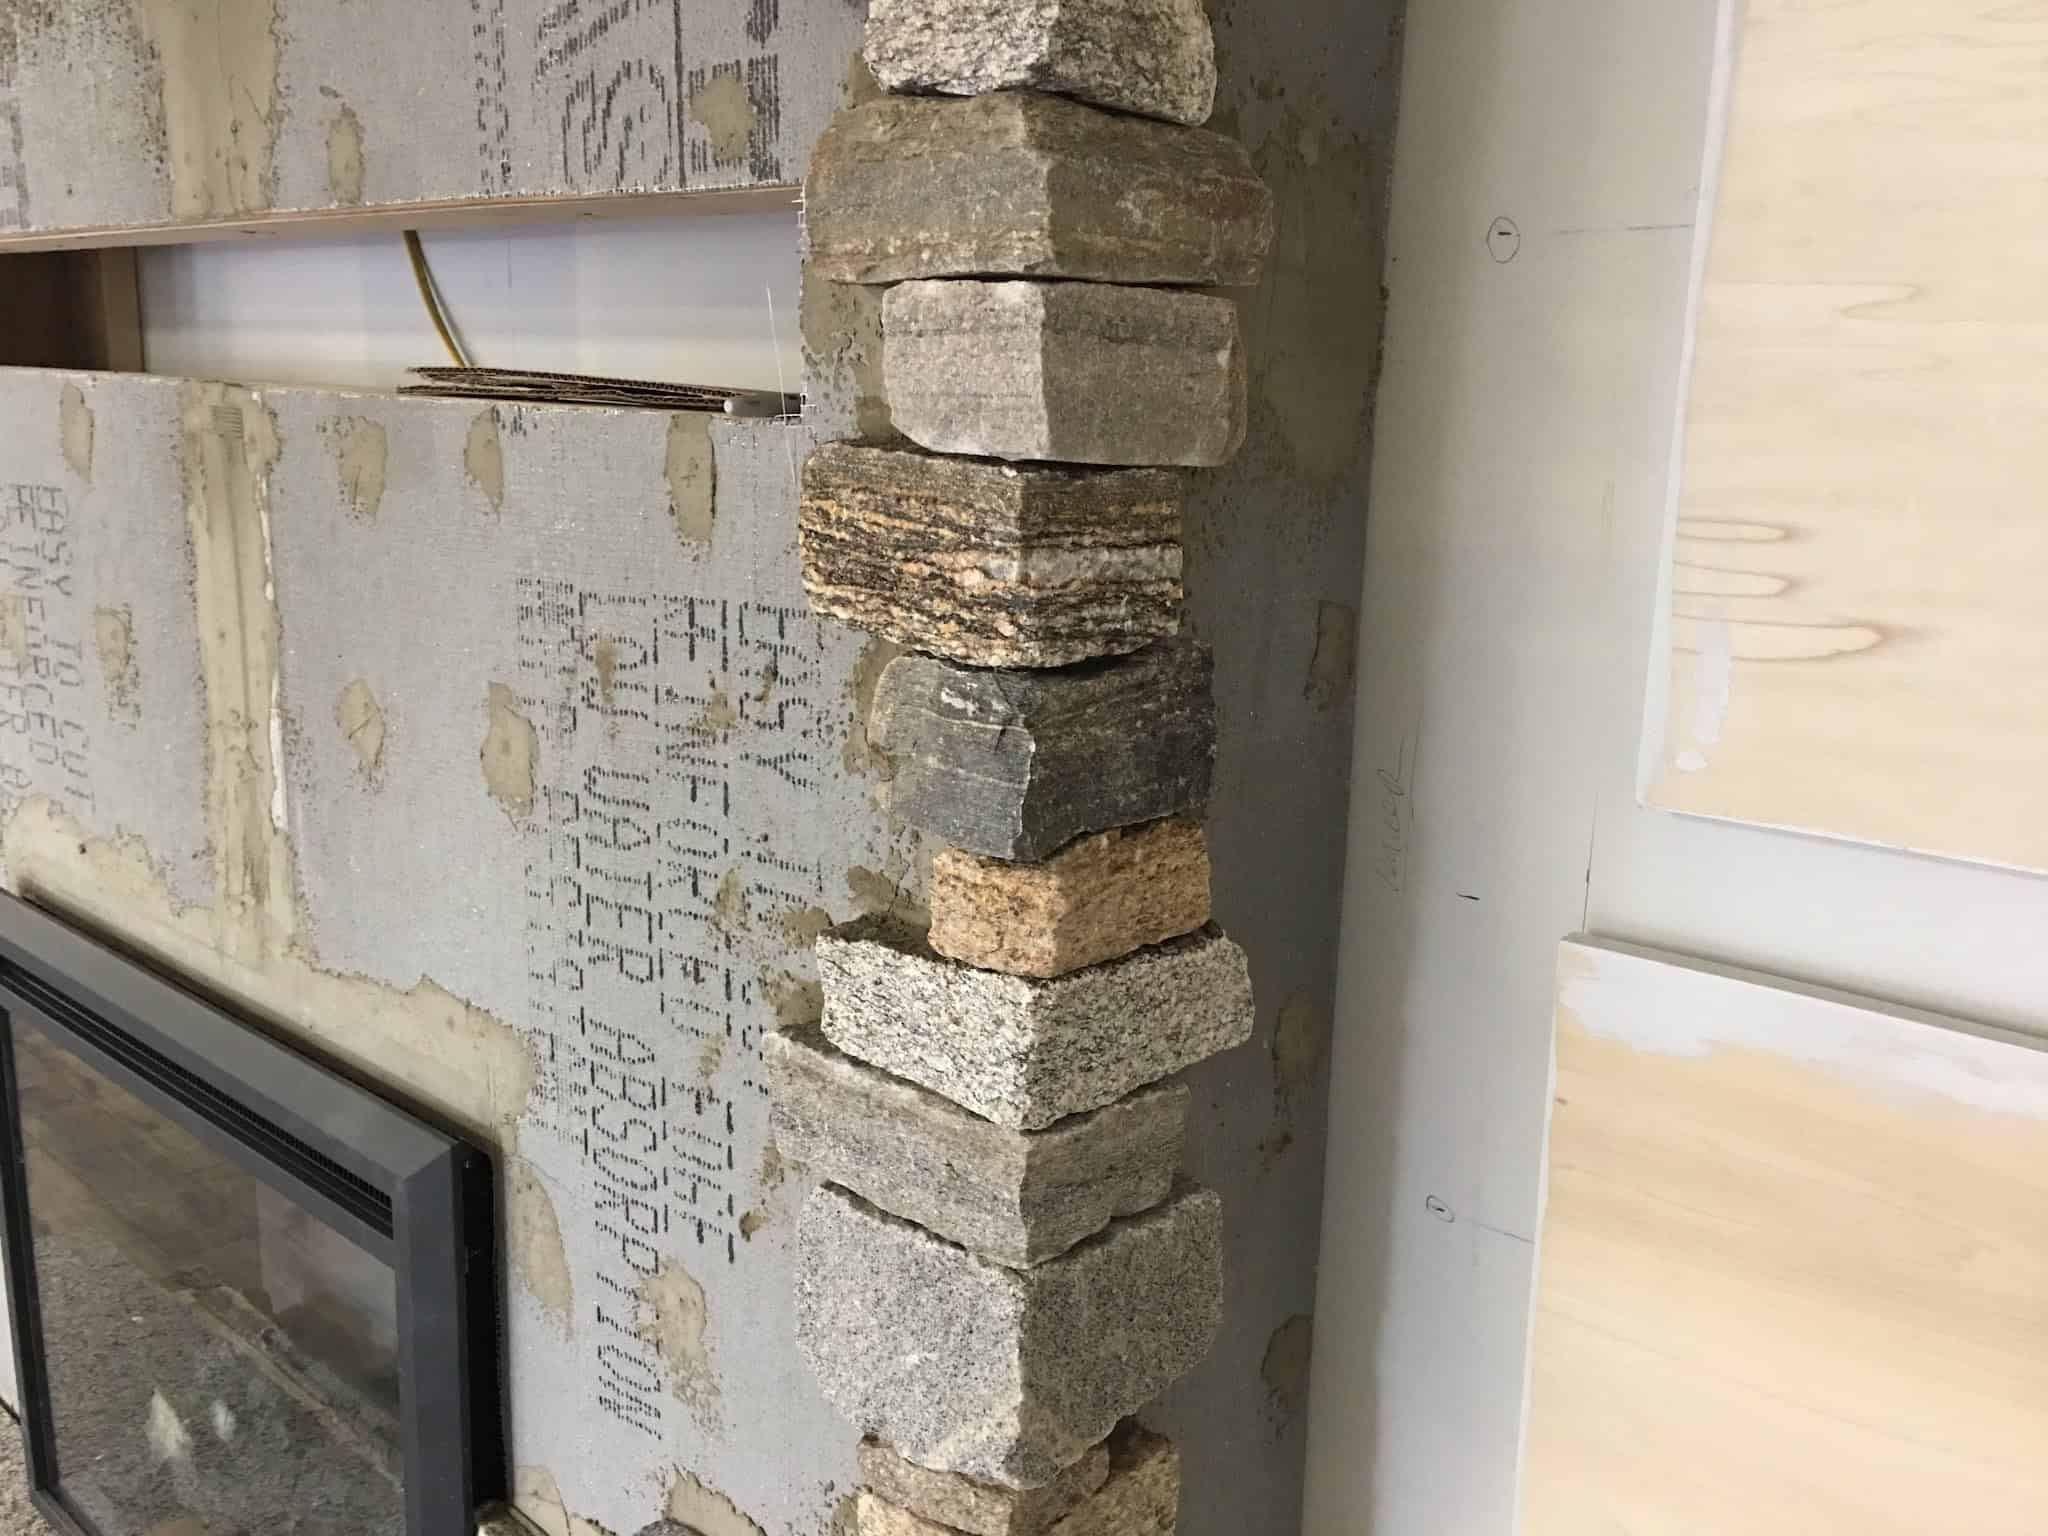
- Always start your install with corners, from the bottom up
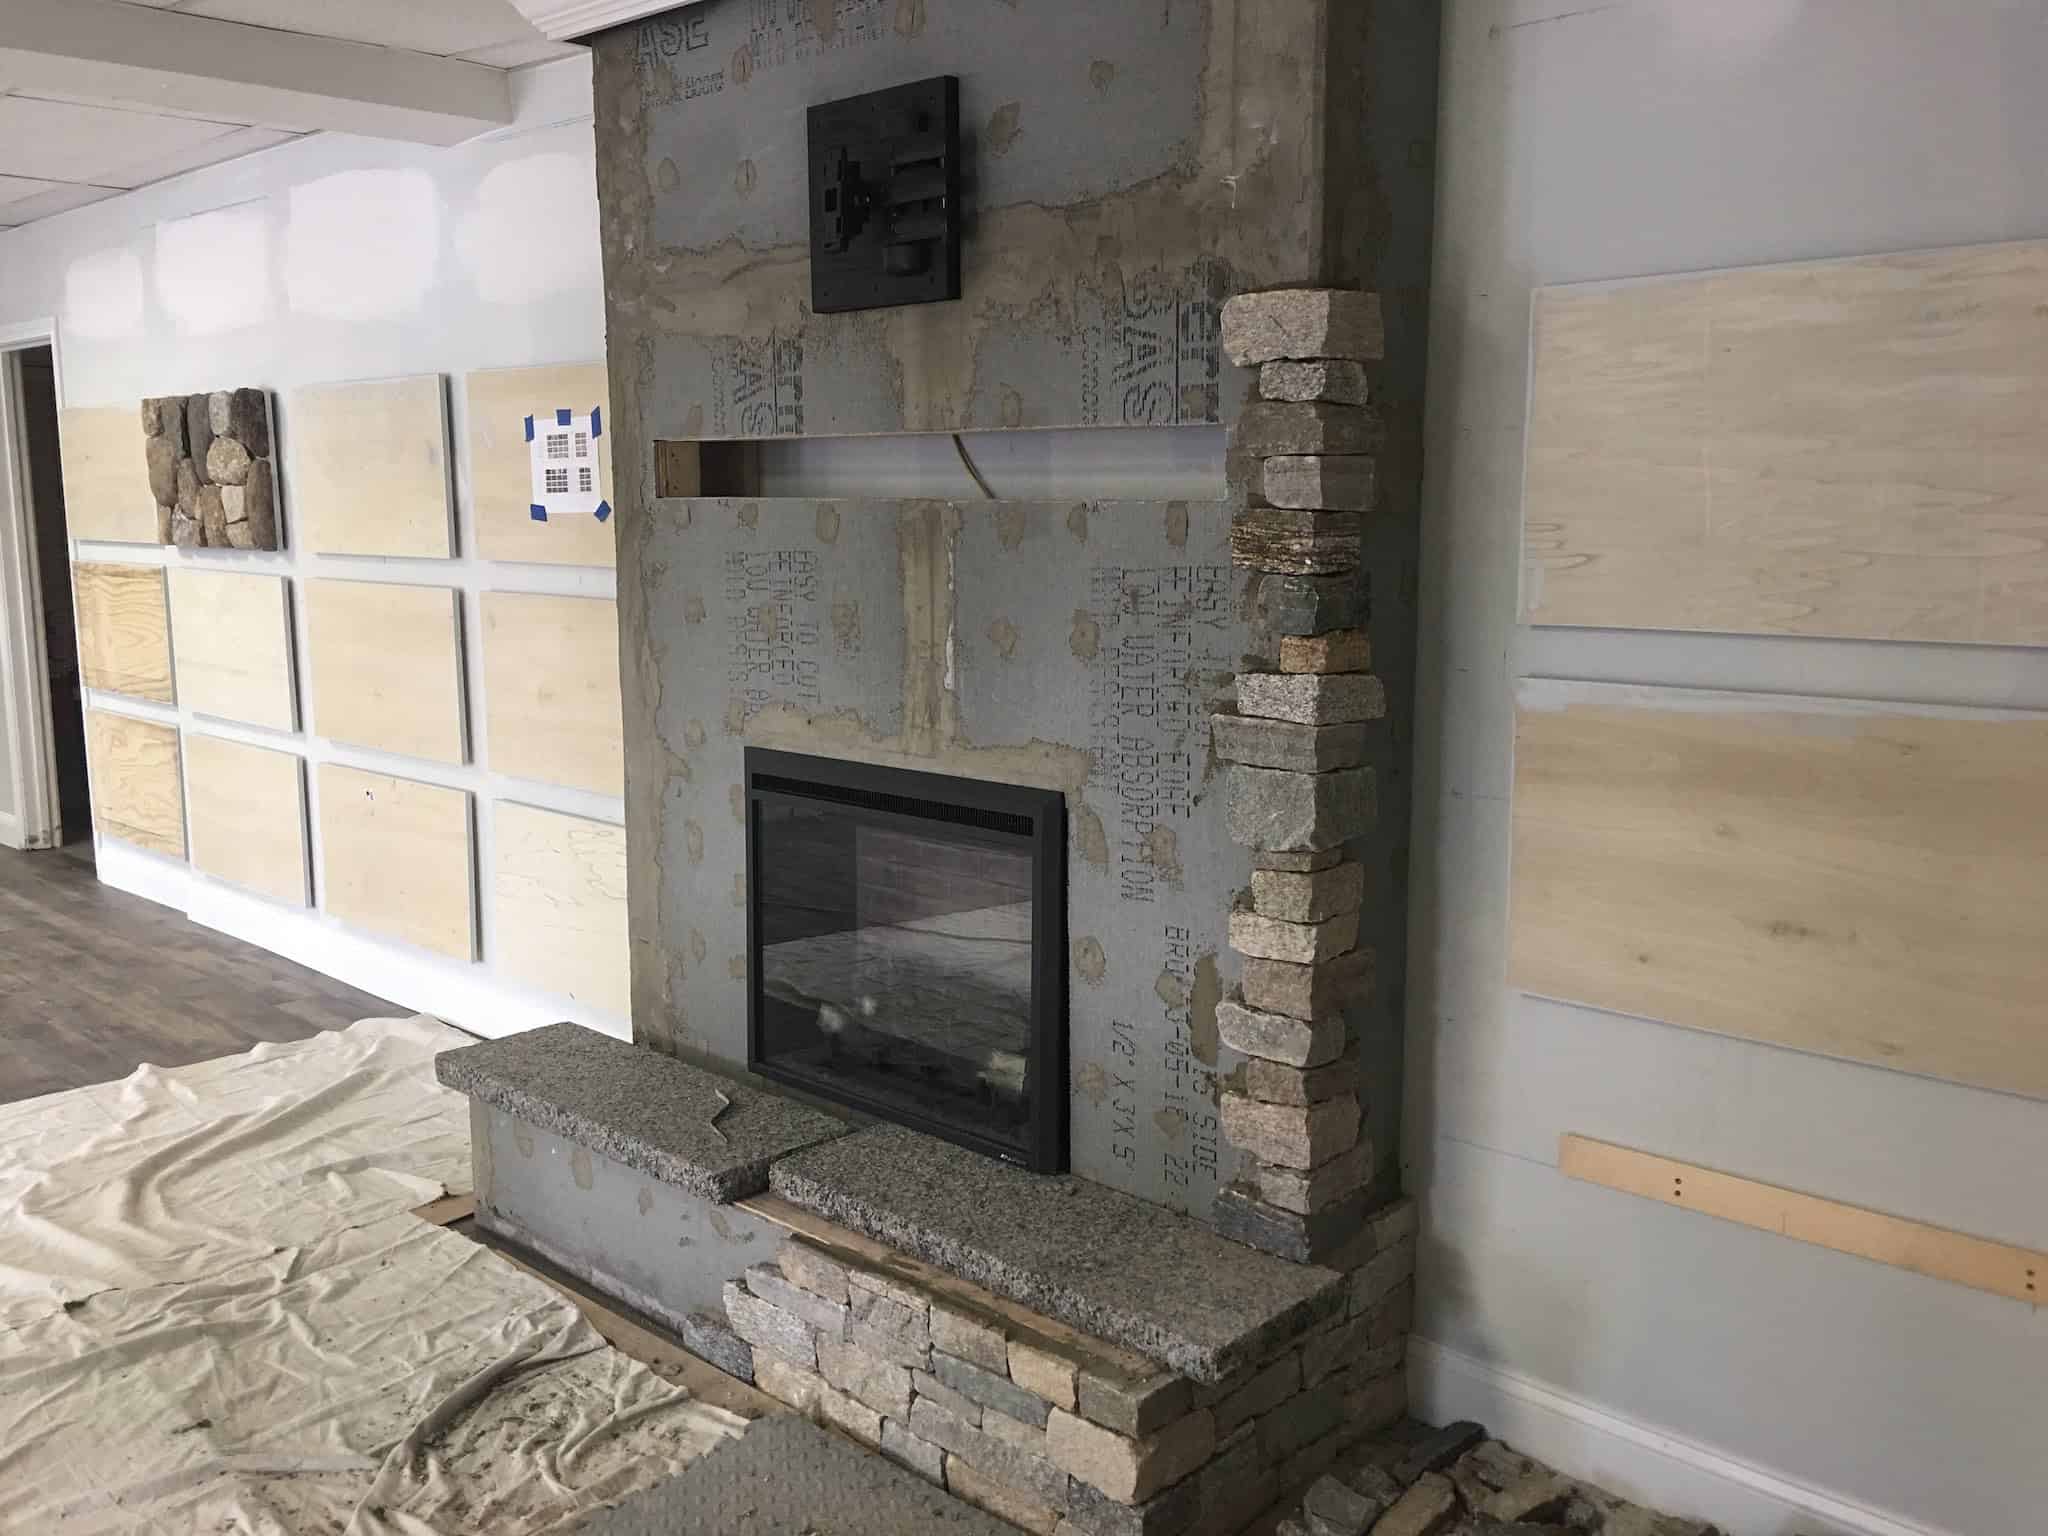
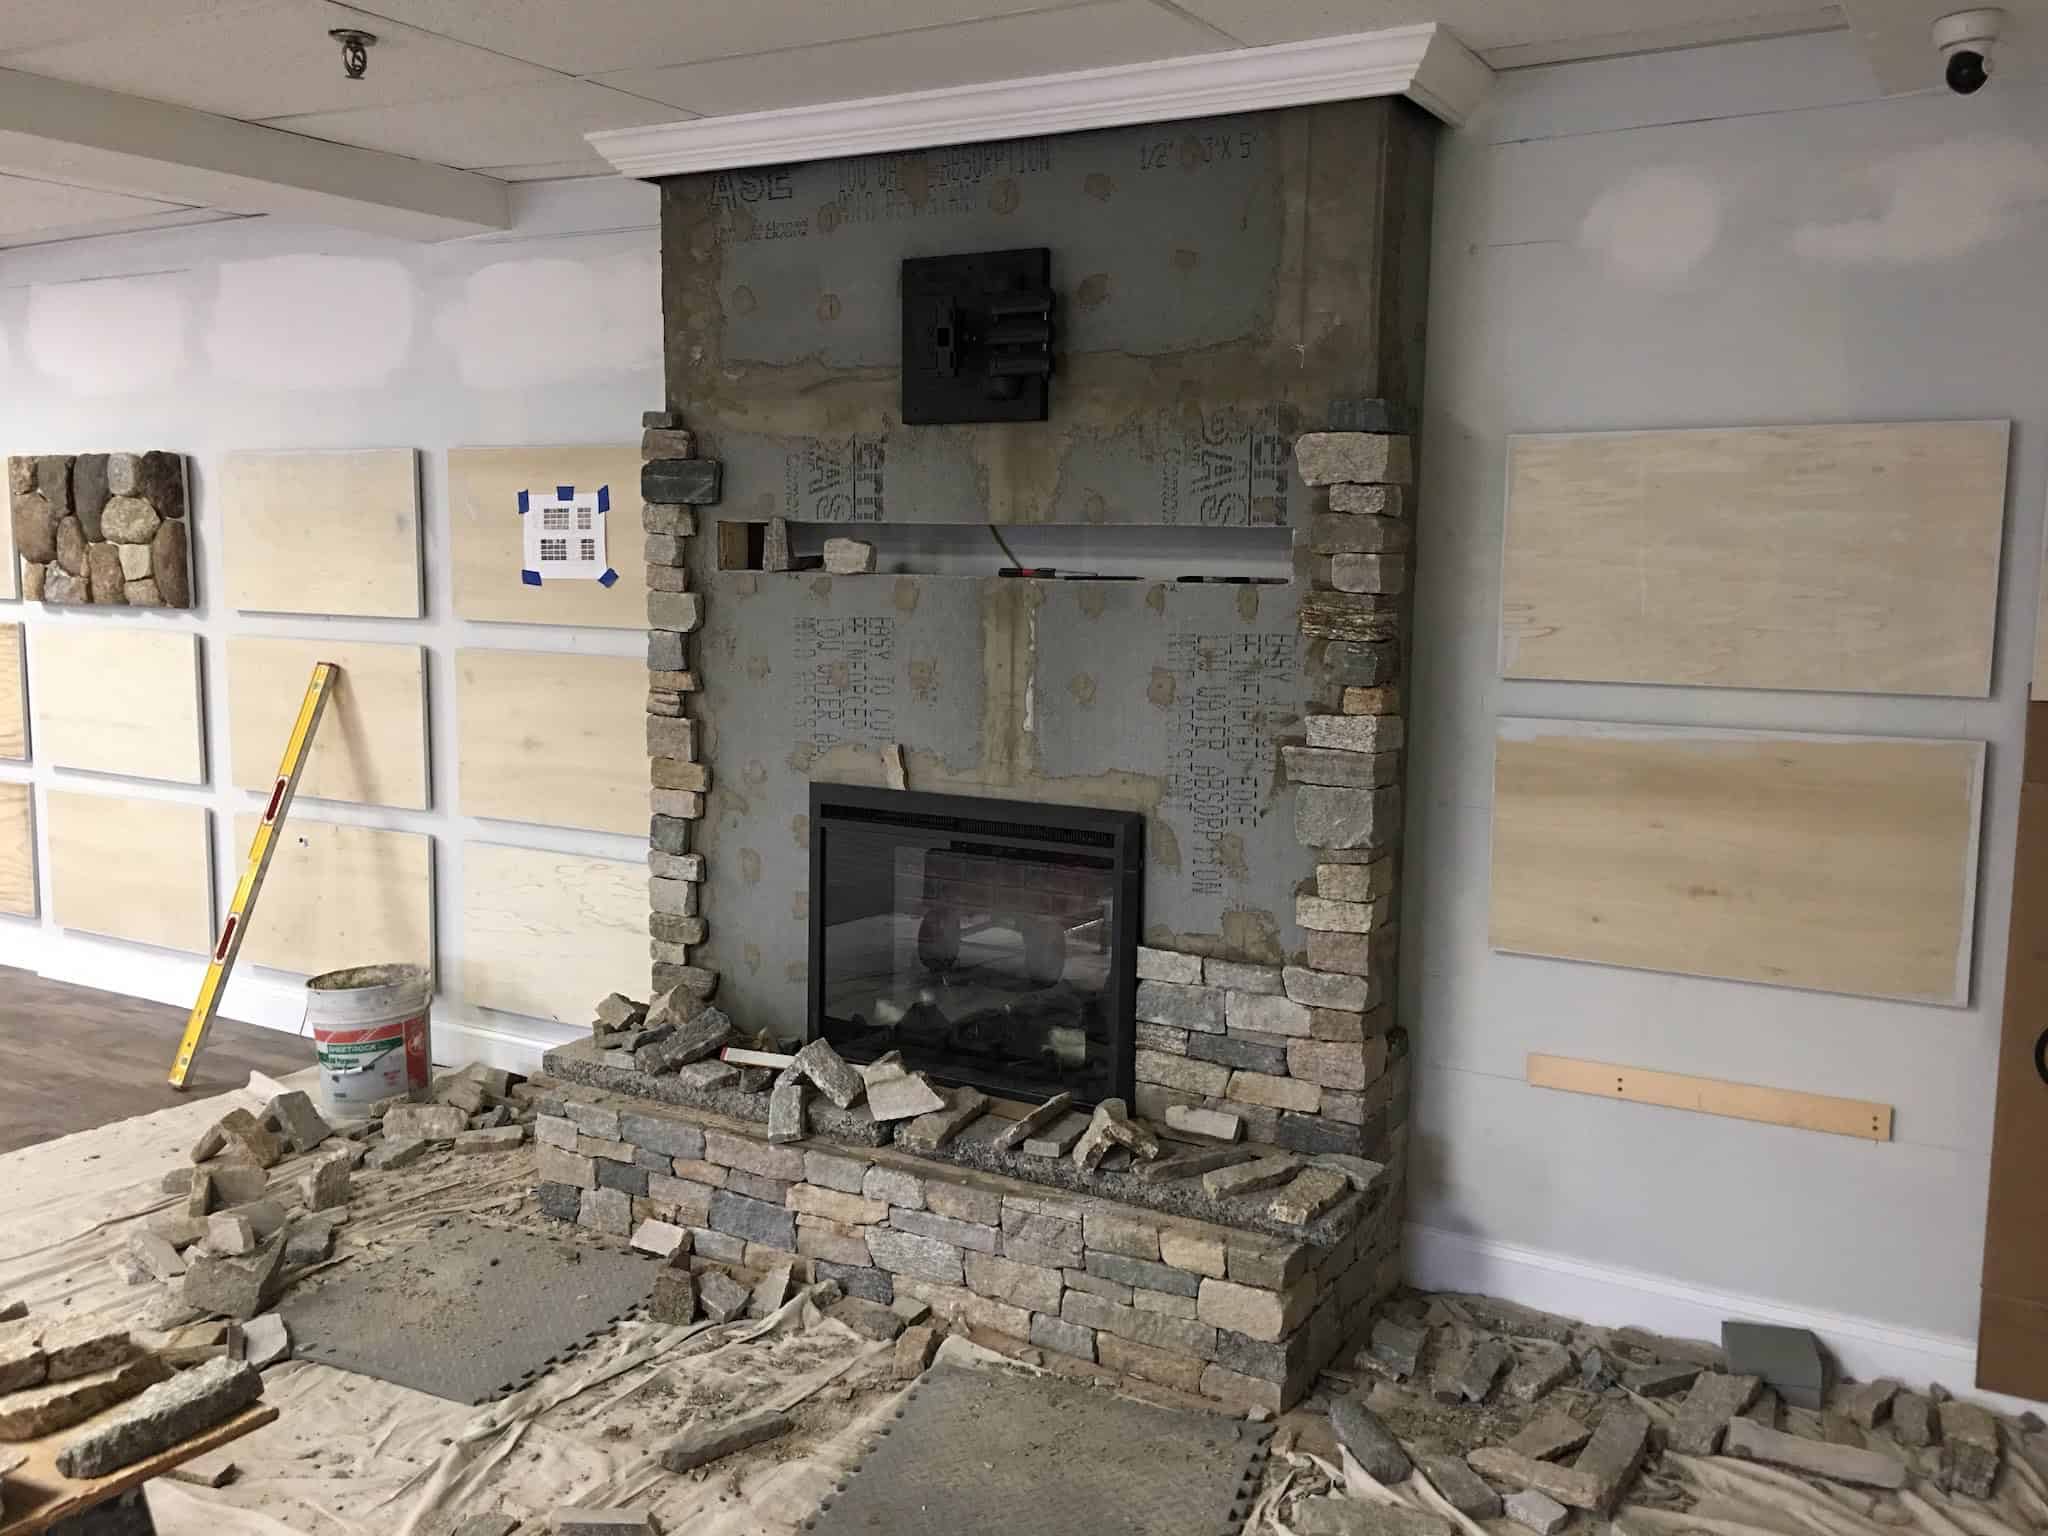
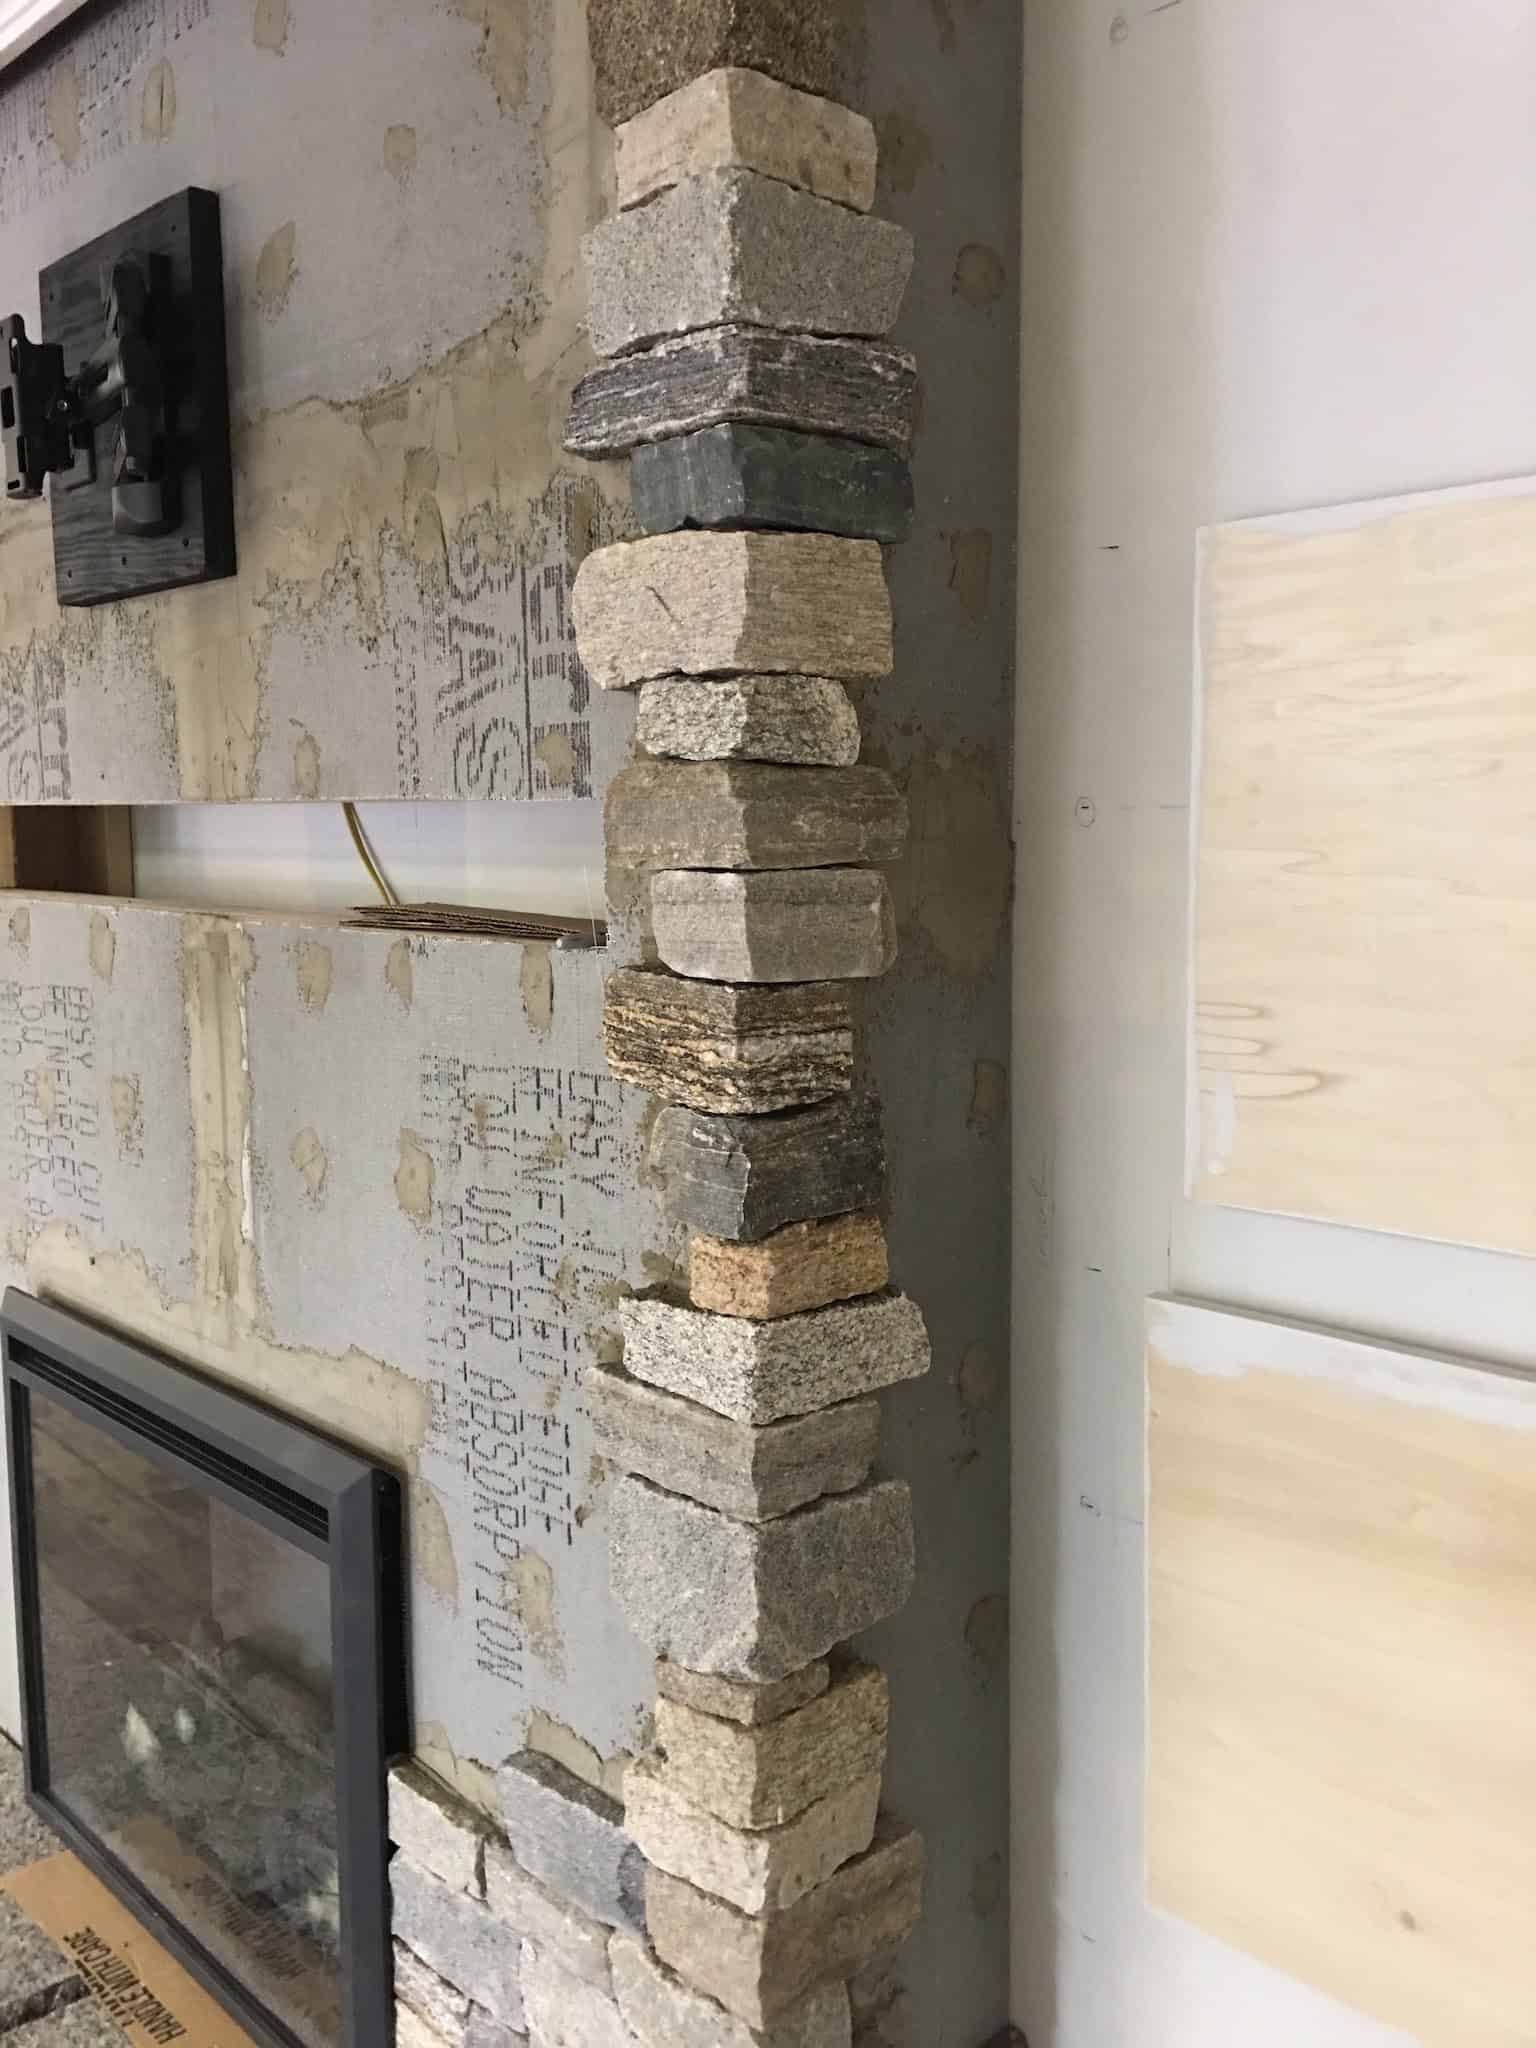
- Weave short & long ends of corners, alternating lengths and blending the stone colors
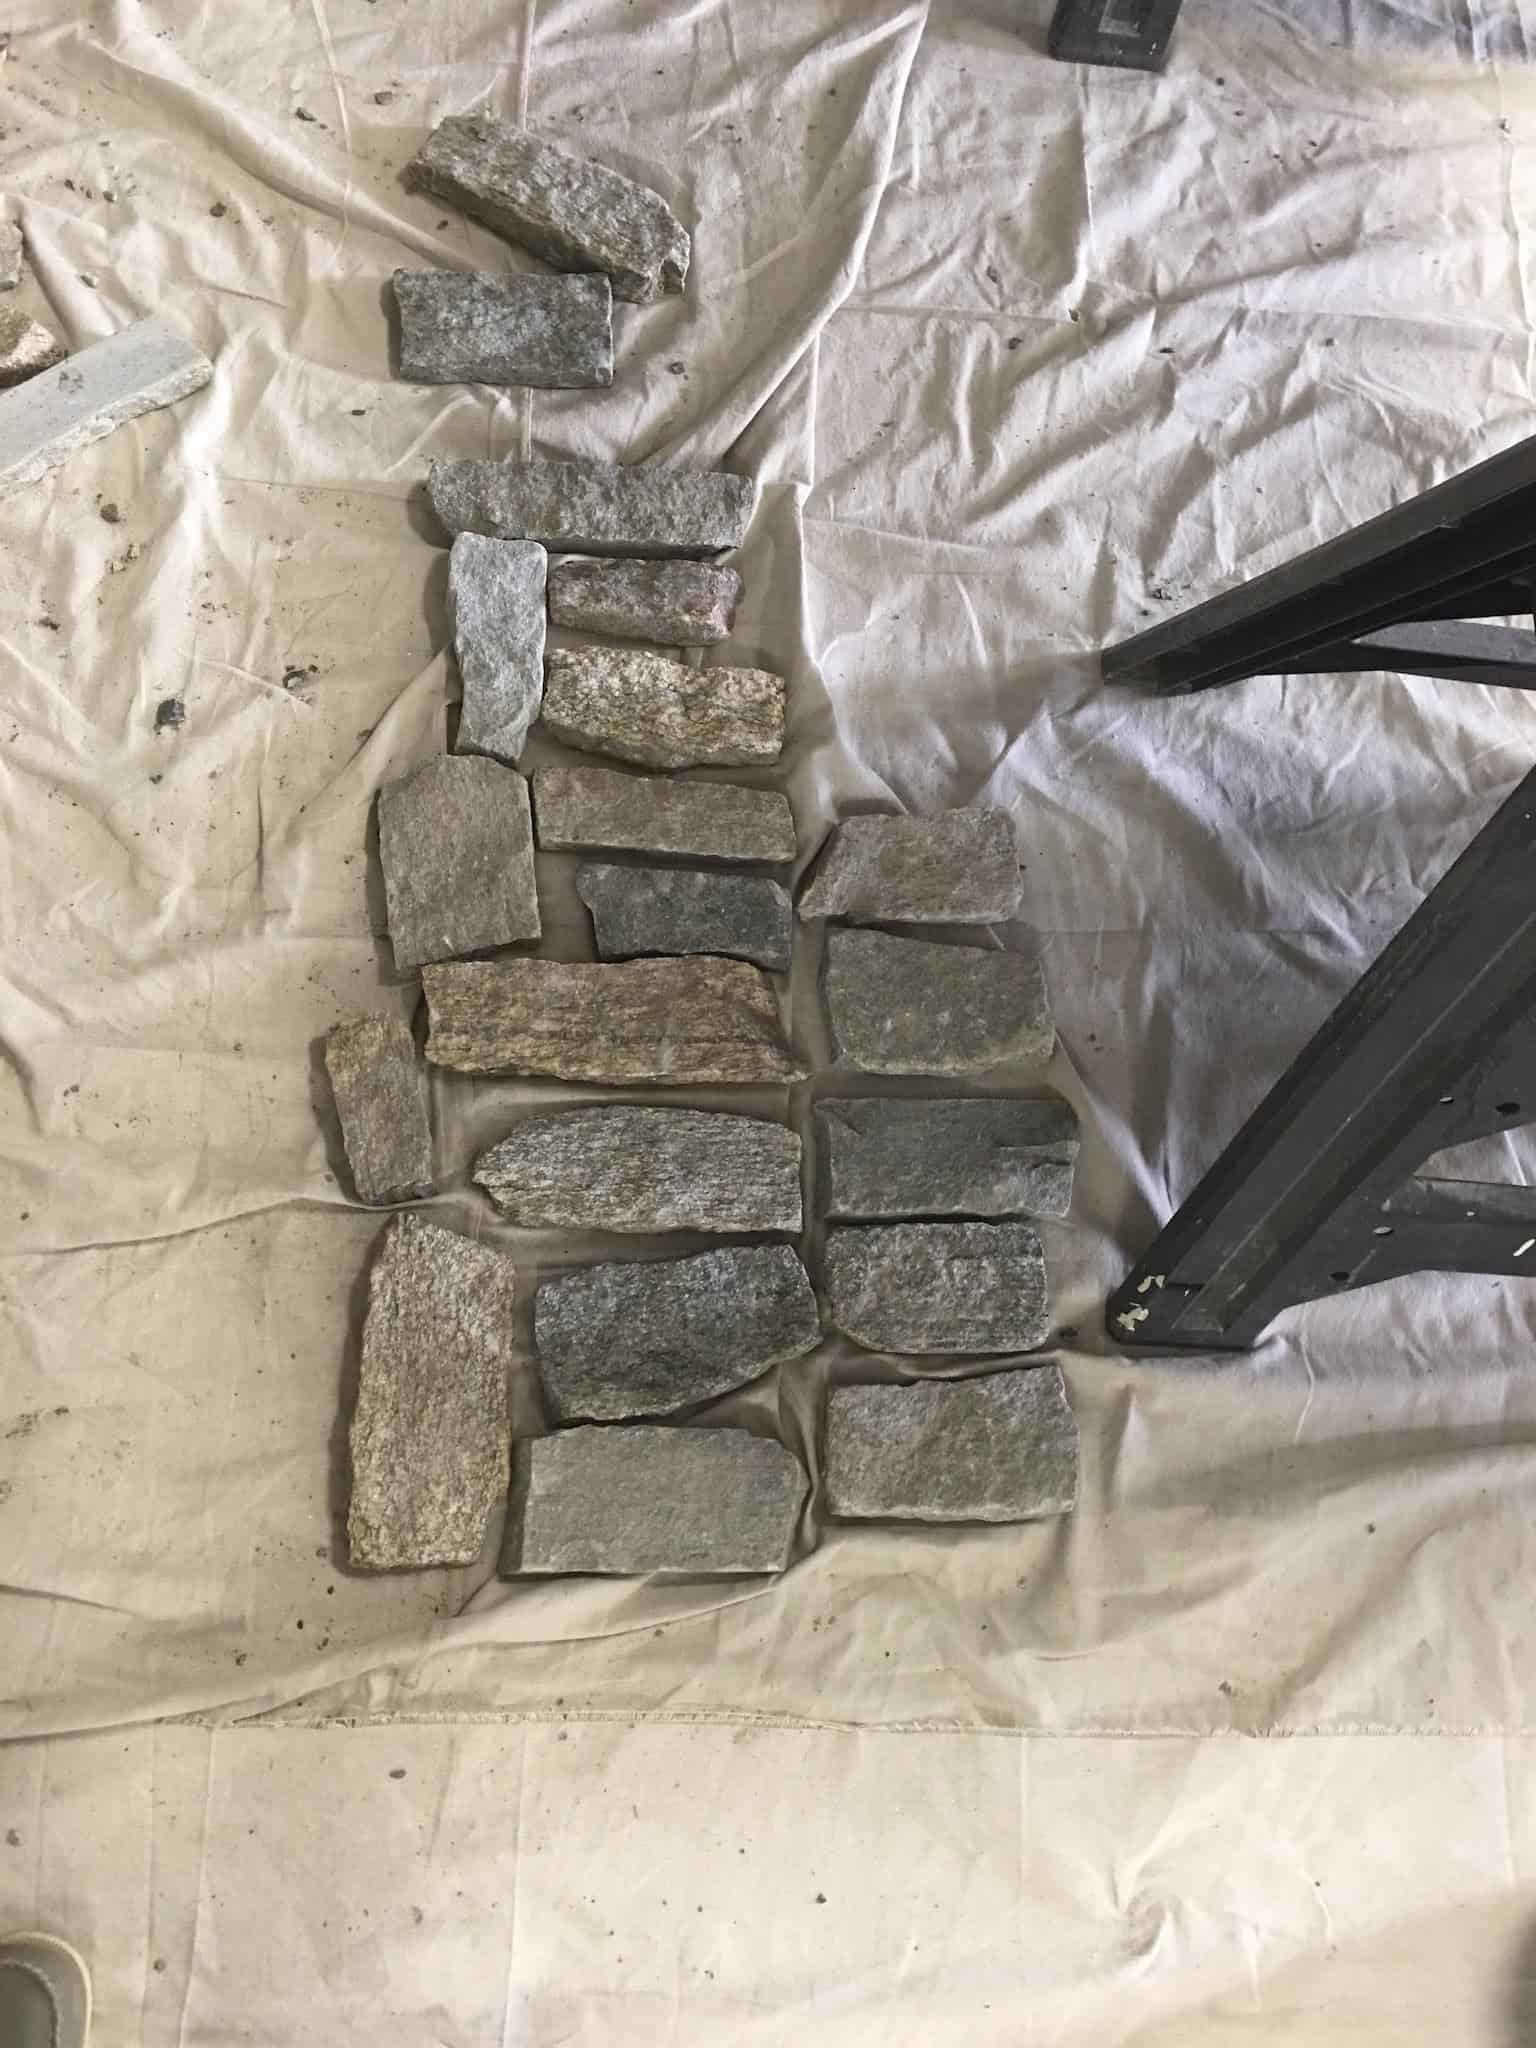
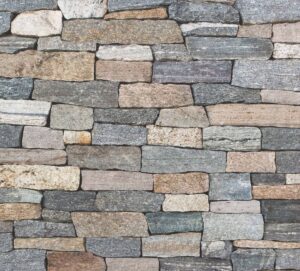
- Lay out stone to find the perfect blend. Mix stone colors throughout the project
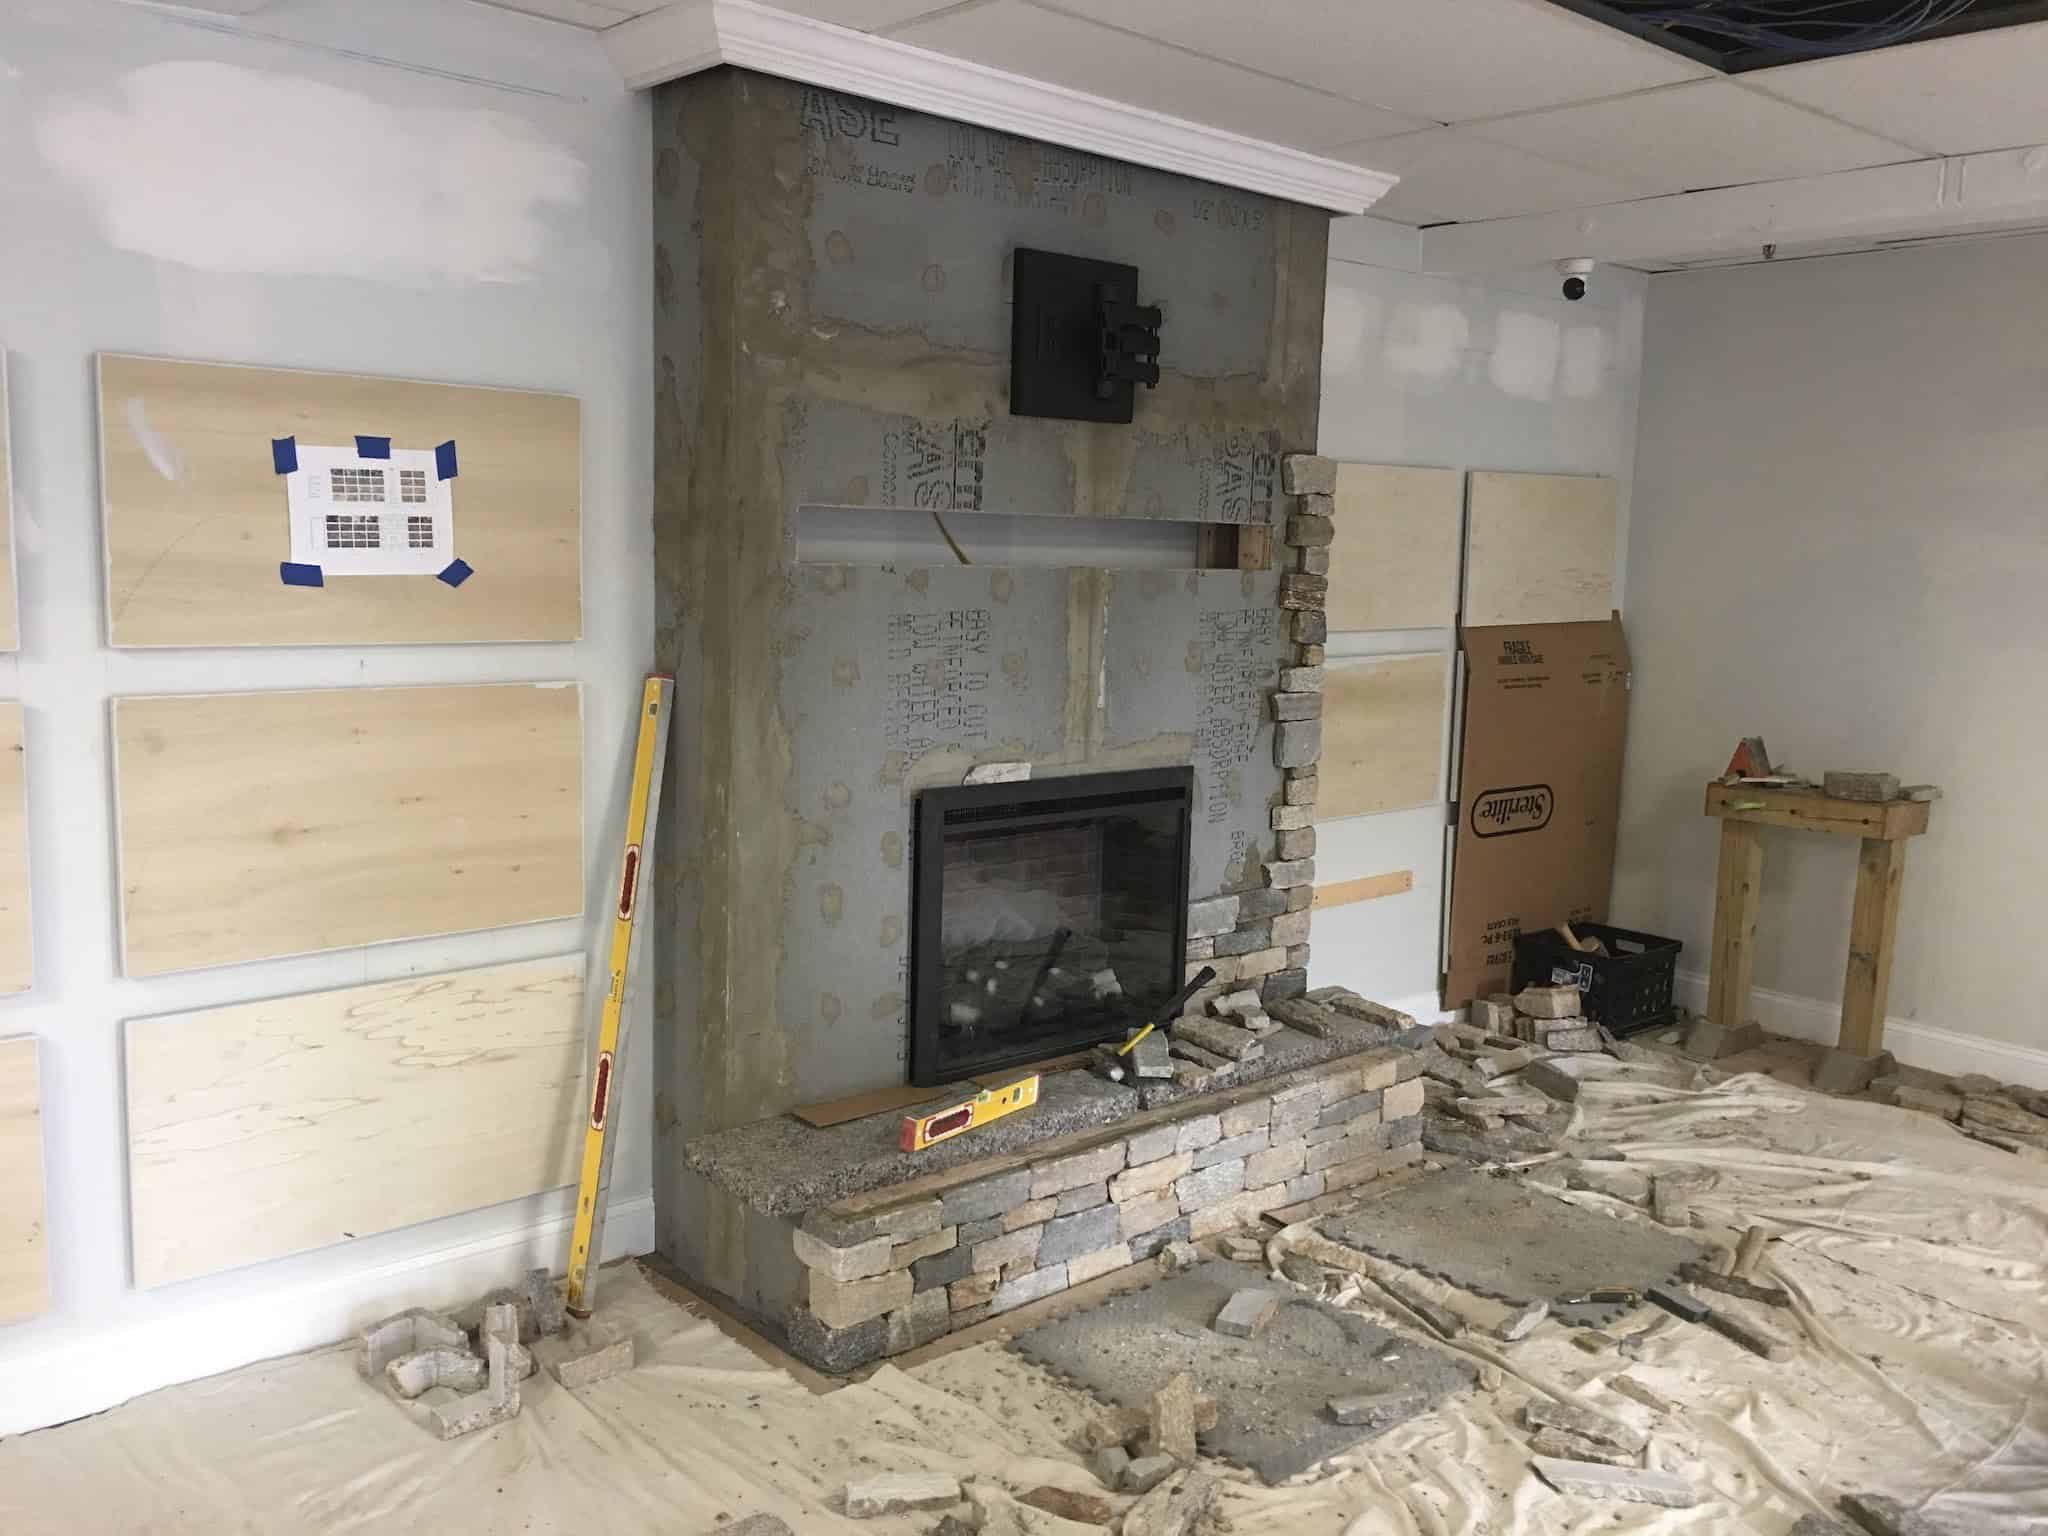
- Prep & trim stones for install – find and lay out stones of similar height
- Support stone hearth and mantel with wood framing
- When dry-fitting, mud the back wall to avoid seeing cement board (through the cracks)
- Try to keep courses (rows) level and break the seams. Seams should not run for more the 3-5 courses
- Clean stone of dust with water and brush. Avoid cleaners with muriatic acid
More Ideas for Stacked Stone Siding
Stone Veneer Over Brick Fireplace