04/
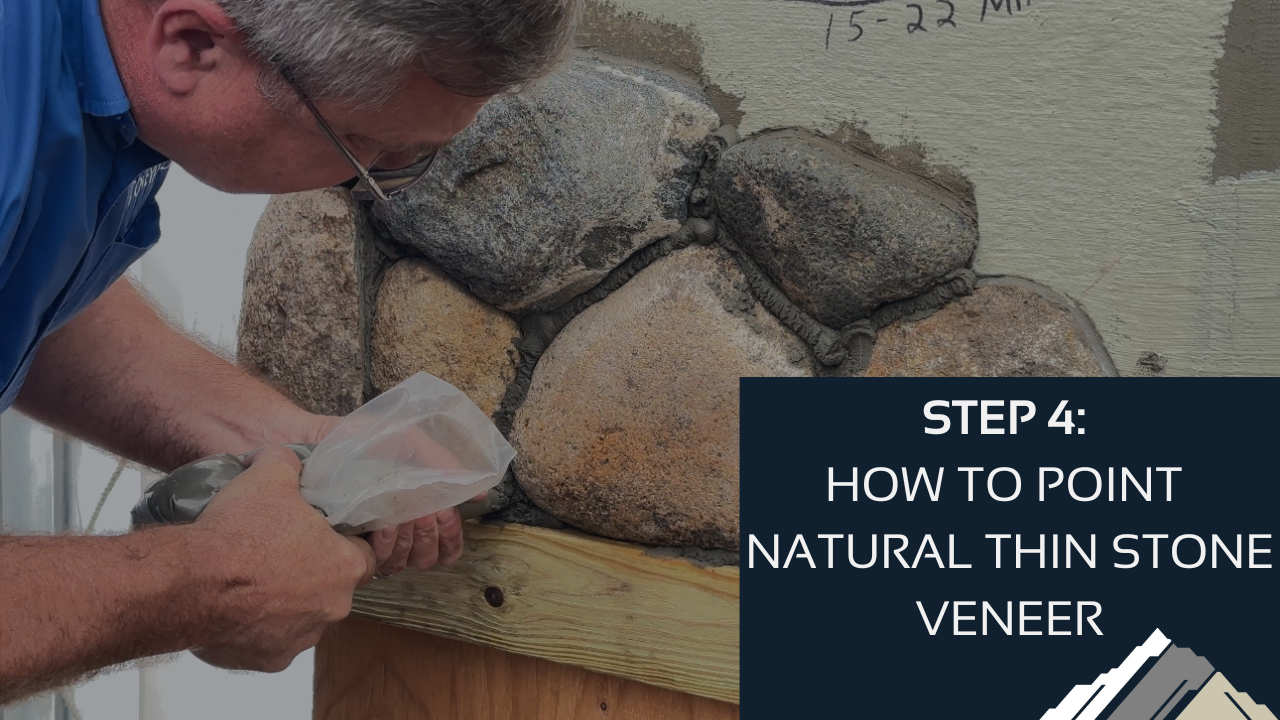
Pointing, the fourth step in the natural thin stone veneer installation process, is the meticulous filling of the joints between the stones. This step plays a vital role in the project’s success, but it’s important to note that pointing is only necessary for installations that use a mortar joint. Dry stack installations, where the stones fit together tightly with minimal space, do not require pointing. Watch our step-by-step video to learn pointing best practices.
Key Steps to Pointing
- Surface Preparation: Before applying the pointing mortar, ensure that your stone adhering mortar has properly dried.
- Mixing the Mortar: Follow the manufacturer’s instructions for mixing the pointing mortar, such as MVIS Laticrete Pointing Mortar, recommended by Stoneyard.
- Applying the Mortar: Use a pointing trowel to firmly press the mortar into the joints, ensuring complete coverage and avoiding air pockets.
- Tooling the Joint: Once the mortar is partially set, use a jointing tool to create the desired joint finish.
Remember:
- Pointing offers both aesthetic and functional benefits. It creates a polished, finished look and protects the stone from water infiltration by sealing the gaps between the stones.
- The pointing material should complement the overall design and the color of the stone veneer.
- Proper pointing technique ensures a long-lasting and visually appealing installation.
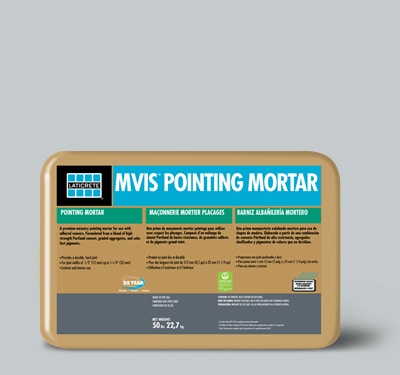
Recommended Pointing Mortar
LATICRETE MVIS Masonry Pointing Mortar
Laticrete MVIS Masonry Pointing Mortar is a premium-quality, polymer-modified mortar designed to point masonry joints in a variety of applications, including natural stone veneer.