Your Guide to Thin Stone Veneer Installation
A 5 Step Video Series
We’ve created a comprehensive guide to thin stone veneer installation, meticulously designed to assist both professionals in the field and DIY enthusiasts. It provides a step-by-step walkthrough of the process of installing thin stone veneer, from preparation to the final touches. Each video in the series is packed with practical tips, expert advice, and clear instructions, making the task of installing stone veneers accessible and manageable.
Step 1: How to Prepare the Surface
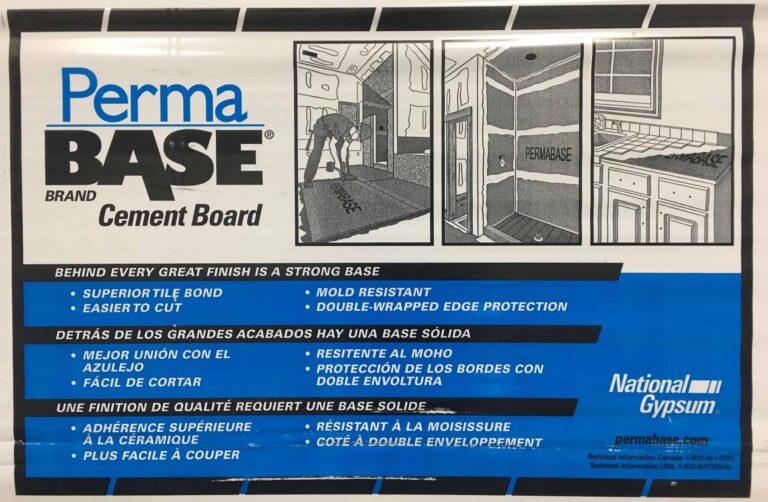
The process of building a natural thin stone veneer project, particularly in an environment that is frequently subjected to water and ice, necessitates certain protective measures to ensure its durability and longevity. This video serves as a comprehensive guide, offering detailed instructions on how to effectively waterproof your project.
The method recommended by Stoneyard is highlighted, which involves the use of Laticrete’s Air & Water Barrier MVIS. This waterproofing solution is versatile and can be applied to various types of construction, including those built on a wood frame, poured in place concrete, or CMU blocks. By following these guidelines, you can significantly enhance the resilience of your project, safeguarding it against the damaging effects of water and ice. This ensures that your natural thin stone veneer project will stand the test of time, maintaining its structural integrity and aesthetic appeal for many years to come.
Step 2: How to Trim Natural Thin Stone Veneer
During the installation process, not every stone will be a perfect fit. It is often an essential part of the installation to trim and shape the stone according to your preferences. In this video, David Croteau, will show you the few simple and easy steps it takes to trim natural thin stone veneer to ensure your stone fits the pattern you have in mind for your project.
Step 3: How to Adhere Natural Thin Stone Veneer
When it is time to install Stoneyard’s natural thin stone veneer, it is essential that the proper steps are taken to ensure that your project lasts a lifetime. In this video, David Croteau will walk you through what these steps are using Laticrete’s MVIS Hi-Bond Masonry Veneer Mortar. This mortar is what Stoneyard recommends using when installing natural thin stone veneer.
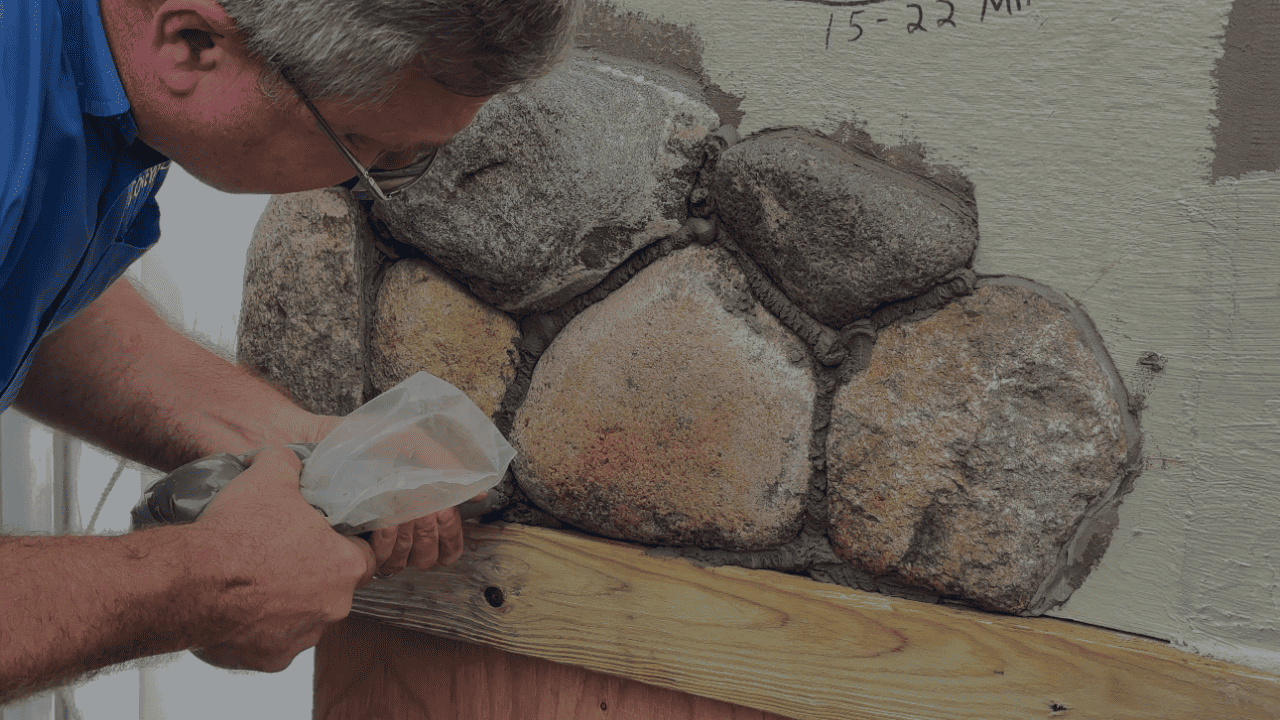
Step 4: How to Point Natural Thin Stone Veneer
The fourth step in natural thin stone veneer installation is called “pointing.” It is important to do this neatly and correctly to ensure that the stone is protected from water and that it has a neat overall appearance. In this video, David Croteau walks you through the process of filling stone using MVIS Laticrete Pointing Mortar.
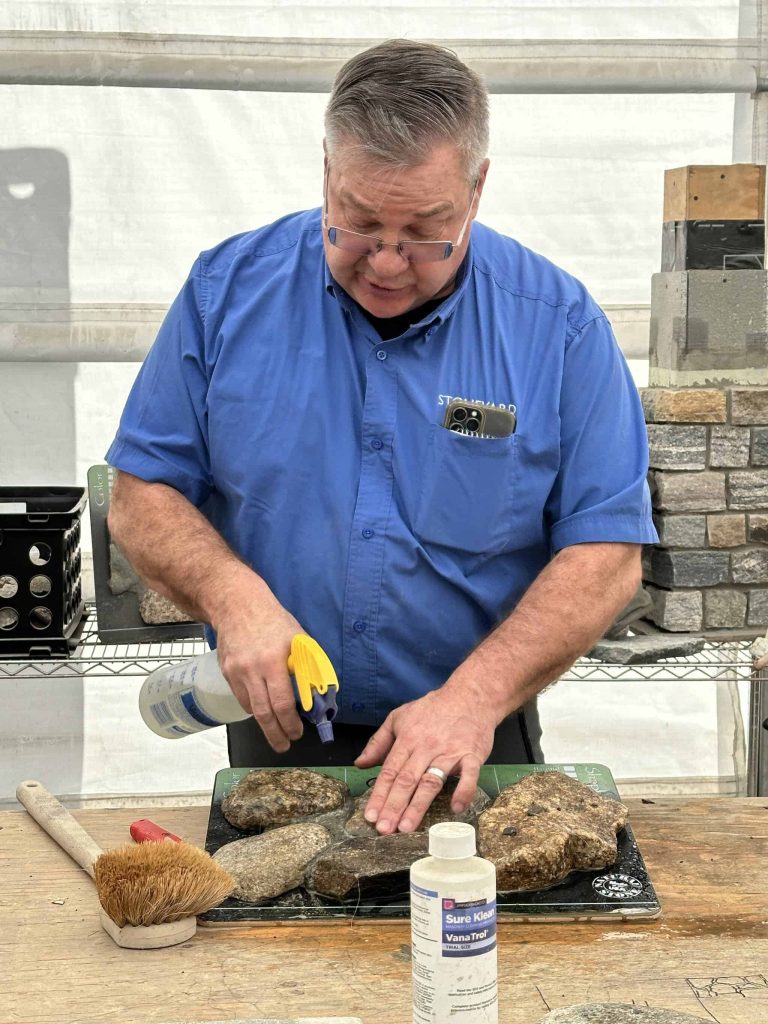
Step 5: How to Clean Natural Thin Stone Veneer
What’s the most rewarding part of the installation process? Revealing sparkling, clean stone! In Step 5 of our Thin Stone Veneer Installation Series, David Croteau teaches how to clean stone veneer using water, a long handled acid brush, and Prosoco Sure Klean Vana Trol acidic cleaner.
Whether you’re a seasoned professional seeking to refresh your knowledge or a homeowner embarking on a new project, this video series offers valuable insights and guidance. At Stoneyard, we aim to empower you to create beautiful, durable stone installations with confidence and ease. For more information and resources on thin stone veneer installation, visit our installation page.