Your cart is currently empty!
Masonry Selection Process for Thin Veneer
The Masonry Selection Process for Stonemasons
To ensure a successful thin stone veneer project, these are the steps a stonemason will take before thin stone veneer is applied to the surface.
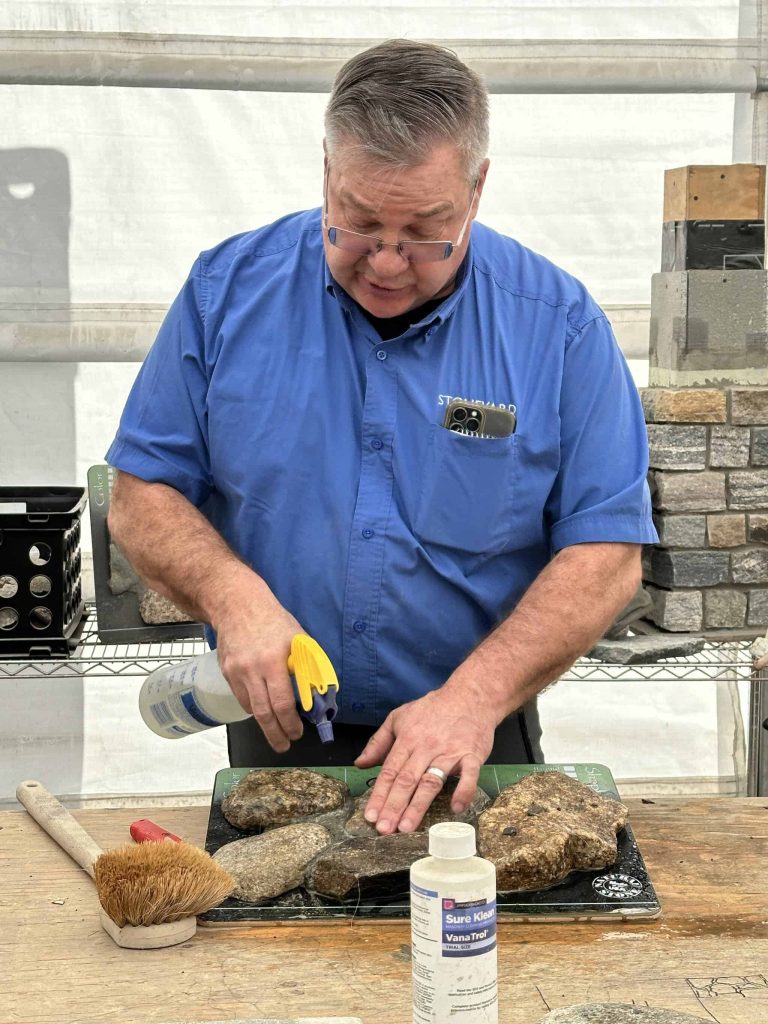
- Order samples.
- Dry fit on the floor.
- Install on mock-up board or inconspicuous area of project
- Select grout color
- Select grouting method (dry stack, jointed, over grout)
- Install grout on mock-up
- Review with project owners
- Adjust accordingly
Benefits
Calculate the true yield. Assumptions about stone coverage will vary based on trimming and joint styles. Ordering the right quantity in a single order is more efficient.
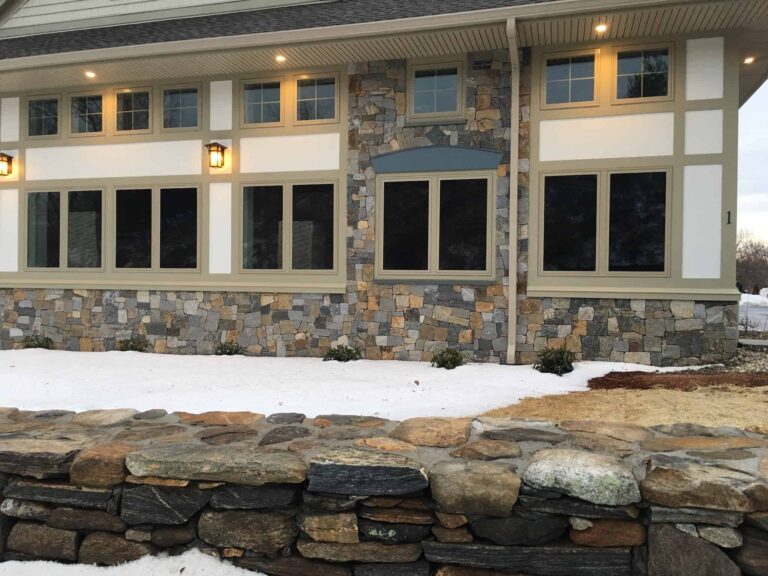
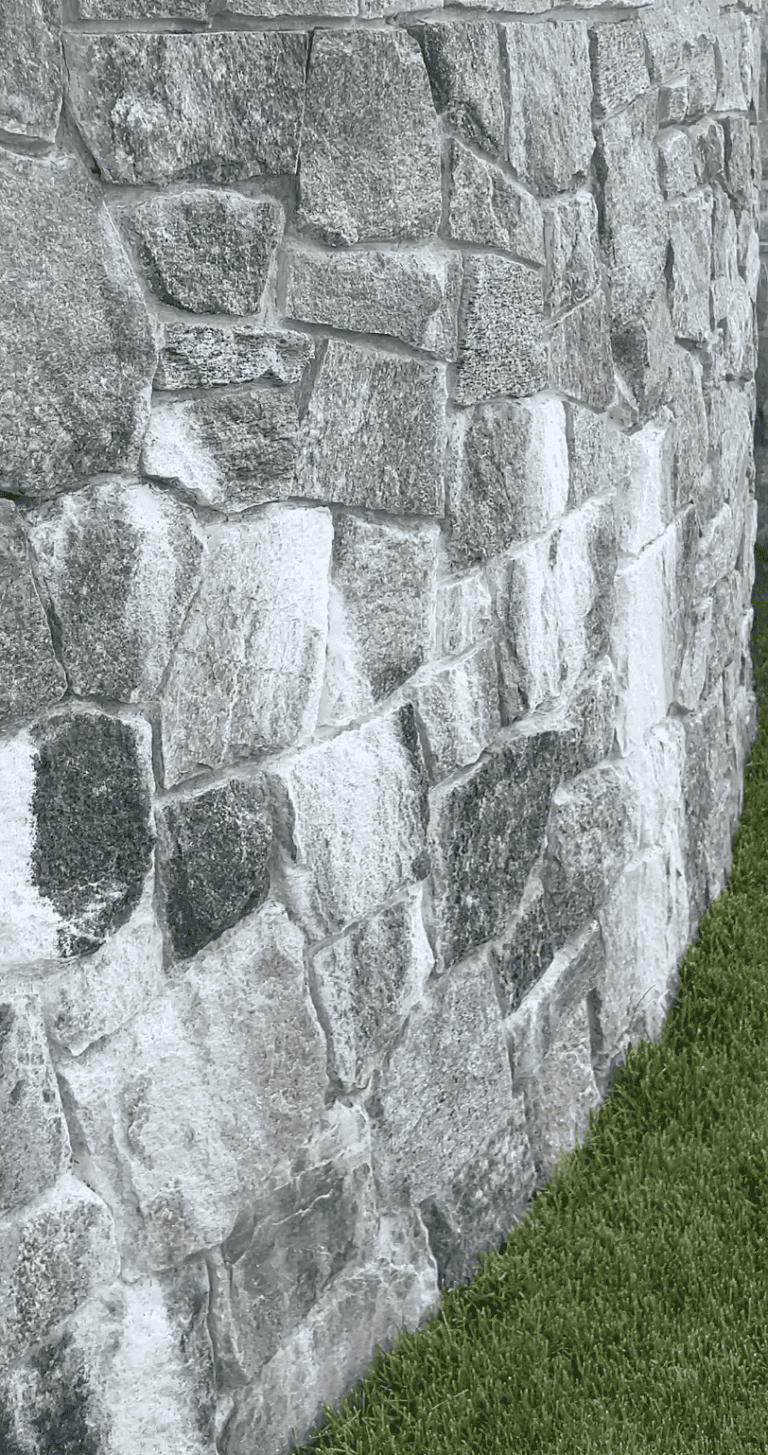
Pick the right look. Some of the variables with stone are the color, texture, pattern, and sizing.
Stone lasts. Holding up to the sun, temperature swings, and salt without fading or deteriorating is why stone has a low cost of ownership, but it also justifies extra caution to pick the right style from the beginning.
Errors to Avoid
We take pride in the product that we make right here in New England. This project checklist will help you avoid some common errors.
- Use Permabase Cement Board as a substrate for thin veneer.
- Be sure to use Laticrete Masonry Veneer Installation System. Stone Veneer is a non structural component of a building’s envelope and for exterior applications in wet climates, the correct procedure is to protect an airspace for entrapped moisture to escape if it ever gets behind the stone.
- Do not wiggle stone after setting. Proper masonry bonding requires a push and hold technique. Any movement will reduce the bond integrity.
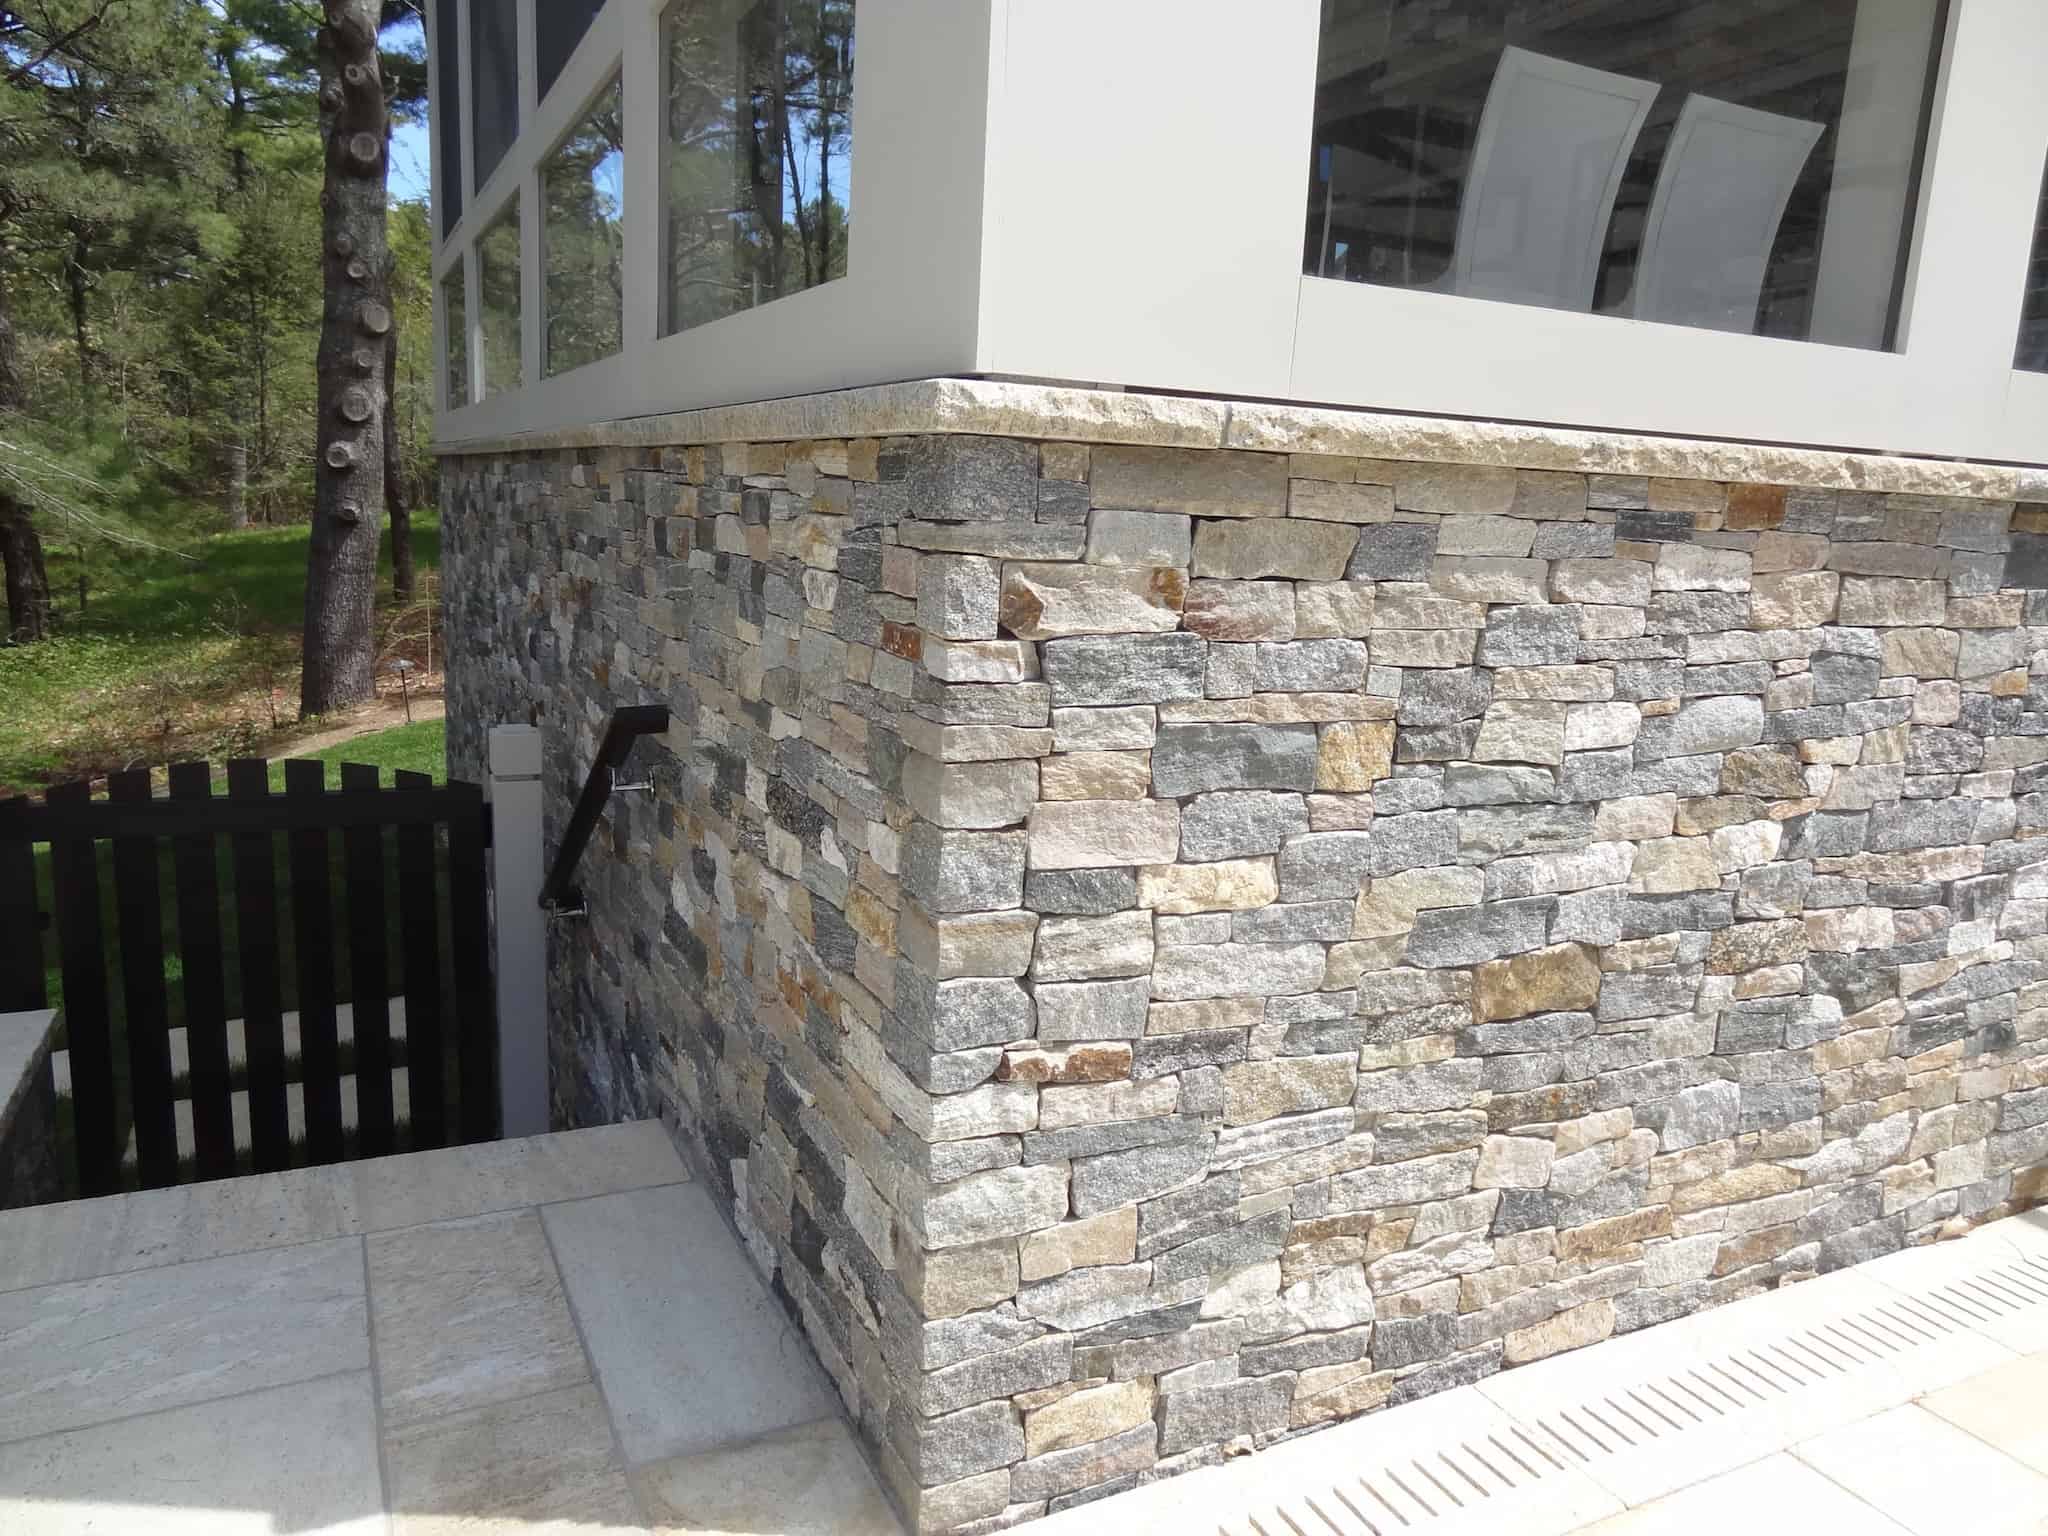
- Select the best method for corners for your project including 90 degree pre-cut, miter or weaved.
