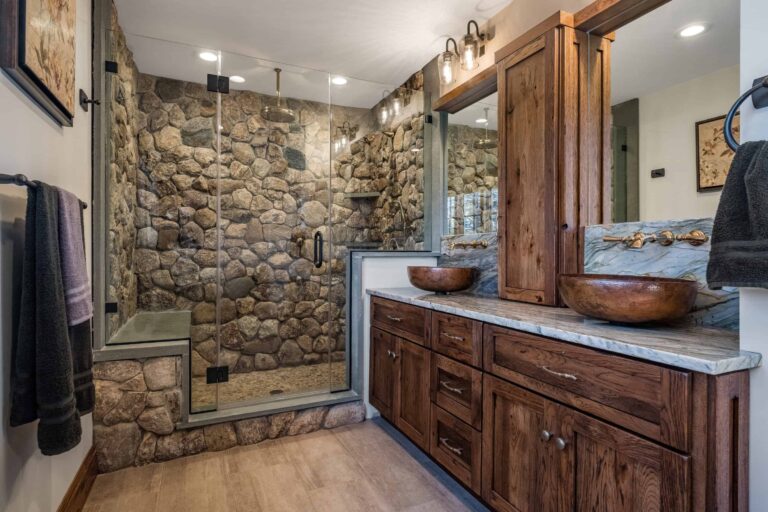
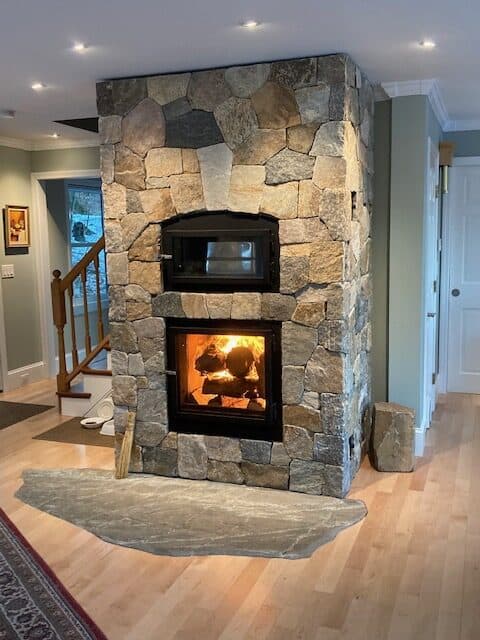
Achieving the Perfect Dry Stacked Mosaic Stone
The popularity of dry-stacked thin stone veneer lies in its natural, rugged aesthetic, where stones fit together seemingly without mortar. While the absence of visible joints might suggest an easier installation process, achieving a truly stunning and long-lasting dry-stacked look with mosaic patterns requires careful attention to detail. At Stoneyard, we’ve learned a thing or two about working with mosaic stone veneer, and we’re excited to share some essential tips to guide you through your next project.
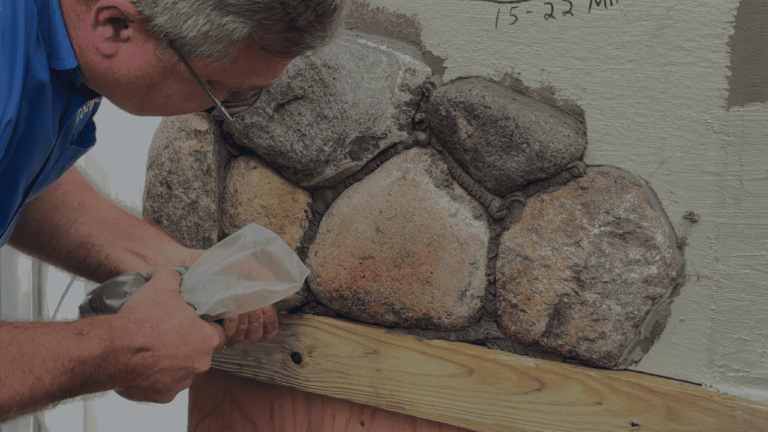
1. Trim Smart, Not Too Early: It’s tempting to lay out a large section of stone before adhering anything to the wall. However, as you begin to set the stones, you’ll find that subtle variations can prevent previously chosen pieces from fitting together perfectly. Our advice? Trim as you go. Focus on the immediate area you’re working on. This ensures a tight, seamless fit, which is the key to a successful dry-stacked application.
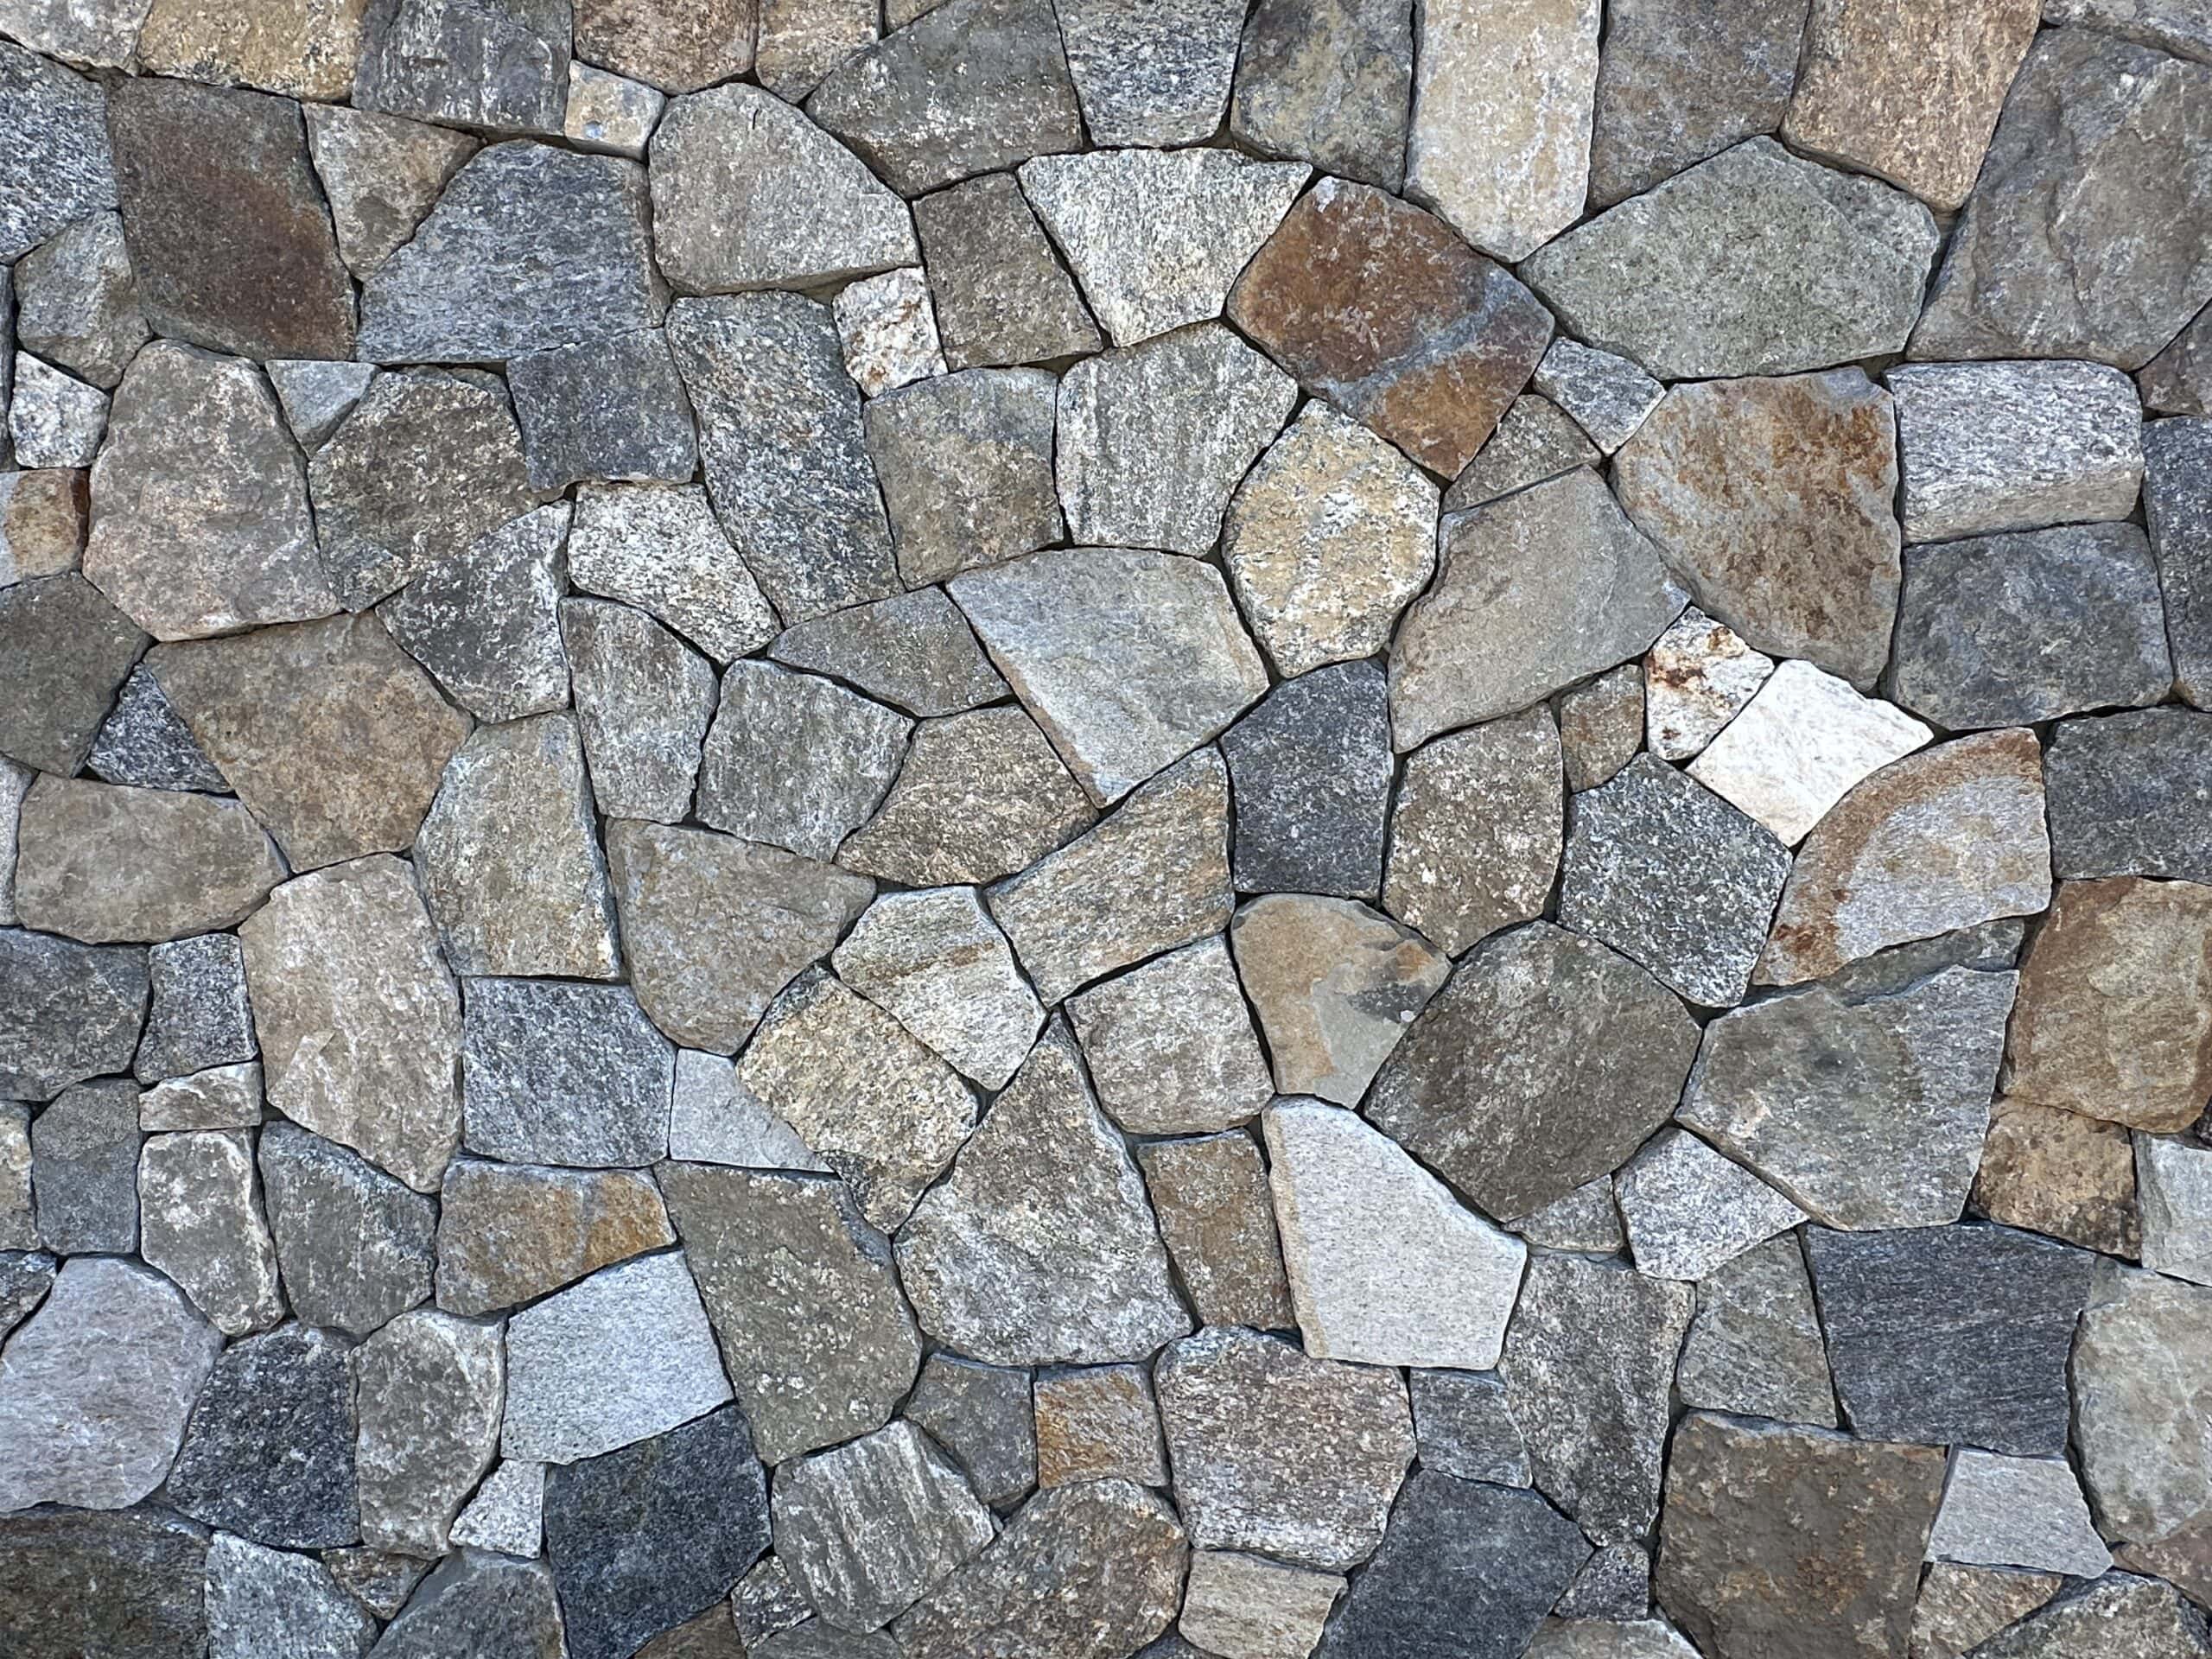
2. Color and Size Harmony: A Layer-by-Layer Approach: Mosaic blends, like our popular Boston Blend, boast a rich variety of colors and sizes. To maintain visual balance across your project, sort your stones by color and size every 4-5 layers. This practice allows you to identify the distribution of larger stones and less common colors. For instance, if you’re covering 100 square feet and only have one significantly large stone, plan its placement strategically rather than using it early on and leaving an imbalance later. Similarly, if 80% of your blend is gray, use those unique, non-gray stones judiciously to create pops of interest without overwhelming any single area.
3. The Importance of the Back Cut: Don’t underestimate the power of a clean back cut! For dry-laid installations, back cutting your stones with a tile saw or 4-inch grinder is crucial. This technique allows for subtle adjustments to the stone’s shape, ensuring a snug fit against its neighbors and minimizing unsightly gaps.
4. The Template Trick for Tight Spots: Occasionally, you’ll encounter a gap that seems impossible to fill with standard cuts. Here’s a pro tip: create a paper or cardboard template of the void. Carefully trace the template onto a stone, trim it accordingly, and you’ll often find it slots in perfectly, maintaining that tight, mortarless appearance.
5. Dry Stack Isn’t Necessarily Easier – It’s Different: Many mistakenly believe that skipping the mortar joint in a dry-stacked application equates to an easier job. This couldn’t be further from the truth. While jointed applications offer flexibility with gap sizes (ranging from 3/8 inch to even 1 1/2 inches in some cases), dry stacking demands precision. Every stone should fit together almost seamlessly – think “paper tight.” This requires meticulous cutting and fitting.
6. Consider Your Customer’s Preferences (and Pests!): Before diving headfirst into a dry-stacked design, have a conversation with your customer about their preferences. While the dry-stacked look is undeniably appealing to some, others may have concerns about potential pest intrusion. The small gaps inherent in a dry-laid application can, in some environments, offer nesting spots for insects. A traditional jointed application, where the gaps are filled with mortar (which can be recessed, flush, or raised), eliminates this concern.
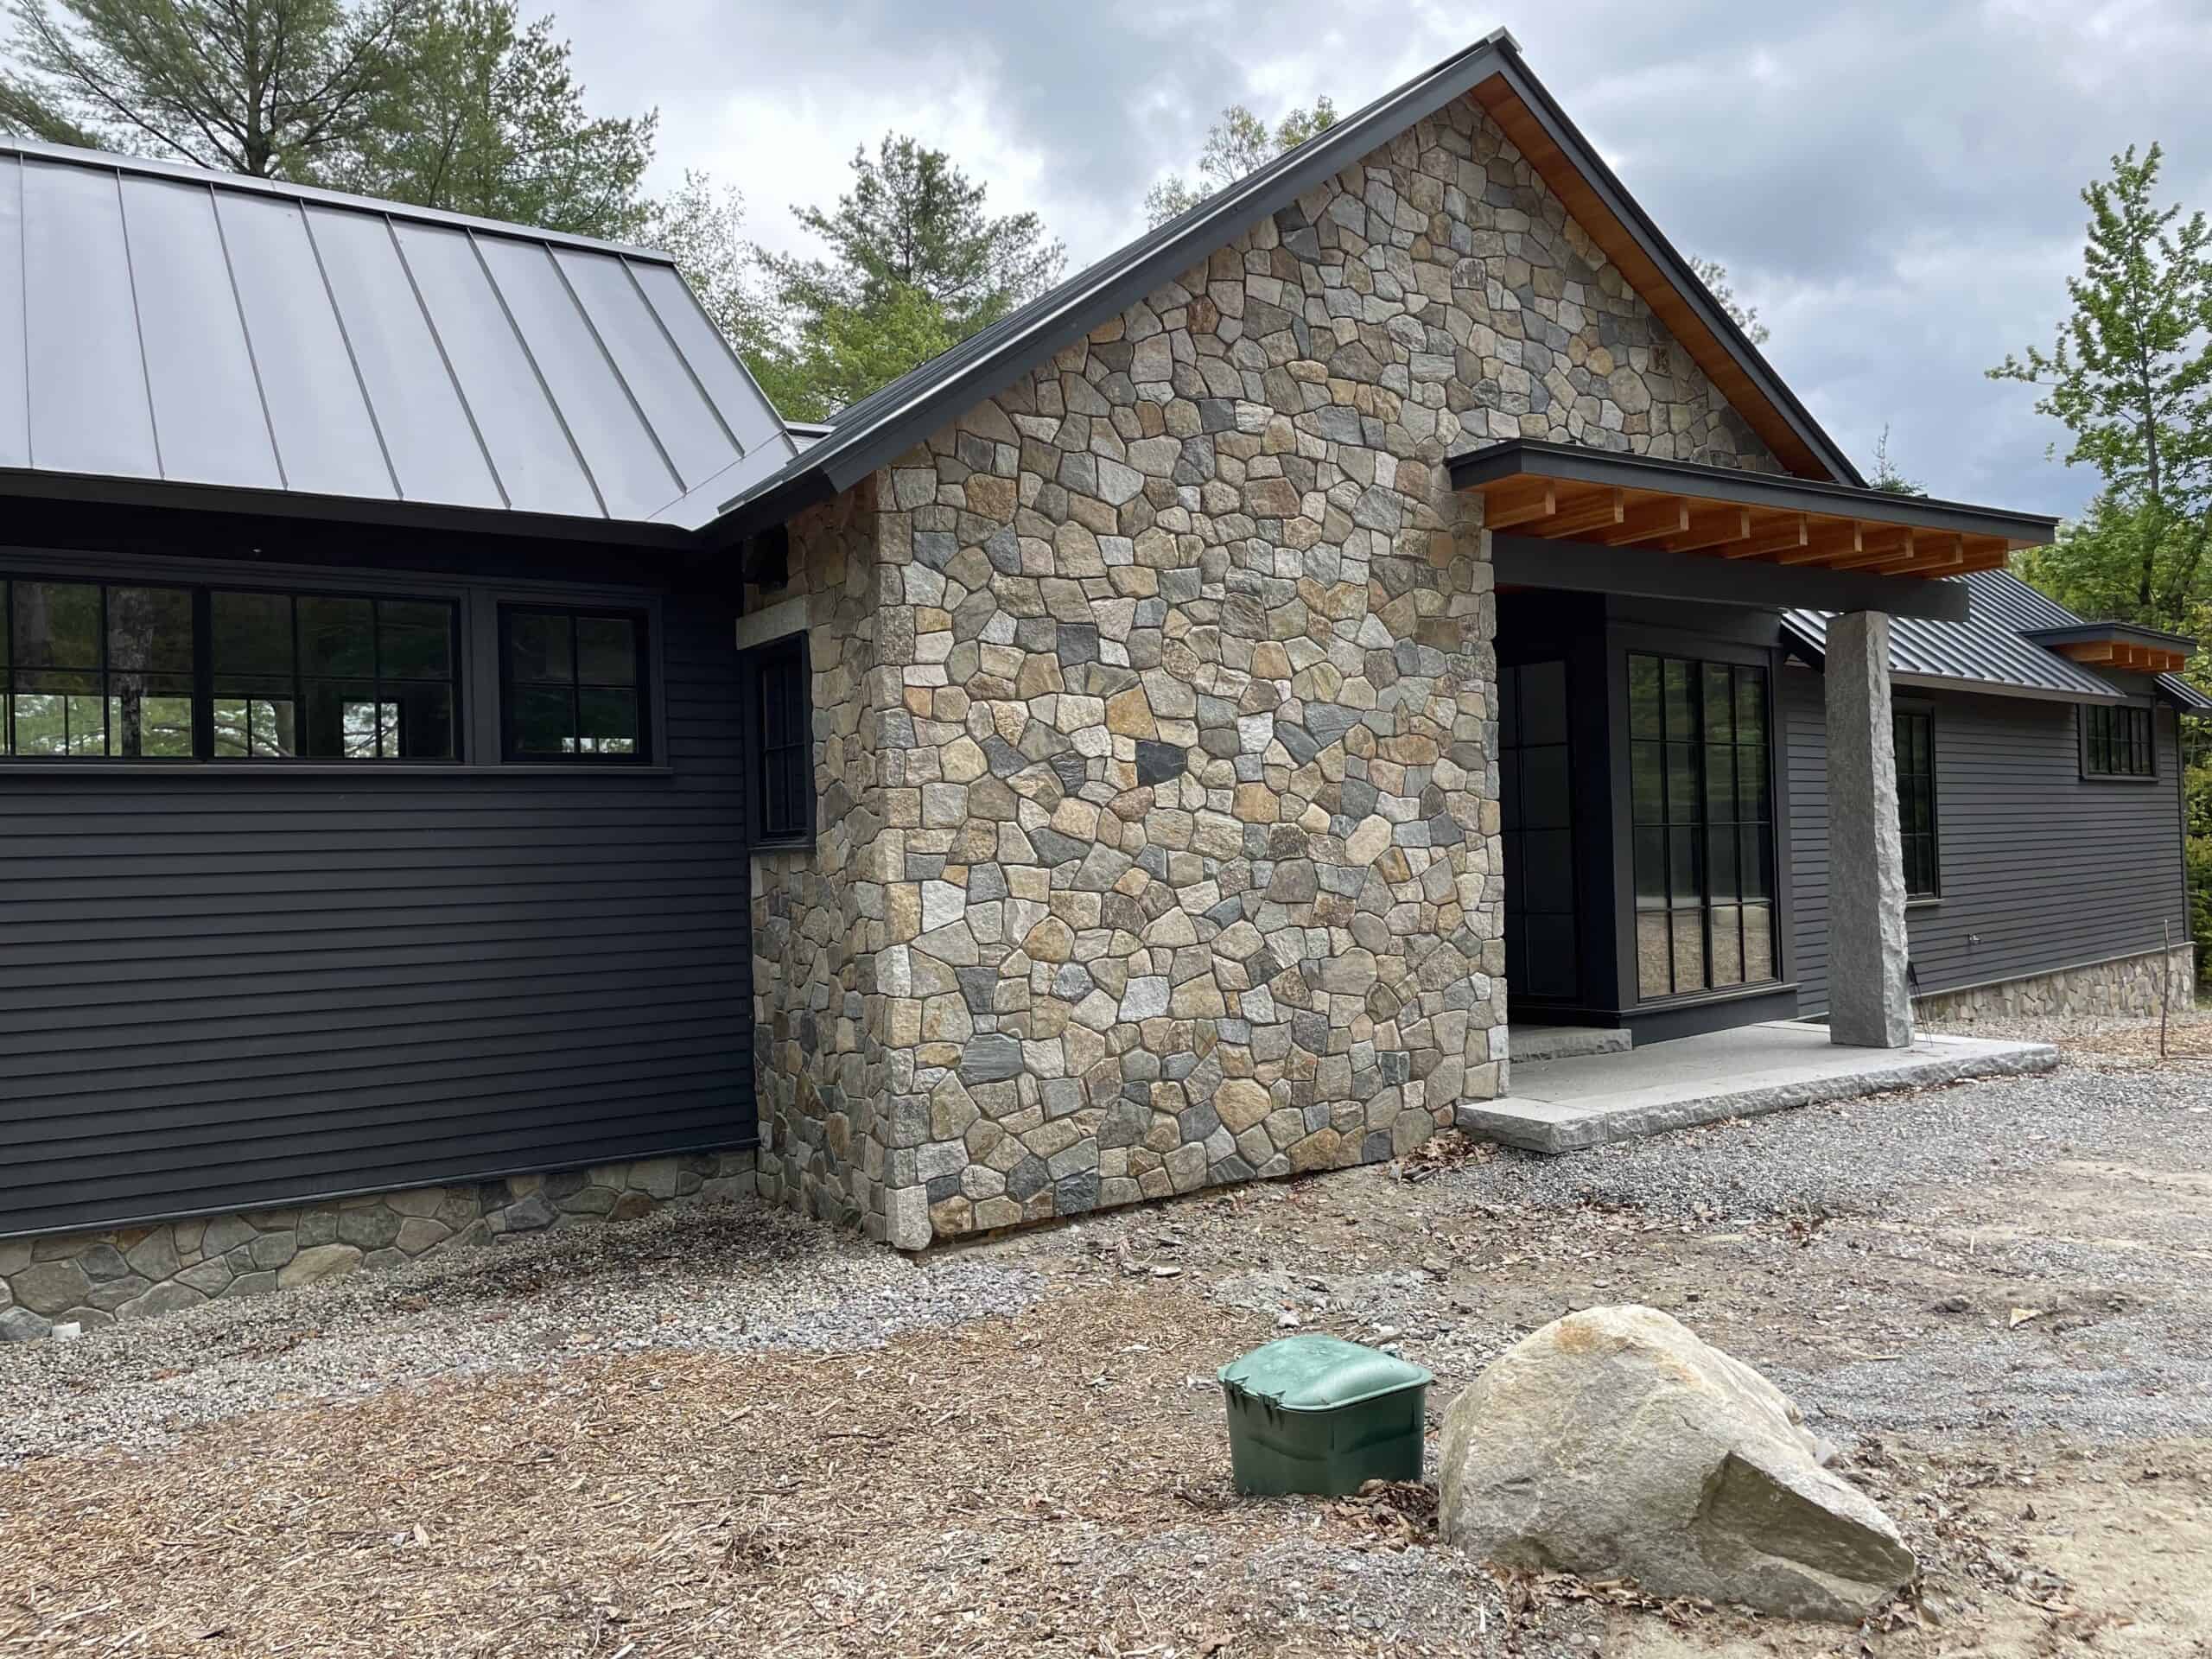
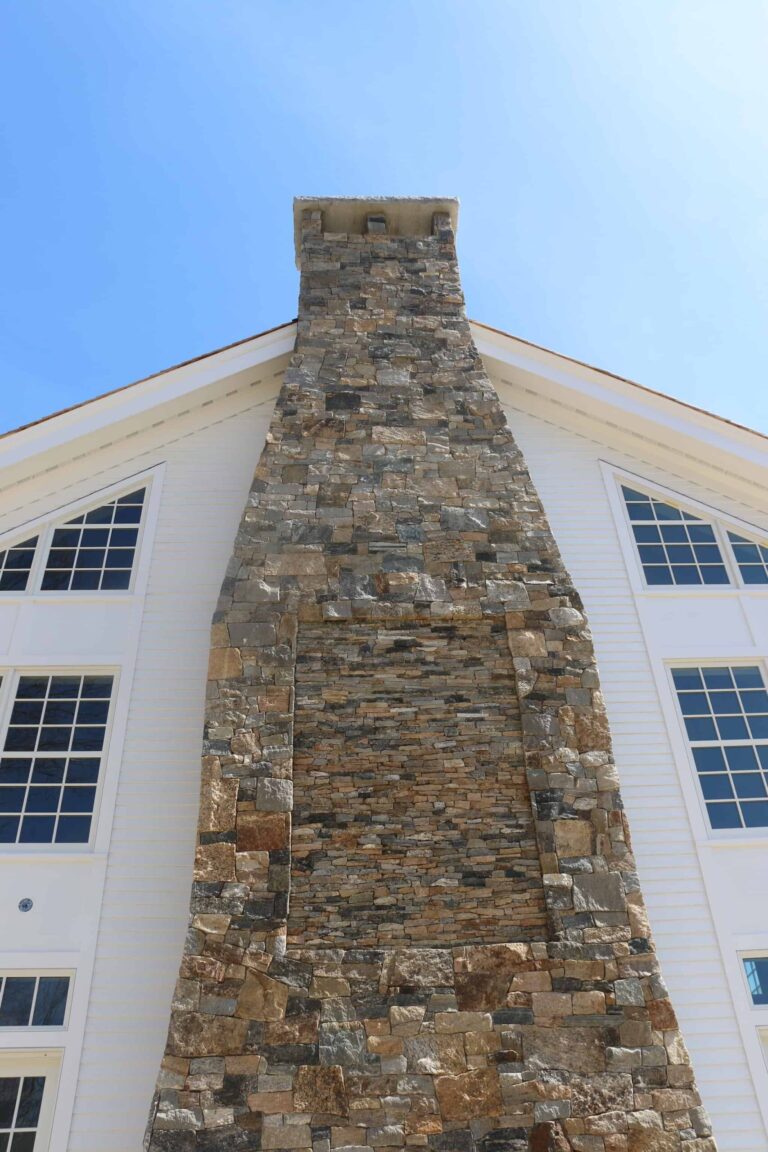
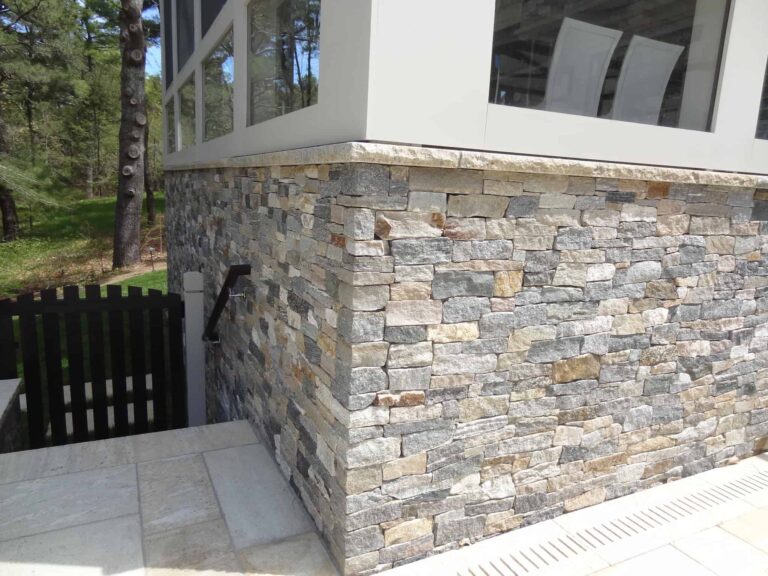
7. Stone Style Considerations: While personal preference plays a significant role, consider this unwritten rule: Ledgestone and Ashlar stone veneer often lend themselves beautifully to dry-stacked applications, highlighting their irregular shapes and natural fit. In contrast, more geometric patterns like Mosaic, Square and Rectangular, and Rounds often look best with a joint, which can accentuate their structured forms. Personally, I often prefer a recessed joint for these styles.
8. The Power of the Test Area: When in doubt, always create a test or mock-up area. A 4×5 foot section (or a size appropriate for your project) allows you to experiment with both dry-stacked and jointed applications. This provides a tangible visual for your customer to make an informed decision and ensures everyone is on the same page before the full installation begins.
Mastering the art of dry-stacked mosaic thin stone veneer installation is a rewarding endeavor. By following these tips and paying close attention to detail, you can achieve a stunning, timeless look that will be admired for years to come. If you have any questions about dry stacking mosaic stone, contact a Stoneyard expert today. We’re happy to help you achieve the project of your dreams!