Similar Posts
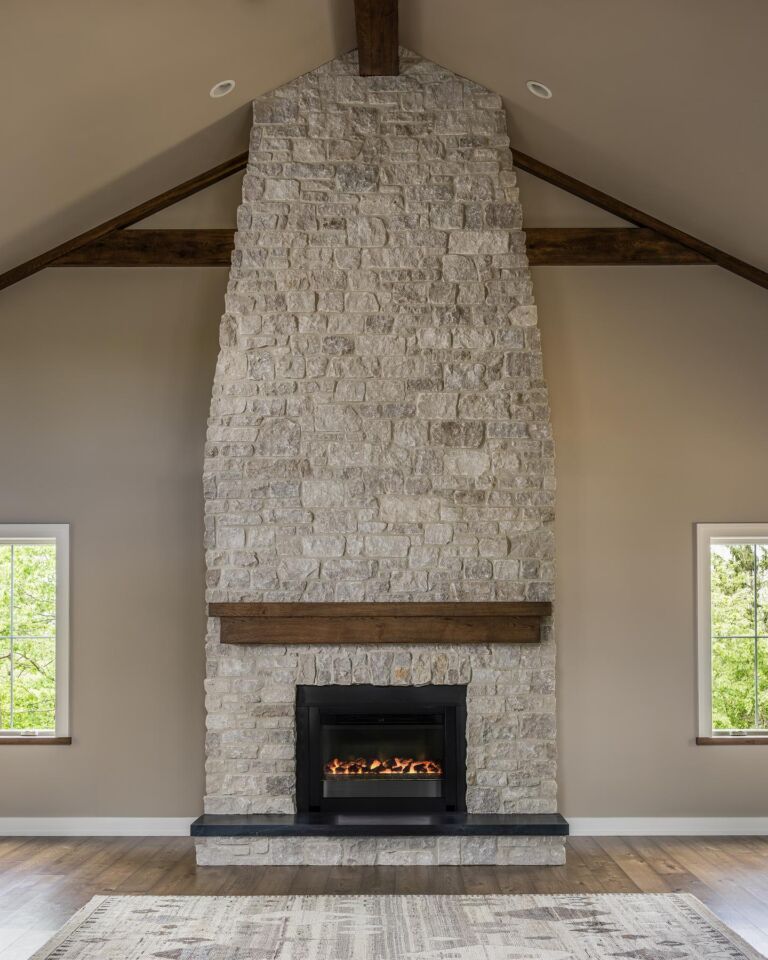
Why Designers Are Falling for the Modern Farmhouse Stone Revival
And how one stone veneer is leading the charge There’s a quiet revolution happening in residential architecture. Scroll through any…
Outdoor Fireplace Stone Kits
Outdoor fireplace kits finished with real New England natural thin stone veneer offer the structural efficiency of a pre-built core…
A Builder’s Guide to Interior Columns Wraps
When structural columns disrupt a room’s design, wrapping them in real stone veneer is a professional-grade solution. This process uses…
Best Adhesive for Natural Stone Veneer: A Builder’s Guide
Selecting the best adhesive for natural stone veneer requires understanding that the term “adhesive” refers to a high-performance, polymer-modified thinset…
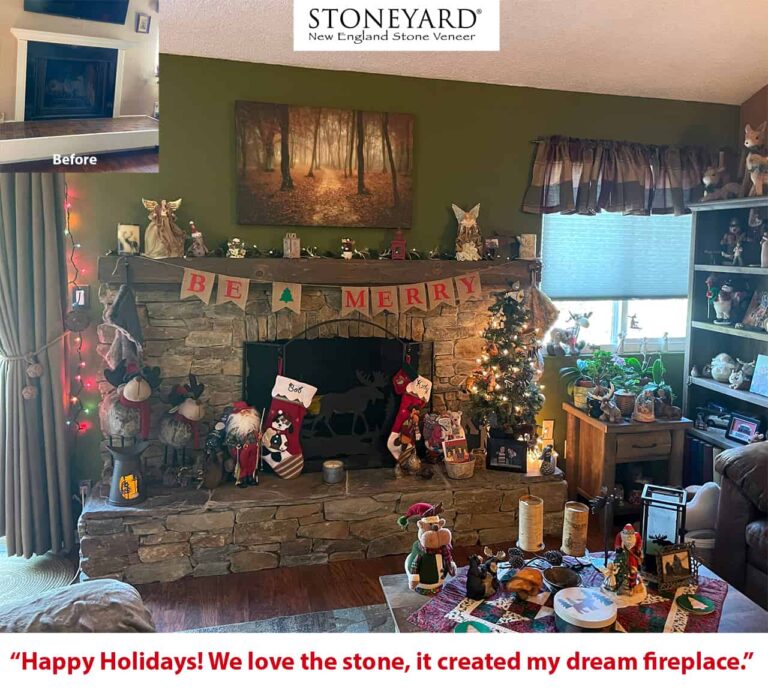
Cozy Dream Fireplace for the Holidays
Today a Stoneyard customer sent us a holiday greeting with before and after photos. We hope your holiday is as…