How to Install Natural Thin Stone Veneer
Installations happen faster and easier with quality stone – ask any stonemason!
These videos can provide step-by-step instructions on how to properly install the veneer and ensure that it looks great once completed. Some key parts of the installation process include preparing the surface, applying mortar or adhesive, laying out the stones in a pattern, and cutting them as needed.
By following these tips and watching helpful installation videos, you can achieve a stunning natural stone finish for your next project.
Download How to Install Stone Veneer PDF
Laticrete MVIS Product Information
Thin Stone Veneer Installation Step by Step Videos
Tools for Installation Videos
Installation Videos
How to Install Natural Stone Veneer
Quality stone makes installations faster and easier, a fact any stonemason will attest to. When it comes to installing natural thin stone veneer, Stoneyard.com provides a wealth of resources, including step-by-step instructions and videos, to ensure a successful and aesthetically pleasing result.
Preparing the Surface
The first step in the installation process is to prepare the surface. This involves cleaning the area where the veneer will be installed to ensure there are no elements that could interfere with the adherence of the stone.
Applying Mortar or Adhesive
Once the surface is prepared, the next step is to apply the mortar or adhesive. This substance acts as the bonding agent between the stone veneer and the surface. It’s important to apply it evenly to ensure a secure fit.
Laying Out the Stones
After the mortar or adhesive is applied, the stones are laid out in a pattern. This step requires careful planning and arrangement to achieve the desired look. The stones may need to be cut or trimmed to fit the pattern correctly.
Cutting the Stones
Depending on the design, some stones may need to be cut or trimmed. This process requires precision to ensure the stones fit perfectly within the pattern.
Achieving a Stunning Finish
By following these steps and watching the helpful installation videos provided by Stoneyard.com, you can achieve a stunning natural stone finish for your next project. The site also offers detailed installation tips, considerations, and quick tips to assist you throughout the process.
Additional Resources
Stoneyard.com provides a range of additional resources, including a downloadable PDF on how to install stone veneer, product information on Laticrete MVIS, and a series of thin stone veneer installation videos. These resources cover a variety of topics, from how to install thin veneer and the different shapes of natural thin stone veneer, to how to use stone veneer corners and the different ways to grout natural stone veneer.
Detailed Installation Tips
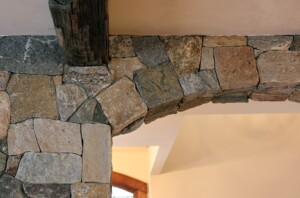
Three Thin Stone Veneer Corner Installation Tips
How to Use Thin Veneer Corners to Elevate your DesignThere are many benefits to using natural thin cut stone veneer including a wide range of applications, ease of use, and
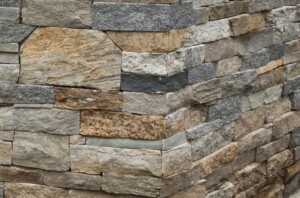
Three Mortar Joint Options for the Perfect Installation
https://youtu.be/vwXY1SjRz50 This video shows examples of the different ways to install and grout natural thin stone veneer choosing grout color, size, offset and even overgrouting. David Croteau of Stoneyard.com explains
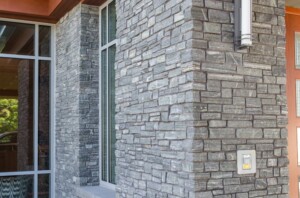
Corners for Natural Thin Stone Veneer
Available to Match All Colors and ShapesThin Veneer is 1 inch thick, and light enough to adhere directly to any masonry surface. Once installed, it is nearly impossible to tell
Installation Considerations
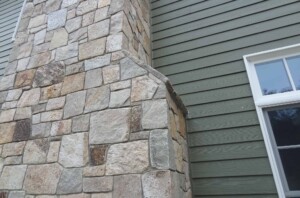
How Should I Mix and Match Natural Stone Shapes?
Mix of Boston Blend Mosaic, Boston Blend Round, Boston Blend Square & Rec, and Boston Blend Ledge Stone Formula: Mix & Match Colors and Shapes to Create a Unique Design
Quick Installation Tips
Inspiration | Videos | Projects | Visualize | Installation | Literature

