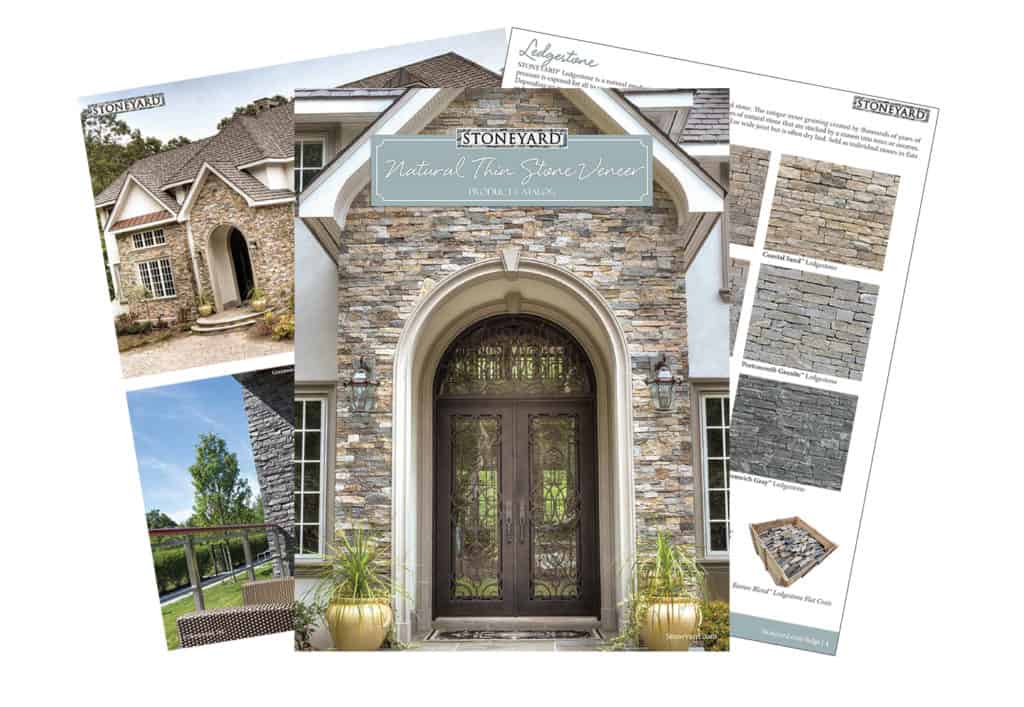
Fireplaces are the heart of a cozy home, and with thin stone veneer, you can easily transform yours into a captivating focal point. This lightweight and versatile material offers the beauty of natural stone without the bulk of full stone. But for a truly stunning result, a little planning goes a long way. Here at Stoneyard, we want your fireplace makeover to be a breeze, so we’ve compiled three essential tips for installing thin stone veneer:
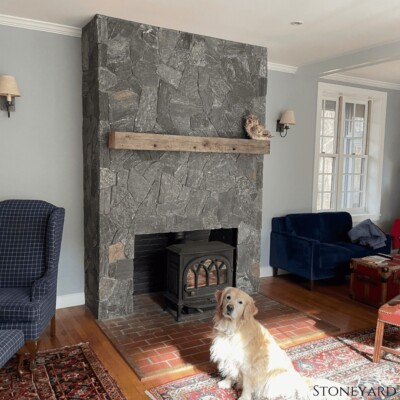
Tip #1: Master the Layout for Minimal Waste and Maximum Appeal
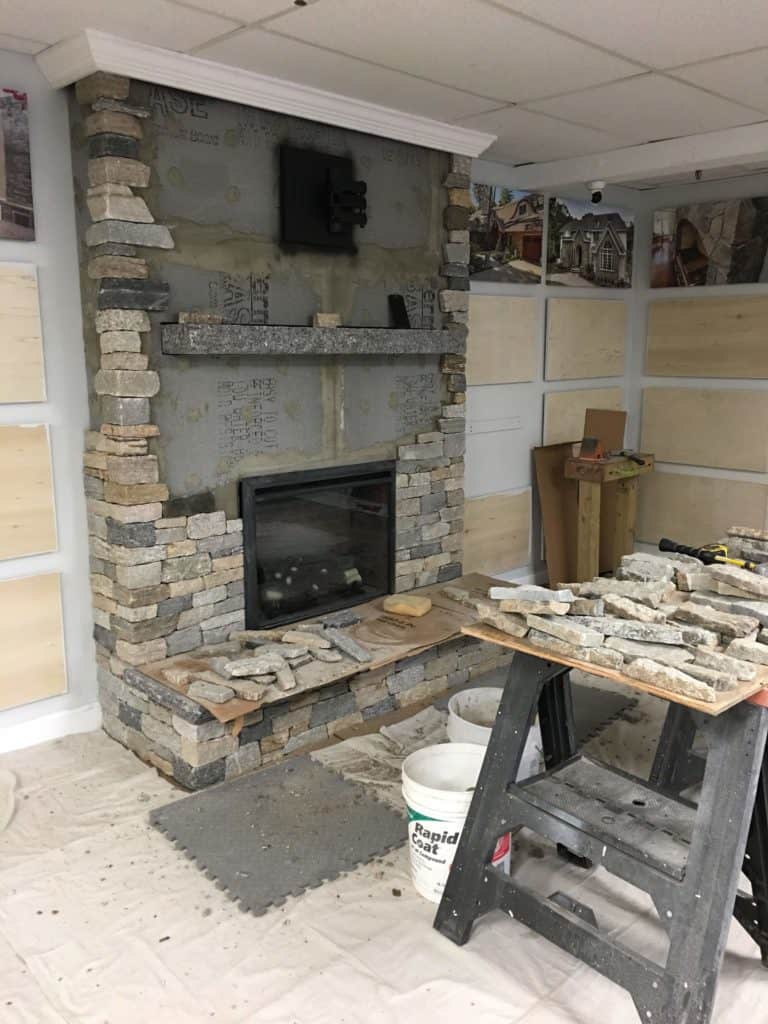
Before diving headfirst into applying mortar, take some time to create a layout that minimizes waste and maximizes visual impact. Here’s how:
- Choose your Design: Spread your veneer stones on a large, flat surface to visualize your design. Do you want a mortar joint or dry-fit application? Experiment with different patterns and color combinations to find the perfect look.
- Minimize Cuts: Pay attention to the natural variations in stone size and color. Try to fit stone pieces together to minimize the need for cutting.
- Plan for Continuity: Think about how the stones will flow around the fireplace opening, corners, and hearth. Ensure a balanced and cohesive design by planning out the placement of larger and smaller stones.
By taking the time to map out your layout, you’ll not only save money on materials, but also create a visually stunning fireplace that reflects your personal style.
Tip #2: Respect the Gap: Expansion and Contraction
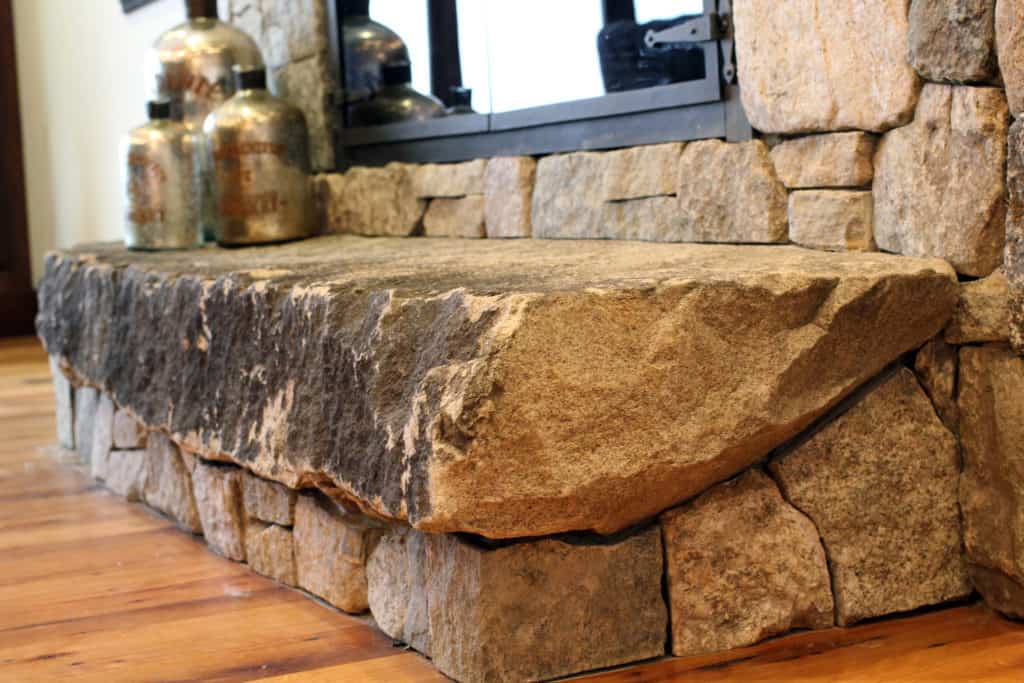
Thin stone veneer is a durable material, but it’s important to allow some breathing room for natural expansion and contraction. Here’s why:
- Leave Space for Movement: When installing your veneer, maintain a gap of 1/8″ to 1/2″ between the bottom row of stones and the floor, and the top row and the ceiling. This allows the stone to adjust to temperature and humidity changes without cracking or warping.
- Fill Wisely, if Needed: Use a flexible caulk specifically designed for stone veneer to fill these gaps. This will not only maintain a professional look but also provide a watertight seal.
Following this simple tip ensures your beautiful stonework stays that way for years to come.
Tip #3: Build Upward for a Level Foundation
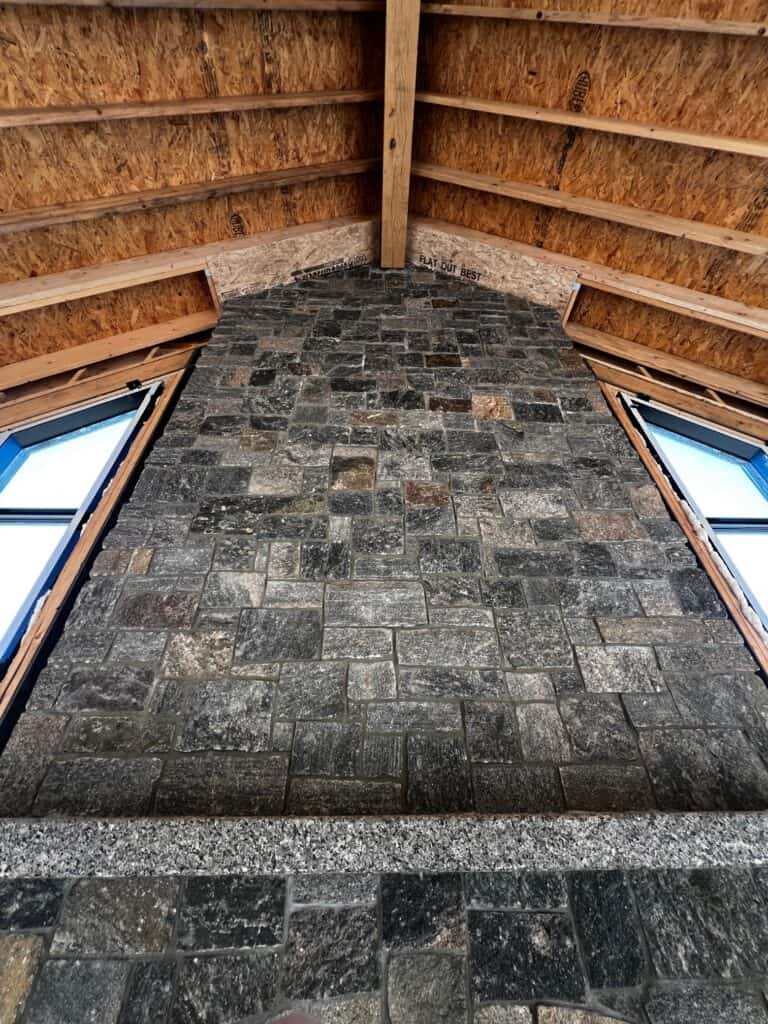
Just like building a house, a successful stone veneer installation starts from the bottom and works its way up.
- Start Low, Aim High: Begin by applying mortar and installing the first row of stones at the base of the fireplace. This establishes a level foundation for the rest of the veneer. Use spacers to ensure the stone does not slide to the floor.
- Level Up Continuously: As you work your way up the fireplace, use a level to ensure each row sits perfectly flat (specifically for ledgestone, ashlar, and square and rec stone veneer.) This minimizes the need for extensive adjustments later and contributes to a professional-looking finish.
By starting from the bottom and working meticulously upward, you’ll guarantee a perfectly level and aesthetically pleasing fireplace surround.
Bonus Tip: Don’t forget to refer to our installation page for specific application details and mortar recommendations.
With these tips in mind, you’re well on your way to transforming your fireplace with the timeless beauty of thin stone veneer. Remember, Stoneyard offers a wide variety of stunning stone veneer options to match any style. Visit our website today and browse our extensive selection to find the perfect match for your dream fireplace!
Inspiration | Videos | Projects | Visualize | Installation | Literature
More posts
Contact us if you have questions about Stoneyard products
"*" indicates required fields
